10 Lovely Baby Crocheted Hats

Crocheting baby hats is one of the most rewarding and enjoyable projects for any crafter.
Not only do they provide warmth and comfort for your little ones, but they also make for delightful gifts and keepsakes.
In this article, we will explore a variety of lovely baby crocheted hat patterns, tips for creating these adorable accessories, and creative ideas to personalize each piece. Whether you’re a beginner or an experienced crocheter, you’ll find inspiration and guidance to create beautiful hats for babies.
Lovely Baby Crocheted Hats
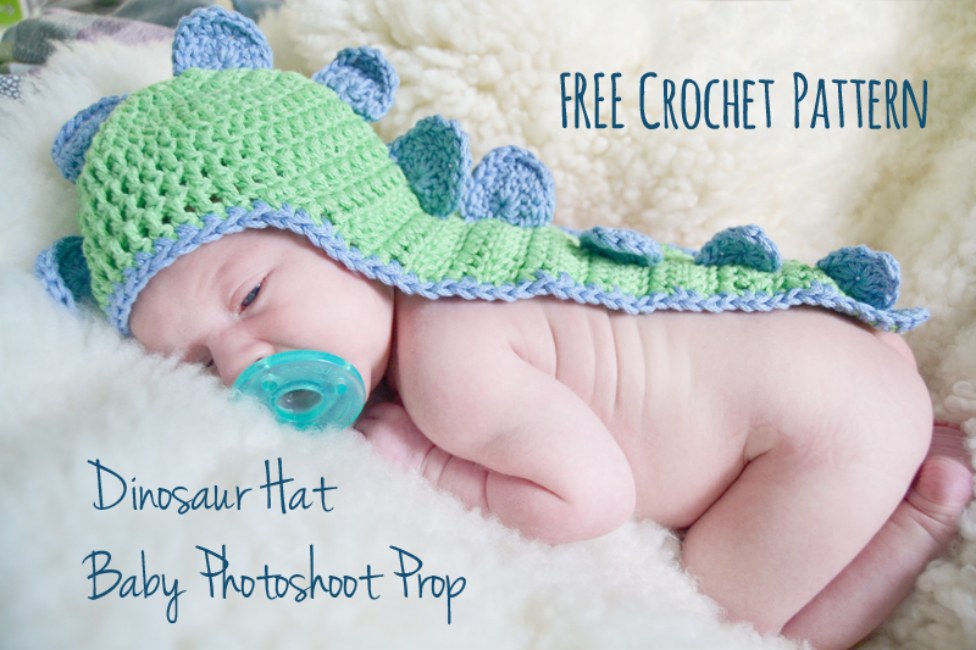
Keep baby’s head warm this winter with these adorable crocheted hats you can make in a weekend.
Super easy to make these designs will make the perfect additions to your baby’s wardrobe this season.

check out This Mama Makes Stuff.

check out Repeat Crafter Me

Check out Twin Dragonfly Designs

Check out Jenny and Teddy

check out Hanni Craft

Check out All About Ami

Check out Hopeful Honey

check out Snovej

Check out Projects Around the House

check out The Stitch in Mommy
Free Crochet Baby Hat Patterns
1. Basic Baby Beanie
Pattern Instructions
- Foundation Chain: Chain 5 and join to form a ring.
- Round 1: Chain 2 (counts as first half double crochet (HDC)) and make 9 HDC into the ring. Slip stitch to join.
- Round 2: Chain 2, then make 2 HDC in each stitch around. Slip stitch to join.
- Round 3: Chain 2, then 1 HDC in the first stitch, 2 HDC in the next. Repeat around.
- Round 4-8: Continue this pattern, adding more stitches each round until the hat reaches the desired height (approximately 6-8 inches).
- Finishing: Fasten off and weave in ends.
2. Cute Bunny Ears Hat
Pattern Instructions
- Foundation Chain: Chain 4 and join to form a ring.
- Round 1: Chain 2, make 9 HDC into the ring. Slip stitch to join.
- Round 2: Chain 2, make 2 HDC in each stitch around.
- Round 3: Chain 2, then 1 HDC in the first stitch, 2 HDC in the next. Repeat around.
- Create Bunny Ears:
- After reaching the desired height, chain 10 and make 1 HDC in each stitch back.
- Repeat to form the second ear, then attach them to the top of the hat.
- Finishing: Add eyes and a nose with yarn or embroidery.
3. Striped Beanie
Pattern Instructions
- Foundation Chain: Chain 6 and join to form a ring.
- Round 1: Chain 2 and make 11 DC into the ring. Slip stitch to join.
- Round 2: Alternate colors and work 2 DC in each stitch around.
- Round 3-8: Continue alternating colors while maintaining the stitch count.
- Finishing: Fasten off and weave in ends, creating a fun striped look.
4. Textured Cable Hat
Pattern Instructions
- Foundation Chain: Chain 4 and join to form a ring.
- Round 1: Chain 2 and make 10 HDC into the ring. Slip stitch to join.
- Round 2: Chain 2, then 1 HDC in the first stitch, 2 HDC in the next (repeat around).
- Creating Cables:
- Use front post double crochet (FPDC) for texture.
- Follow a simple cable pattern that alternates between rounds.
- Finishing: Fasten off and weave in ends.
5. Flower Embellished Hat
Pattern Instructions
- Basic Hat: Use the basic beanie pattern as the foundation.
- Creating the Flower:
- Chain 4 and join to form a ring.
- Make 12 DC into the ring, slip stitch to join.
- Create petals by chaining and working into the stitch spaces.
- Attaching the Flower: Sew the flower onto the side or front of the hat.
Crocheting lovely baby hats is a fulfilling and enjoyable endeavor that results in beautiful, functional pieces for your little ones.
With a variety of patterns and styles to choose from, you can create unique headwear that reflects your creativity and personal style. Whether for your own child or as a thoughtful gift, crochet baby hats are sure to bring joy and charm to any occasion.
So gather your materials, start crocheting, and enjoy the process of creating these delightful hats for babies!
CHECK MORE CROCHET PATTERNS