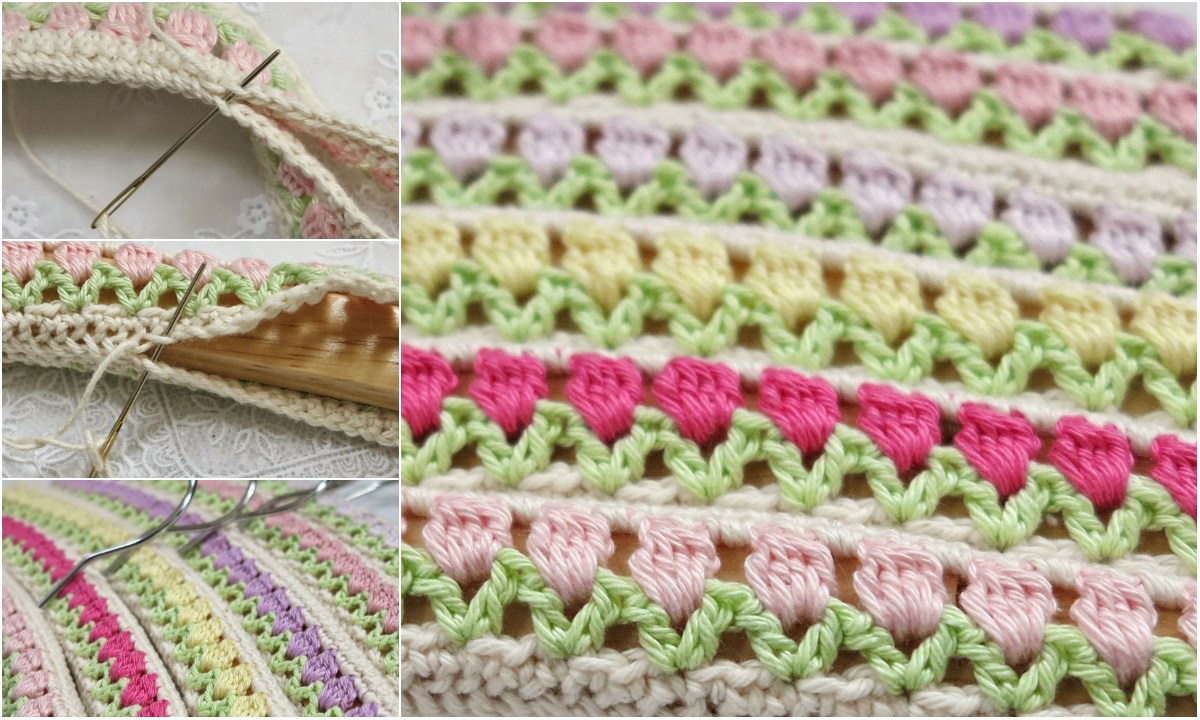
How To Crochet Tulip Stitch

I love tulips. This flower impresses with its beauty every spring. Crochet Tulip is even more amazing.
Especially the crochet flower pattern has all the trappings which can make a perfect spring blanket.
The Tulip Stitch is a beautiful and elegant crochet technique that adds floral patterns to your projects, perfect for creating blankets, scarves, or even decorative items. This stitch combines simple stitches to create a pattern reminiscent of blooming tulips, making it a favorite among crochet enthusiasts.
How To Crochet Tulip Stitch
In this tutorial, we'll cover everything you need to know, from materials to detailed step-by-step instructions.

Whether you drape it over your couch or cuddle with it in your favorite armchair, this beautiful afghan will definitely add some outdoor charm to your home.
It makes you feel like you’re in the exquisite tulip gardens of the Netherlands.

Creative Projects Using the Tulip Stitch
1. Tulip Stitch Blanket
A blanket made with the tulip stitch will create a beautiful, textured surface. You can work in solid colors or alternate between bright floral shades to create a colorful and vibrant piece.
2. Tulip Stitch Shawl
For a boho chic shawl, the tulip stitch adds delicate texture and a feminine touch. Use soft yarns like cotton or alpaca for a lightweight, breathable shawl perfect for cooler evenings.
3. Tulip Stitch Scarf
A scarf with the tulip stitch is both stylish and practical. You can create a reversible scarf where both sides feature the raised tulip petals, or use a single color for a more minimalist approach.
4. Tulip Stitch Bags
Add the tulip stitch to a crochet bag to give it extra texture and beauty. Whether you’re making a tote, clutch, or handbag, the tulip petals will make your bag stand out as a unique accessory.
5. Tulip Stitch Headbands
The tulip stitch is perfect for making headbands that feature textured floral patterns. You can add small beads or buttons in the center of each petal for a bit of sparkle and dimension.
Adjusting the Pattern Size
Adjust the length of your foundation chain if you wish to make the project wider or narrower. Just make sure it’s a multiple of 5 plus 2, and the tulips will align correctly across the work.
This stitch can also make a scarf, hanger cover etc. Crocheting for beginners has never been so easy or stylish! Using the crochet cluster stitch, this pattern is great to practice your crocheting skills.
Master the beautiful tulip stitch with our easy-to-follow tutorial. Perfect for scarves, blankets, and more, this guide is great for crochet beginners and enthusiasts alike.
CHECK MORE CROCHET PATTERNS