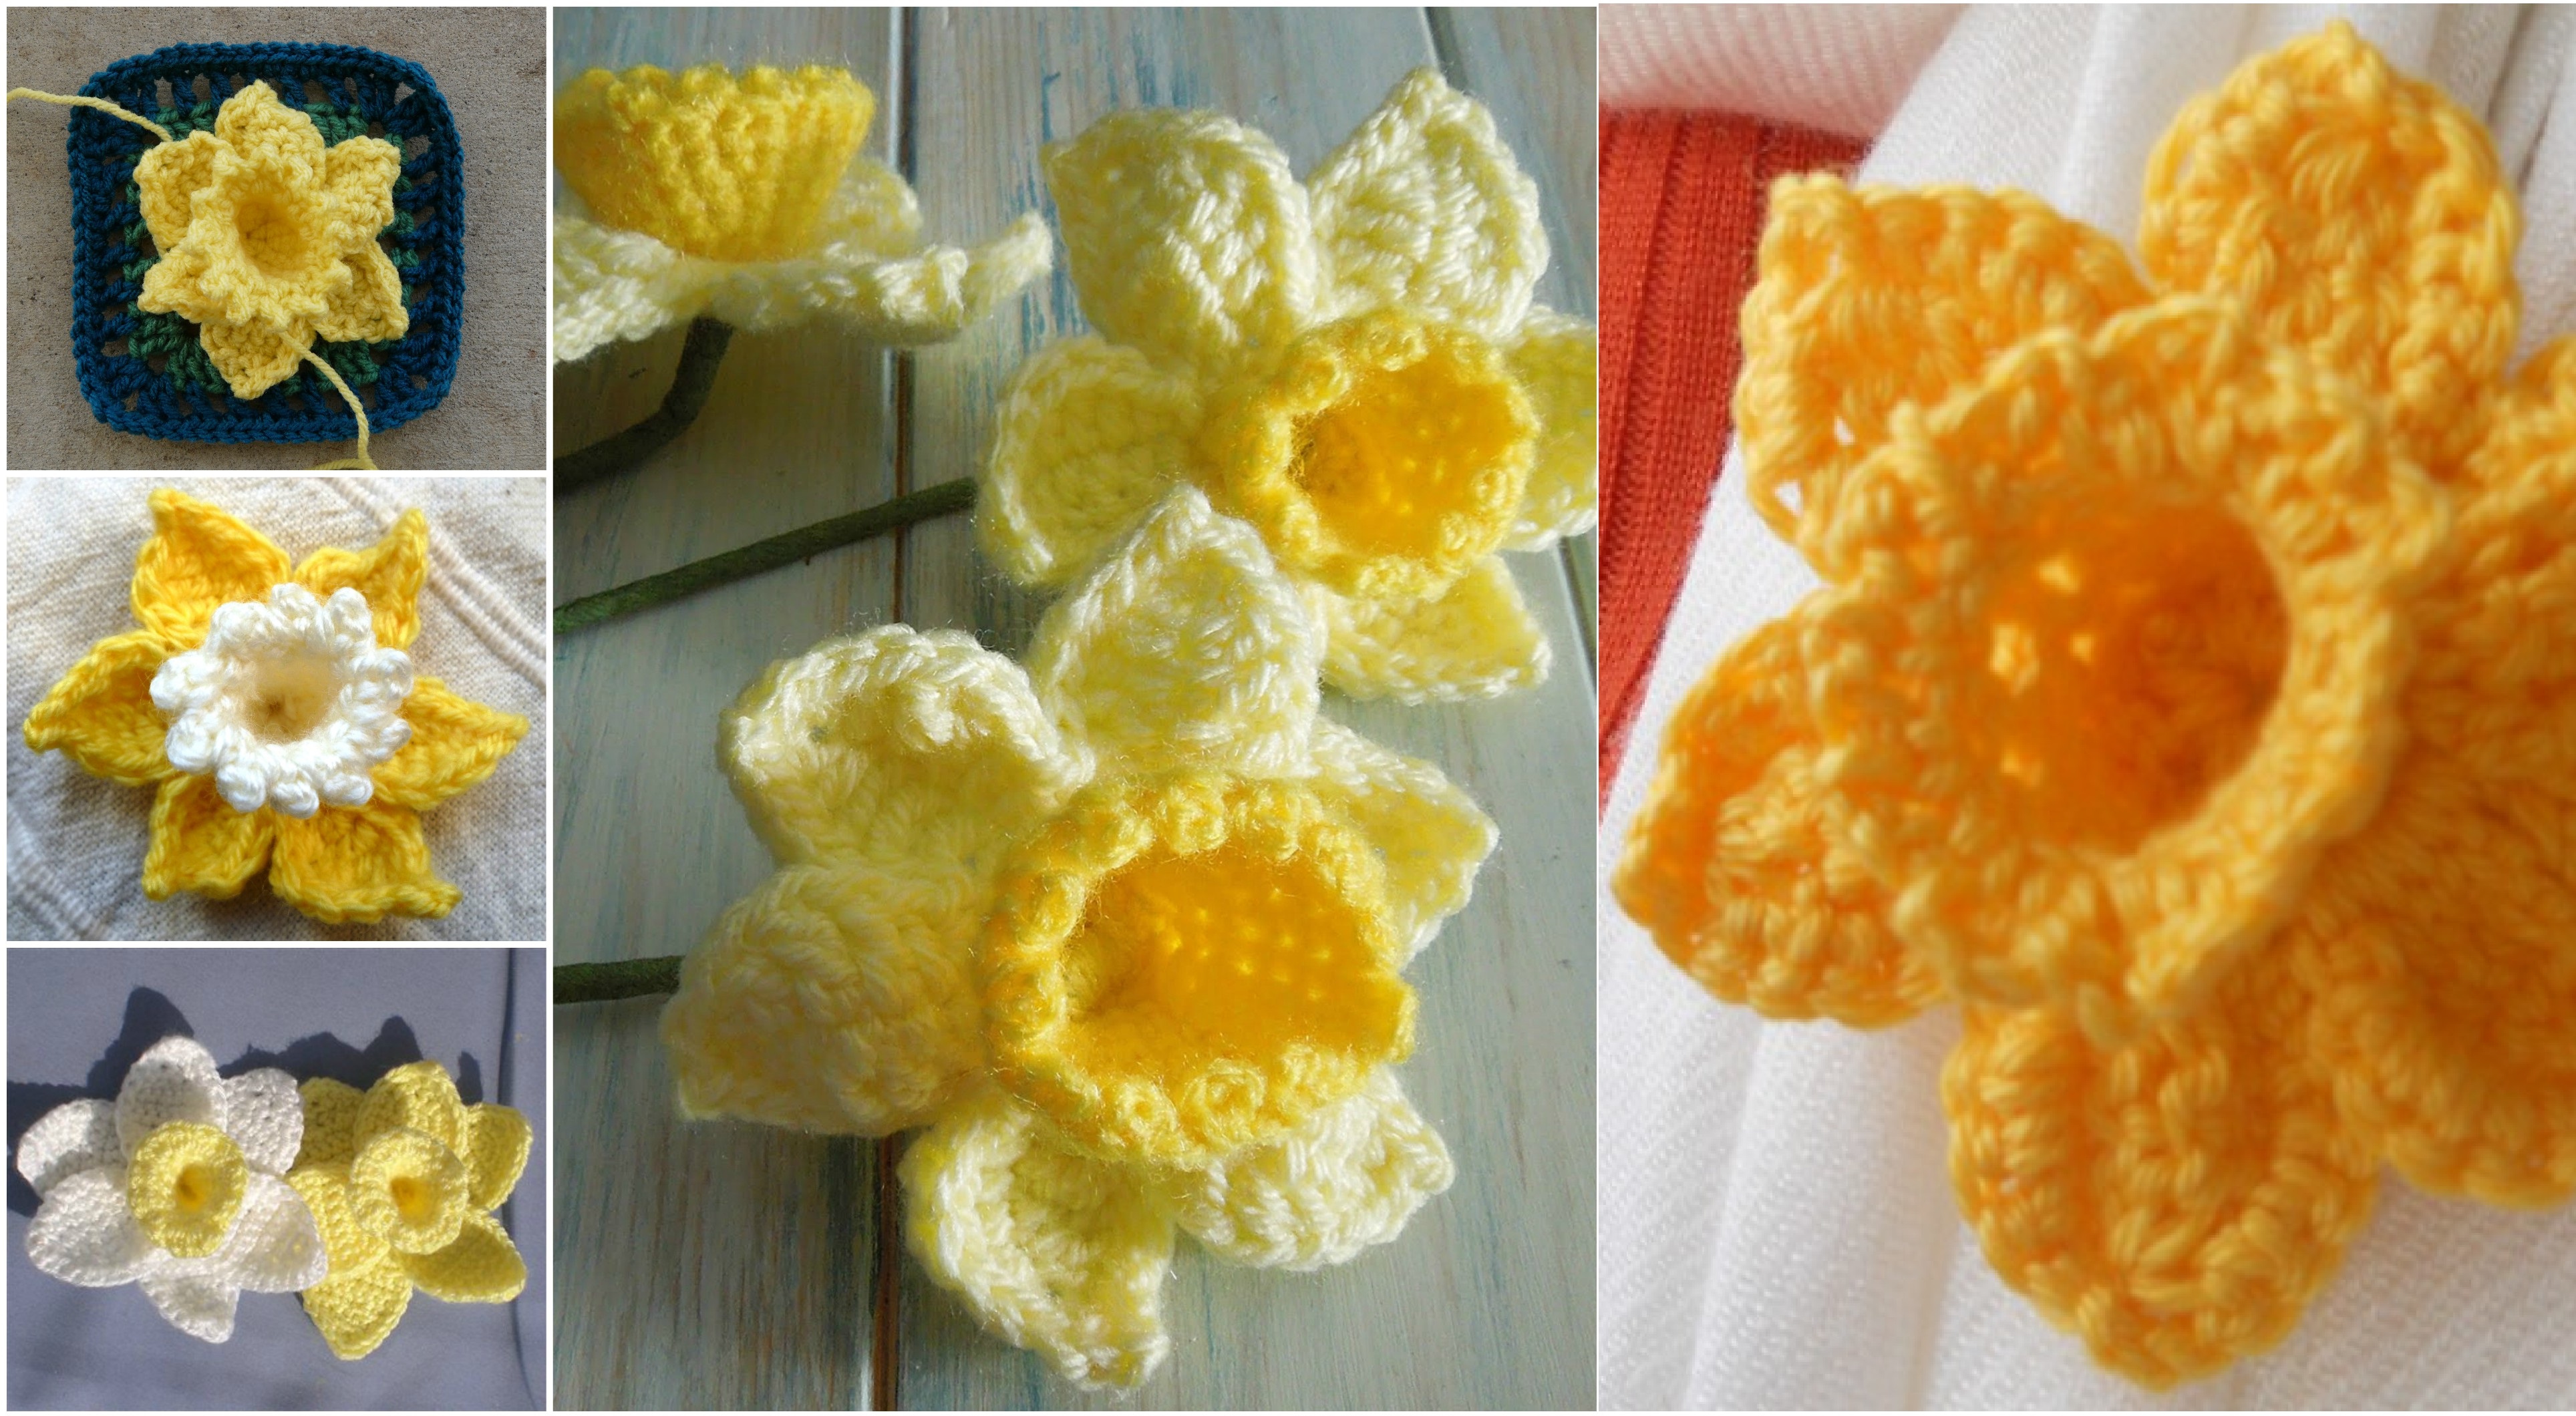
How To Crochet a Daffodil

The crochet daffodil is a delightful and cheerful flower that adds a touch of springtime charm to any project.
With its bright petals and unique trumpet shape, a crocheted daffodil can brighten up your home decor, be used as an embellishment, or even become a thoughtful handmade gift.
In this guide, you’ll learn how to crochet a daffodil from scratch, along with customization ideas, tips for different uses, and answers to common questions.
How To Crochet a Daffodil
Today we are going to show you one more video tutorial of one of the most beautiful crochet flower, yes we are talking about an article and it’s video tutorial about How To Crochet a Daffodil!!!
You know that we are working without break to present you interesting article about different crochet things, but even we took a little break so that we could crochet this beauty!!!

All of our previous articles about crochet flowers got great feedback from you guys and we think that this one will be loved more than the others.
Bring all the things you need for work, play the video tutorial, follow it’s steps and start crocheting.

Materials Needed to Crochet a Daffodil
Before you start, gather the following materials:
- Yarn: Use light worsted-weight or DK yarn in yellow, white, or orange for the petals, and green for the stem and leaves.
- Crochet Hook: A 3.5mm or 4mm hook works well with light worsted or DK yarn.
- Tapestry Needle: For weaving in ends and stitching the petals and trumpet together.
- Scissors: To trim yarn ends.
- Wire (optional): Floral wire can be used to add structure to the stem, allowing the daffodil to stand upright.
Tip: If you prefer a more delicate flower, choose finer yarn and a smaller hook size to create a smaller daffodil.
Step-by-Step Crochet Daffodil Pattern
This pattern will guide you through creating the petals, trumpet, stem, and leaves of a daffodil. It’s suitable for beginner to intermediate crocheters.
1. Start with the Daffodil Petals
The daffodil typically has six petals arranged in an open, circular shape.
Instructions for the Petals:
- Magic Ring: Begin with a magic ring to form a tight center.
- Round 1: Chain 1, work 6 single crochet (sc) stitches into the ring, then pull the ring tight. Slip stitch to the first sc to join. (6 stitches)
- Round 2: Chain 2, work 2 dc in each stitch around, slip stitch to join. (12 stitches)
- Petal Formation: Work the following sequence to create each petal.
- Chain 6, single crochet in the second chain from the hook, half double crochet in the next stitch, double crochet in the next stitch, treble crochet in the next stitch, slip stitch into the same stitch. Repeat for each petal.
You should have six individual petals attached to the center. Adjust the petals as necessary to create an even, open look.
2. Create the Daffodil Trumpet
The trumpet (or corona) is the daffodil’s signature shape and sits at the center of the petals.
Instructions for the Trumpet:
- Magic Ring: Start with a magic ring.
- Round 1: Chain 1, work 6 sc into the ring and join with a slip stitch. Pull the ring tight. (6 stitches)
- Round 2: Chain 2, work 2 dc in each stitch around. Slip stitch to join. (12 stitches)
- Round 3: Chain 1, sc in each stitch around. Slip stitch to join. (12 stitches)
- Round 4: To create the trumpet’s ruffled edge, chain 2, work 2 dc in the next stitch, chain 1. Repeat around and slip stitch to join.
Fasten off, leaving a long tail for sewing, and attach the trumpet to the center of the petals.
3. Crochet the Stem and Leaves
A green stem and a few leaves will complete your daffodil.
Instructions for the Stem:
- Stem Chain: Chain 25-30, or as long as you’d like the stem to be.
- Single Crochet Back: Work a single crochet in each chain back to the beginning. Fasten off.
For a sturdy stem, wrap floral wire around the chain and cover it by working around it as you crochet.
Instructions for the Leaves:
- Leaf Foundation: Chain 15-20 for each leaf.
- Single Crochet Back: Work a single crochet in each chain, then fasten off and attach the leaf to the base of the flower.
Share the photo of your finished work by posting it in the comment section with your impressions and opinion. Enjoy the article
CHECK MORE CROCHET PATTERNS