3D Pretty Blanket – Chart + Video Tutorial

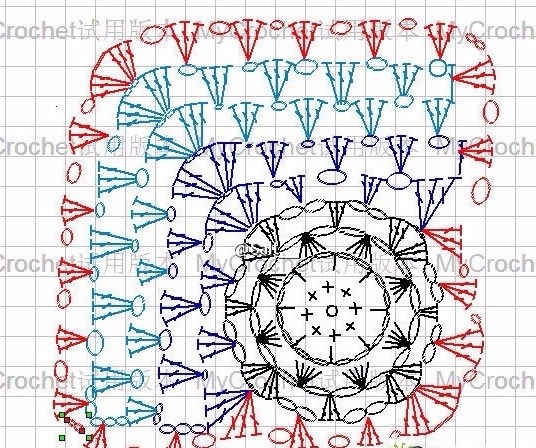
pretty blanket chart

Crochet 3D blankets are not just functional; they’re also incredibly eye-catching, adding a pop of texture and personality to any room.

Also: Convertible Blanket Bag Pattern | Free Crochet Guide

Creating a 3D blanket allows for creative freedom in design, letting you play with textures, colors, and patterns that stand out from traditional flat crochet projects.

In this guide, we’ll dive into the techniques, stitches, and ideas to create a stunning crochet 3D blanket that’s as beautiful as it is cozy.

Table
  1. 3D Pretty Blanket
  2. Essential Materials for a 3D Crochet Blanket
    1. 1. Popcorn Stitch
    2. 2. Puff Stitch
    3. 3. Crocheted Flowers
    4. 4. Bobble Stitch
    5. Step 1: Choose Your Base Pattern
    6. Step 2: Work on 3D Embellishments
    7. Step 3: Join Squares (If Using Granny Squares)
    8. Step 4: Add a Border
    9. Step 5: Finishing Touches

3D Pretty Blanket

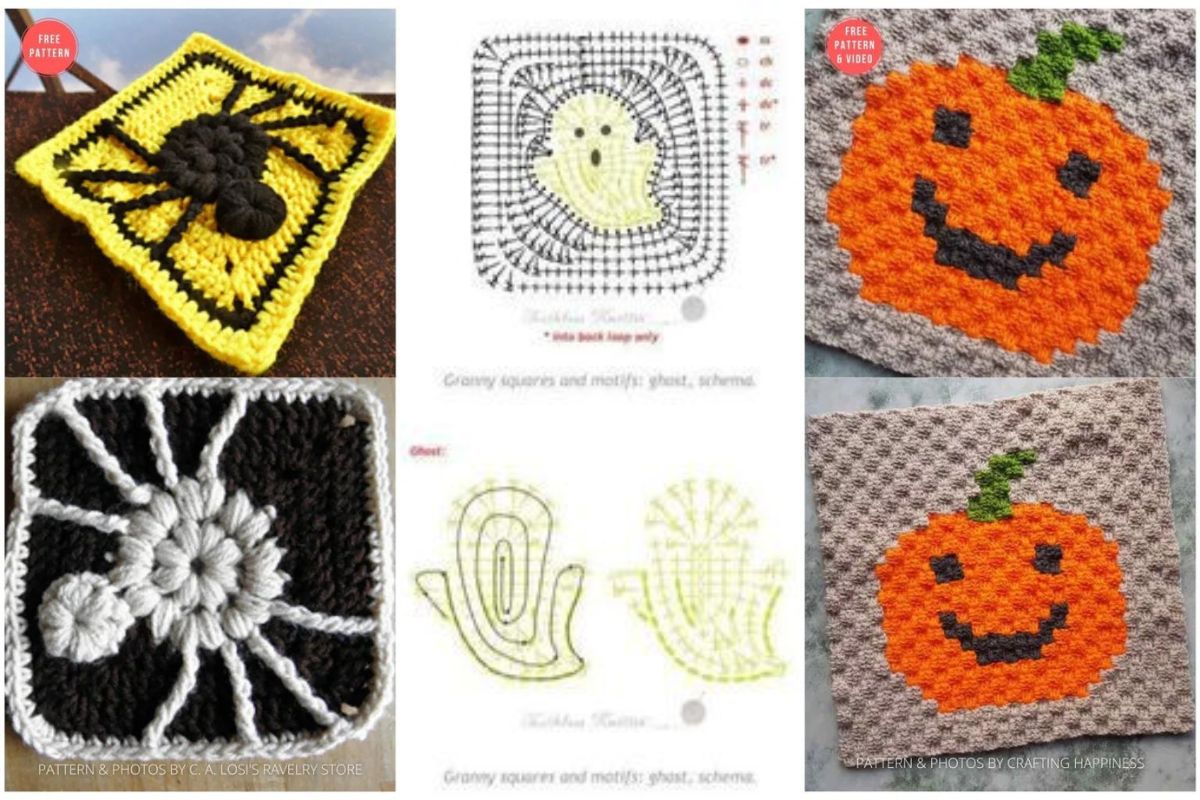
This blanket and motif design is something which arouses some pretty strong emotions in the fabric lovers. It can be said that it is not traditional and original design, especially many traditional crochet and knitting lovers will probably admit this notion.

There are several types of tutorials that can help us to learn to make this blanket by our own.

We have already talked about the chart pattern in one of our previous posts and still give you the opportunity to go back to the link. However, if your priority is a video tutorial than this current post will be appropriate for you.
hqdefault

blanket chart

Essential Materials for a 3D Crochet Blanket

To create your own 3D crochet blanket, gather the following materials:

  • Yarn: Choose soft yarn in colors that match your decor. Worsted or bulky weight yarn works well for a cozy, dimensional blanket.
  • Crochet Hook: Use a hook size that matches your yarn’s weight, typically between 5mm to 8mm for blankets.
  • Stitch Markers: Essential for keeping track of rounds and complex stitches.
  • Tapestry Needle: For weaving in ends neatly and securing 3D elements.
  • Scissors: To trim excess yarn.

There are several crochet techniques you can use to add 3D elements to your blanket:

1. Popcorn Stitch

The popcorn stitch creates a raised, puffy effect, perfect for adding depth.

  • How It’s Done: Work five double crochets into the same stitch, remove the hook, insert it back into the first double crochet, and pull through.
  • Ideal Use: Great for creating polka dots, flowers, or just adding a plush texture to rows.

2. Puff Stitch

The puff stitch creates a similar effect to the popcorn stitch but with a more rounded appearance.

  • How to Do It: Yarn over, insert the hook into the stitch, yarn over again, and repeat four times, pulling through all loops.
  • Uses: Excellent for flower petals or creating raised patterns.

3. Crocheted Flowers

3D flowers bring a lovely floral effect, giving the blanket a natural, garden-like feel.

  • Technique: Crochet small flowers separately and sew them onto the blanket, or use patterns with raised petals and centers.
  • Colors: Try different colors for petals and centers to make the flowers pop.

4. Bobble Stitch

The bobble stitch creates a round, knobby texture, adding even more dimensionality.

  • How It’s Done: Work several half-complete double crochets into the same stitch, leaving all loops on the hook, then yarn over and pull through all loops.
  • Patterns: Bobbles can be used in patterns to create geometric designs or shapes like hearts and stars.

Step 1: Choose Your Base Pattern

Decide if you want a solid base or an open one (like a granny square) where you can add the 3D elements. Here are a couple of options:

  • Solid Base: Start with rows of single or double crochet for a solid, sturdy blanket.
  • Granny Square Base: Use a classic granny square pattern as a foundation and add 3D elements in each square.

Step 2: Work on 3D Embellishments

  1. Flowers: Crochet flowers using a combination of puff and bobble stitches, then attach them at intervals across the blanket.
  2. Polka Dots: Add rows of popcorn or bobble stitches for a whimsical, textured pattern.
  3. Raised Stripes: Alternate rows of single and popcorn stitches to create raised stripes.

Step 3: Join Squares (If Using Granny Squares)

If you’ve chosen a granny square base, crochet each square separately and then join them together using a slip stitch or single crochet join method.

Step 4: Add a Border

Adding a border helps give the blanket a polished, finished look. Consider these ideas for a 3D blanket border:

  • Shell Border: Creates a soft, scalloped edge.
  • Bobble Edge: Adds extra 3D texture with bobble stitches.
  • Ruffled Edge: For a playful, frilly finish.

Step 5: Finishing Touches

  • Weave in Ends: Use a tapestry needle to weave in all ends securely.
  • Blocking: Lightly block your blanket to even out stitches and give it a professional finish.

How useful was this post?

Click on a star to rate it!

Average rating 3.4 / 5. Vote count: 66

No votes so far! Be the first to rate this post.

CHECK MORE CROCHET PATTERNS