Crochet Hat with Visor Tutorial: Your Stylish DIY Project
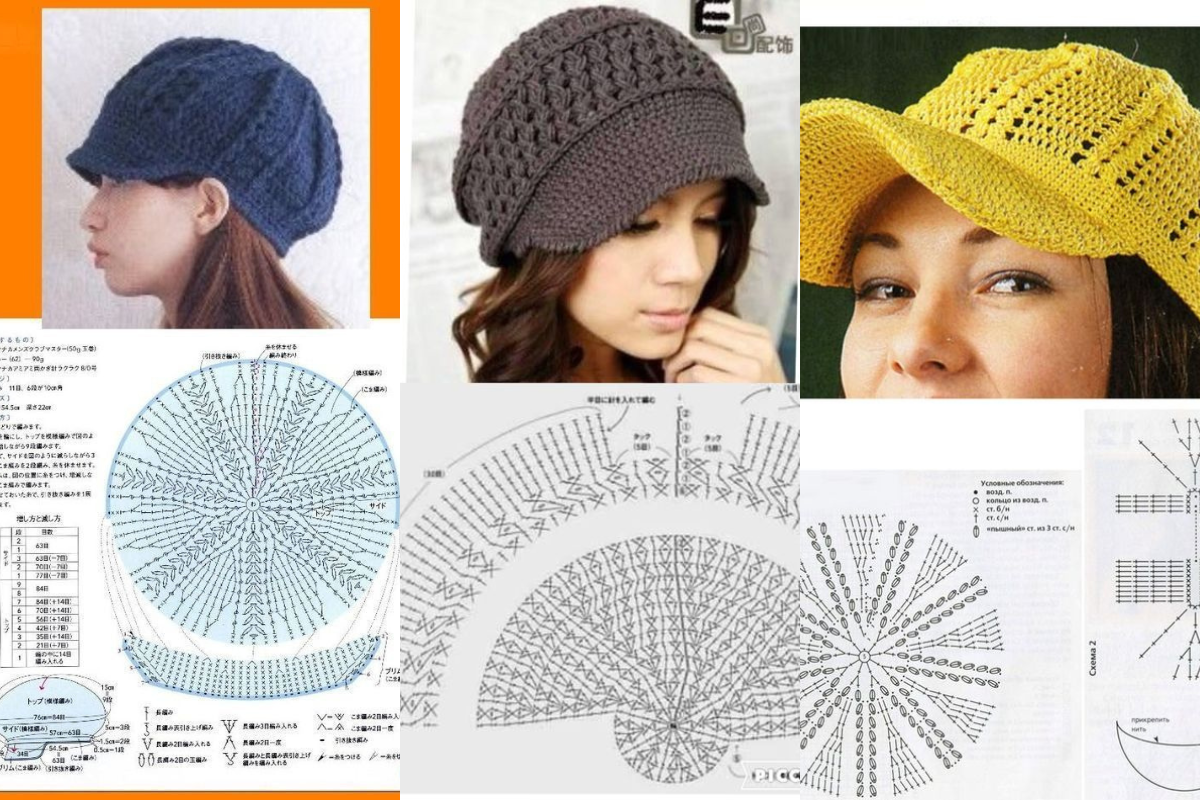
If you've ever wanted to add a touch of style and personality to your wardrobe, crochet hats with visors are a fantastic option. Not only are they a trendy accessory, but they also provide protection from the sun.
In this comprehensive tutorial, we will guide you through the process of creating your very own crochet hat with a visor. From materials and stitches to step-by-step instructions, we've got you covered.
Let's get started on this fun and fashionable DIY project!
Crochet Hat with Visor Tutorial
Materials:
Before diving into the crochet process, make sure you have all the necessary materials. Here's a list to get you started:
Yarn
- Choose a yarn color of your preference, ensuring it's suitable for your desired hat style.
- Approx. 200-250 yards of worsted weight yarn.
Crochet Hook
- Select a crochet hook size that matches the yarn's recommended hook size.
- A size H (5.00mm) crochet hook is commonly used for worsted weight yarn.
Visor
- Purchase a crochet visor or make one using a sturdy material like plastic canvas.
- Make sure it's wide enough to provide adequate shade.
Stitch Markers
- Stitch markers will help you keep track of your rounds and stitches.
- They are essential for maintaining symmetry.
Scissors
- A sharp pair of scissors for cutting the yarn and finishing your project neatly.
Tapestry Needle
- A tapestry needle to weave in loose ends and give your hat a polished look.
Now that you have all your materials ready, let's dive into the exciting world of crochet and create your very own crochet hat with a visor.
Step-by-Step Crochet Hat with Visor Tutorial
Step 1: Creating the Hat Band
- Start by creating a foundation chain of approximately 70-80 chains, depending on your head size and desired fit.
- Join the last chain with the first using a slip stitch to form a ring.
- Begin working single crochet stitches in the round.
- Continue crocheting in a spiral until your band measures about 2 inches in width.
- Place a stitch marker to mark the beginning of each round.
Step 2: Shaping the Hat
- After completing the band, switch to your preferred stitch (single crochet, double crochet, or half double crochet).
- Begin crocheting in a continuous spiral, working evenly around the band.
- Increase the number of stitches in each round to create the desired width of your hat.
- Continue crocheting until your hat reaches the desired height, usually 7-8 inches.
Step 3: Adding the Visor
- Attach your visor to the front of the hat, ensuring it's centered.
- Use slip stitches or single crochet stitches to secure it in place.
- Be sure to crochet around the visor to provide extra stability.
Step 4: Finishing Touches
- Once the hat and visor are complete, fasten off your yarn.
- Use a tapestry needle to weave in any loose ends.
- Give your hat a final inspection to ensure it's secure and well-crafted.
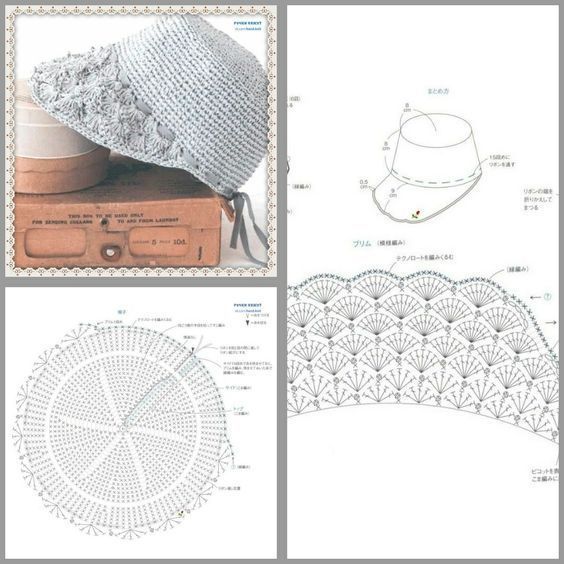
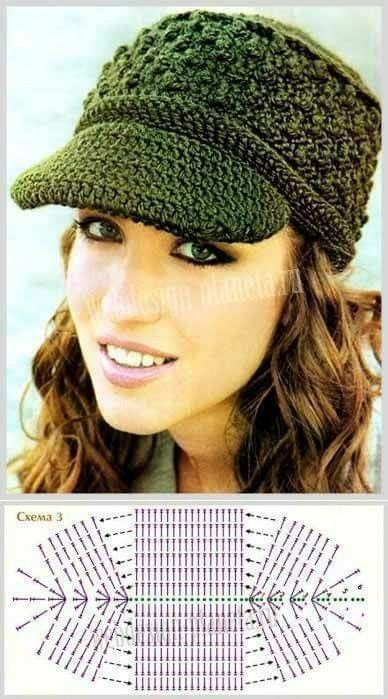
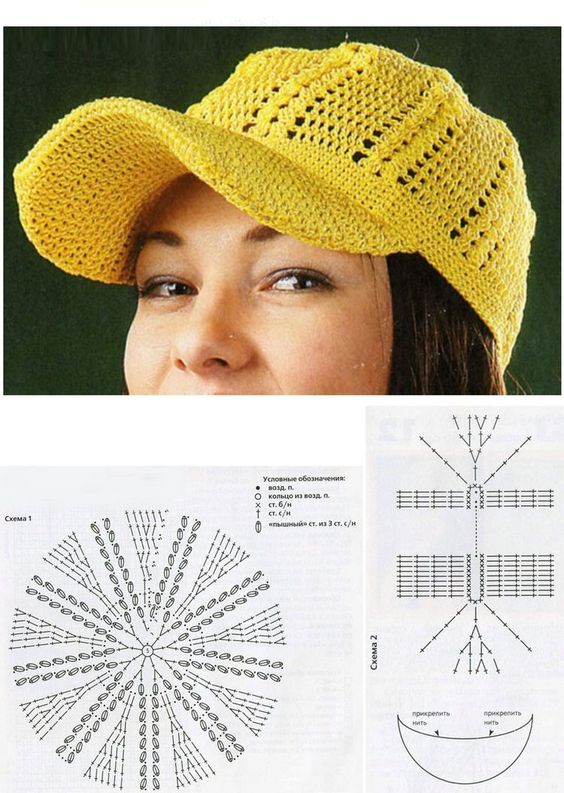
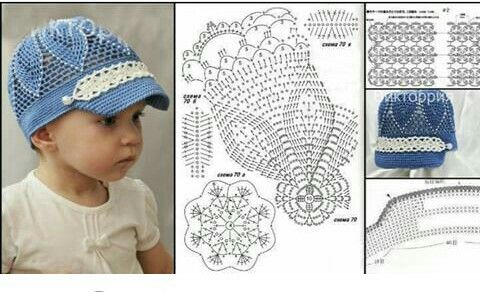
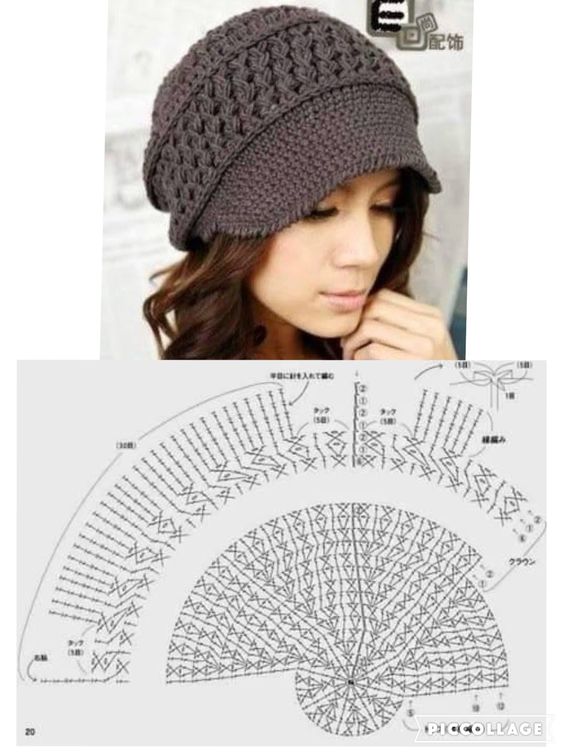
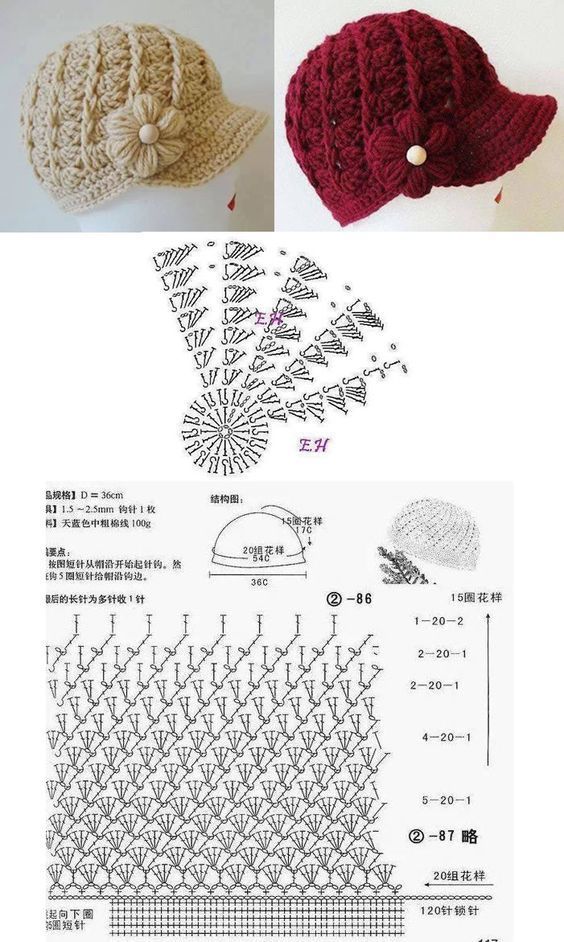
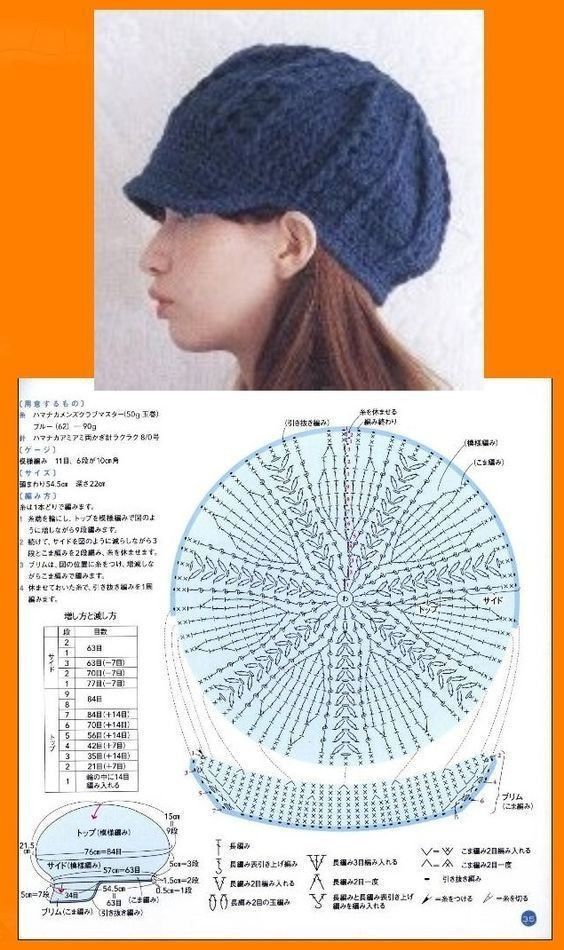
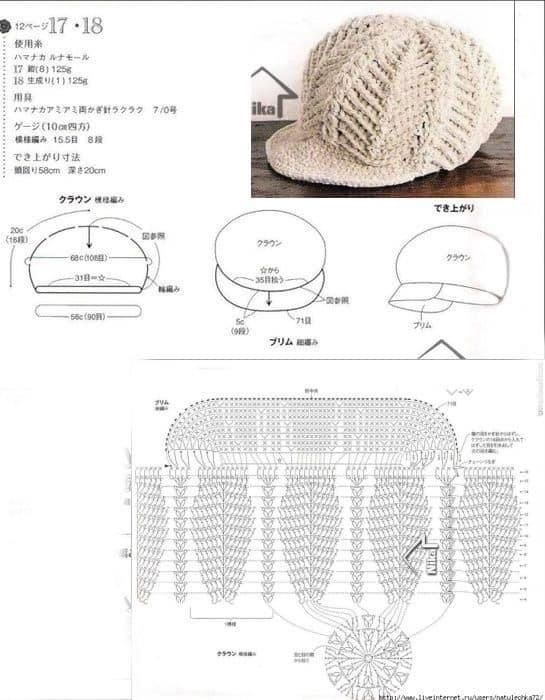
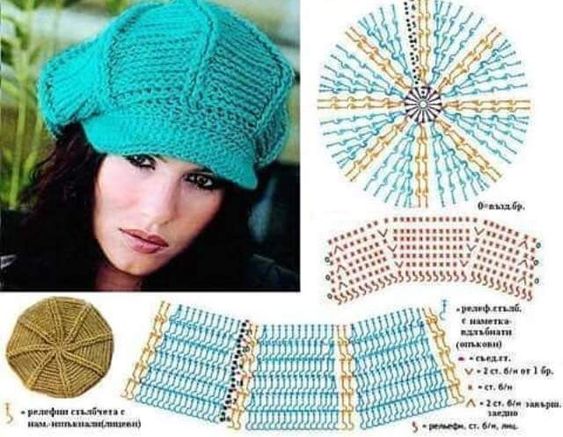
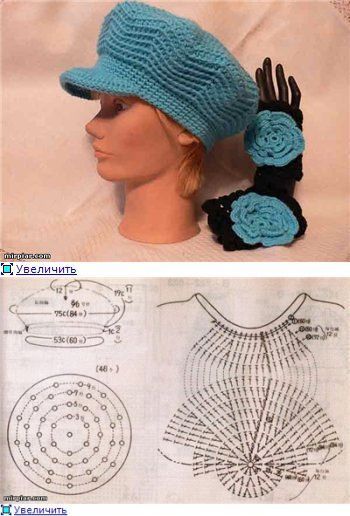
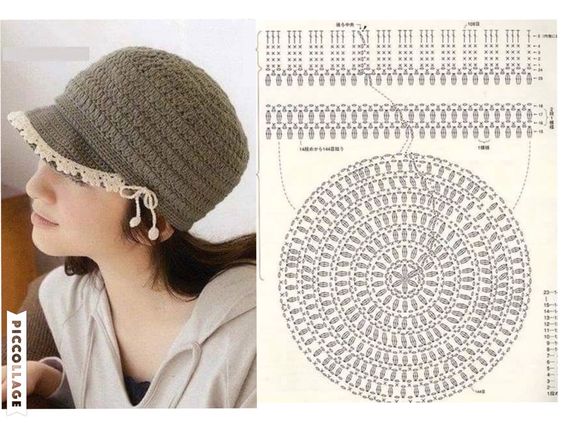
Congratulations, you've just completed your stylish crochet hat with a visor! This fashionable accessory not only offers protection from the sun but also adds a unique touch to your wardrobe. Get creative with different yarn colors and stitch patterns to personalize your hat even further.
Now, go out and flaunt your handmade crochet masterpiece with confidence!
CHECK MORE CROCHET PATTERNS