Colorful Crochet Hair Ties with Trendy Graphic Designs
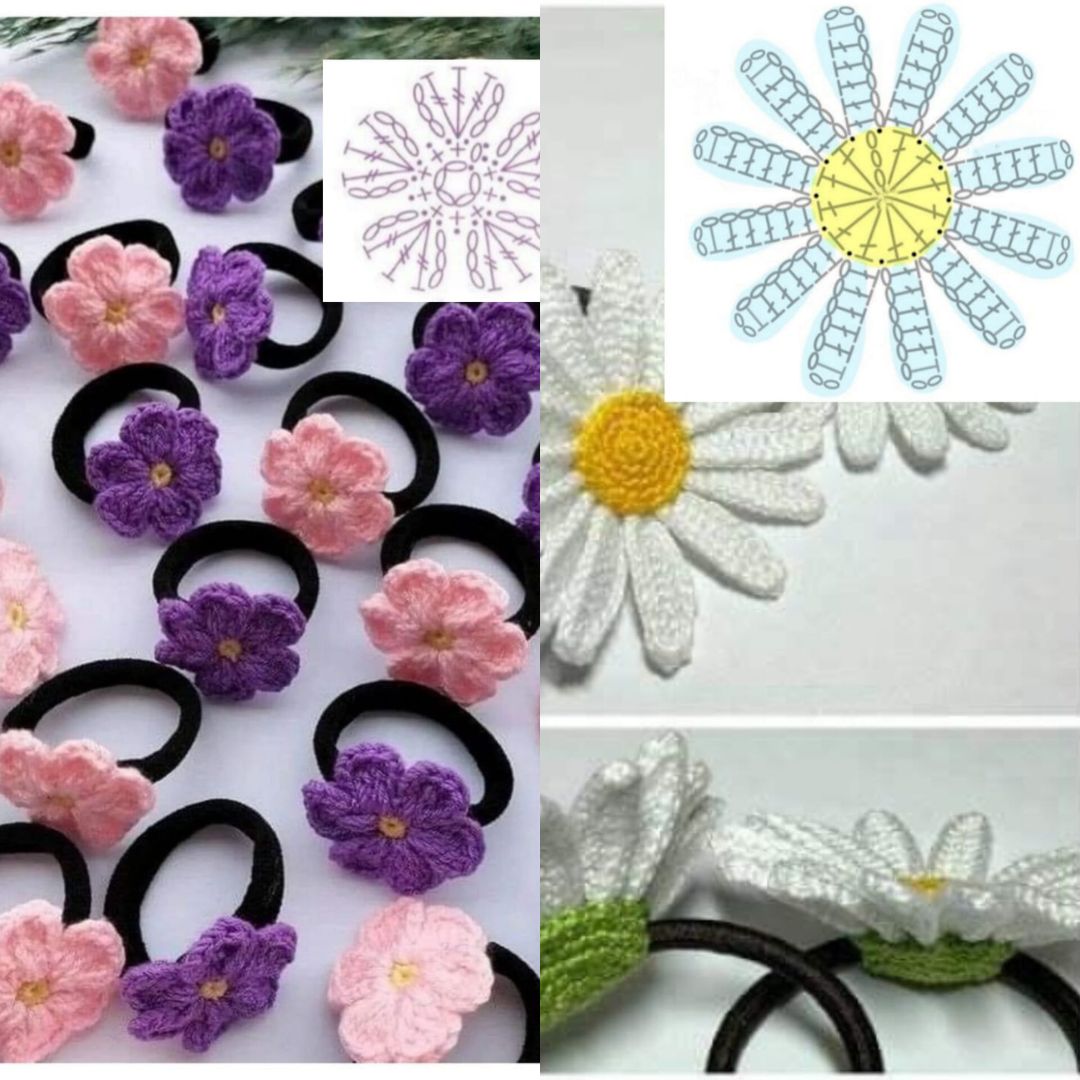
In a world where fashion trends evolve rapidly, the humble crochet hair tie stands as a timeless accessory.
Not only does it serve a functional purpose, but it also adds a personal touch of elegance to any outfit.
This article will take you through the intricate process of crafting your very own crochet hair tie, complete with graphics for better understanding.
Crochet Hair Ties
Colorful crochet hair ties are the perfect combination of style and function, adding a pop of color and personality to your hair accessories.
These crochet hair ties are quick to make, cost-effective, and can be customized to fit any outfit or mood. In this article, we'll go over how to make vibrant crochet hair ties, the best materials to use, and creative ideas to personalize them.
Whether you're a beginner or an experienced crocheter, these hair ties are a fun project you’ll love.

Materials Needed
Before diving into the steps, let's gather the essential materials:
- Yarn: Choose a color and texture that suits your style.
- Crochet Hook: Typically, a 3.5mm or 4.0mm hook works best.
- Hair Elastic: Ensure it's sturdy and matches your hair color.
- Scissors
- Tapestry Needle
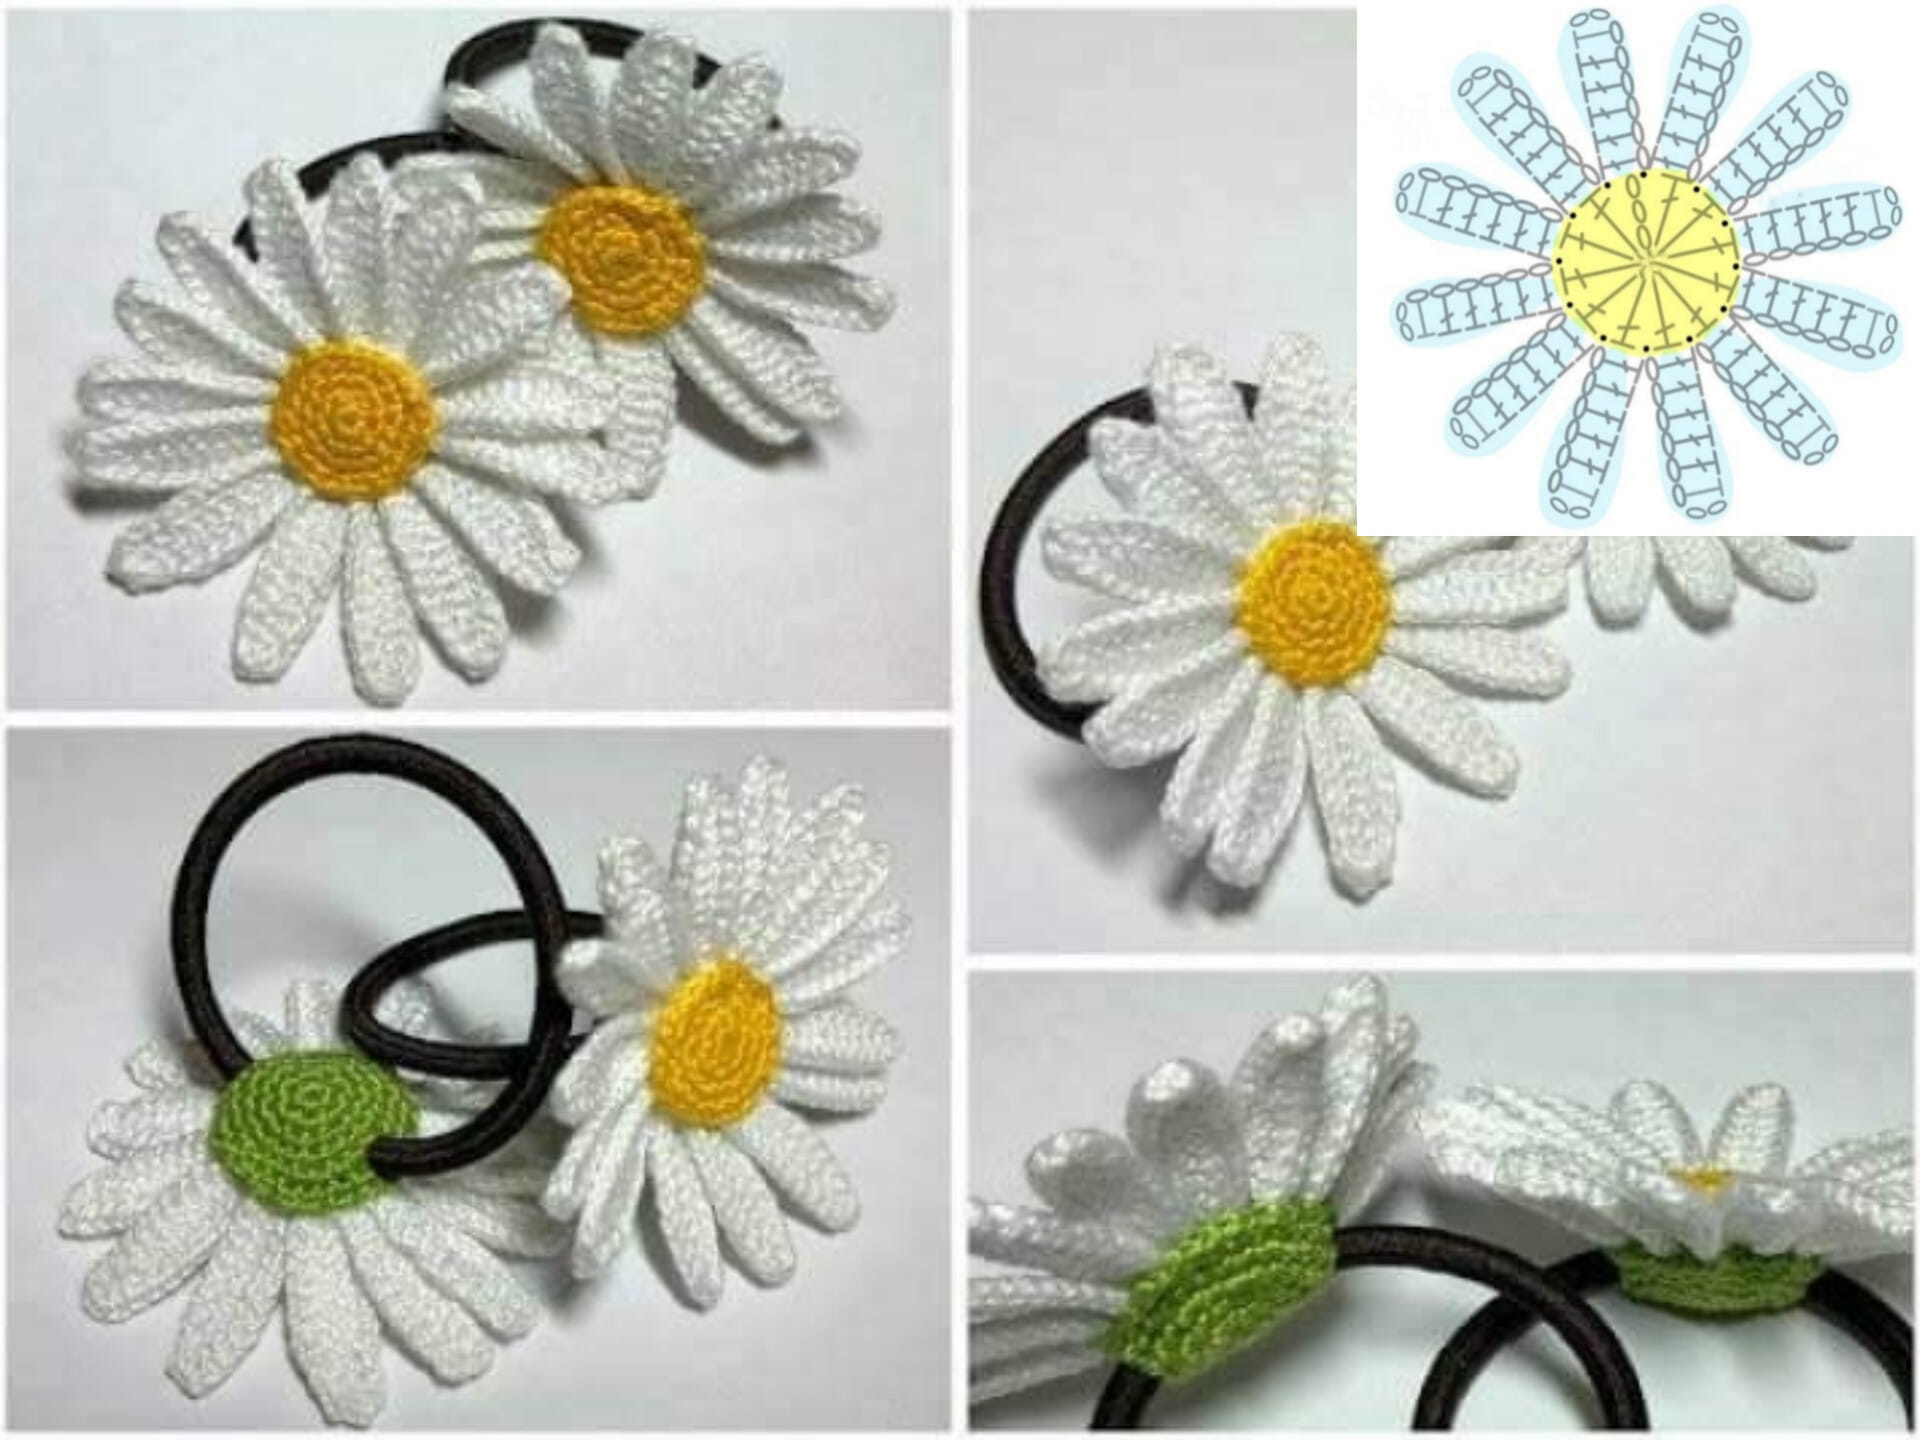
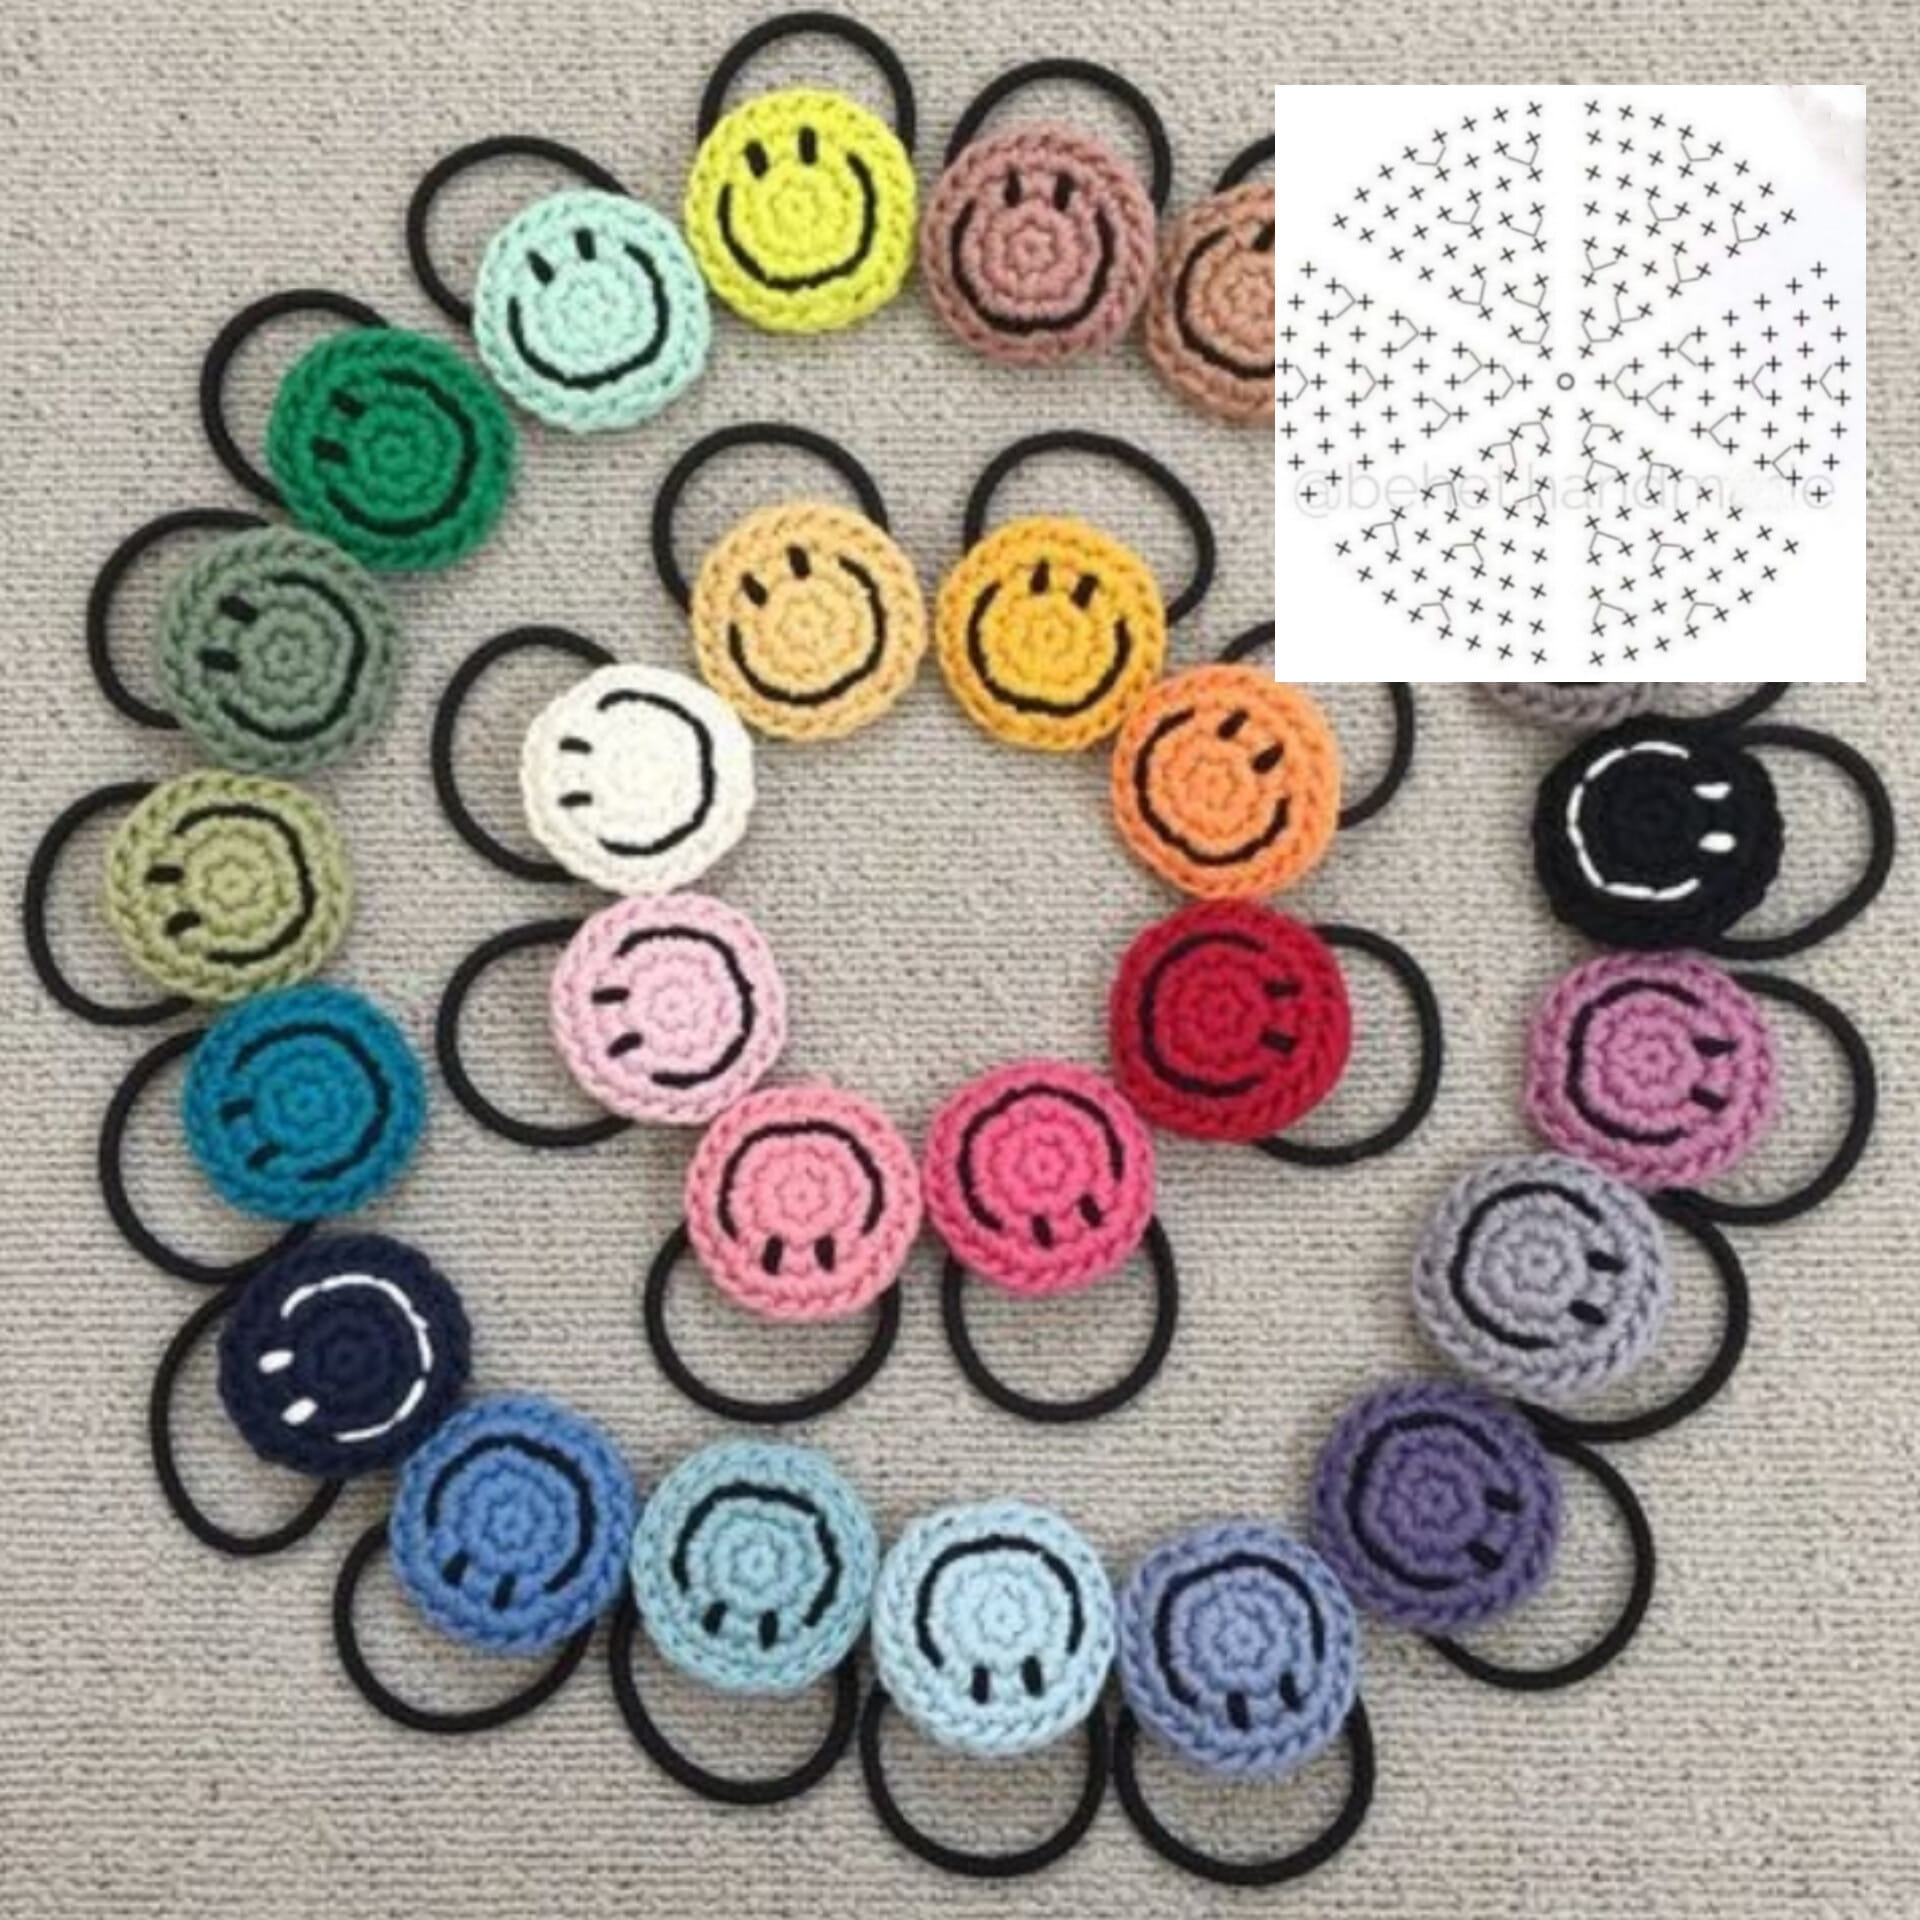
Source: minne.com
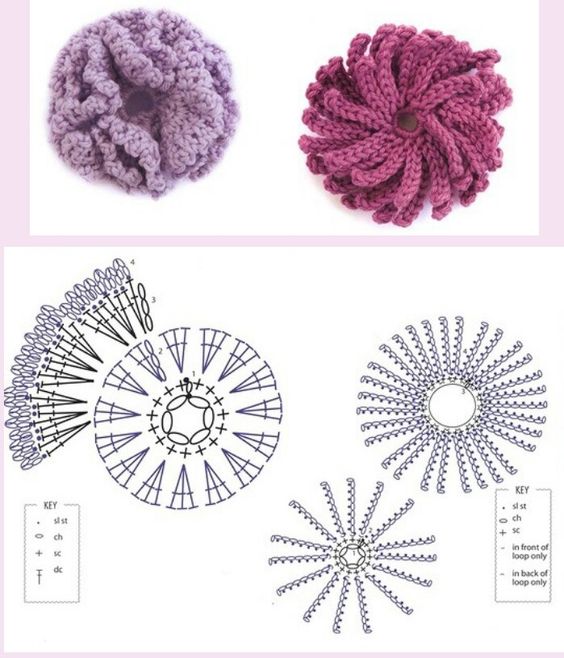
Source: katiaribeiro.com.br
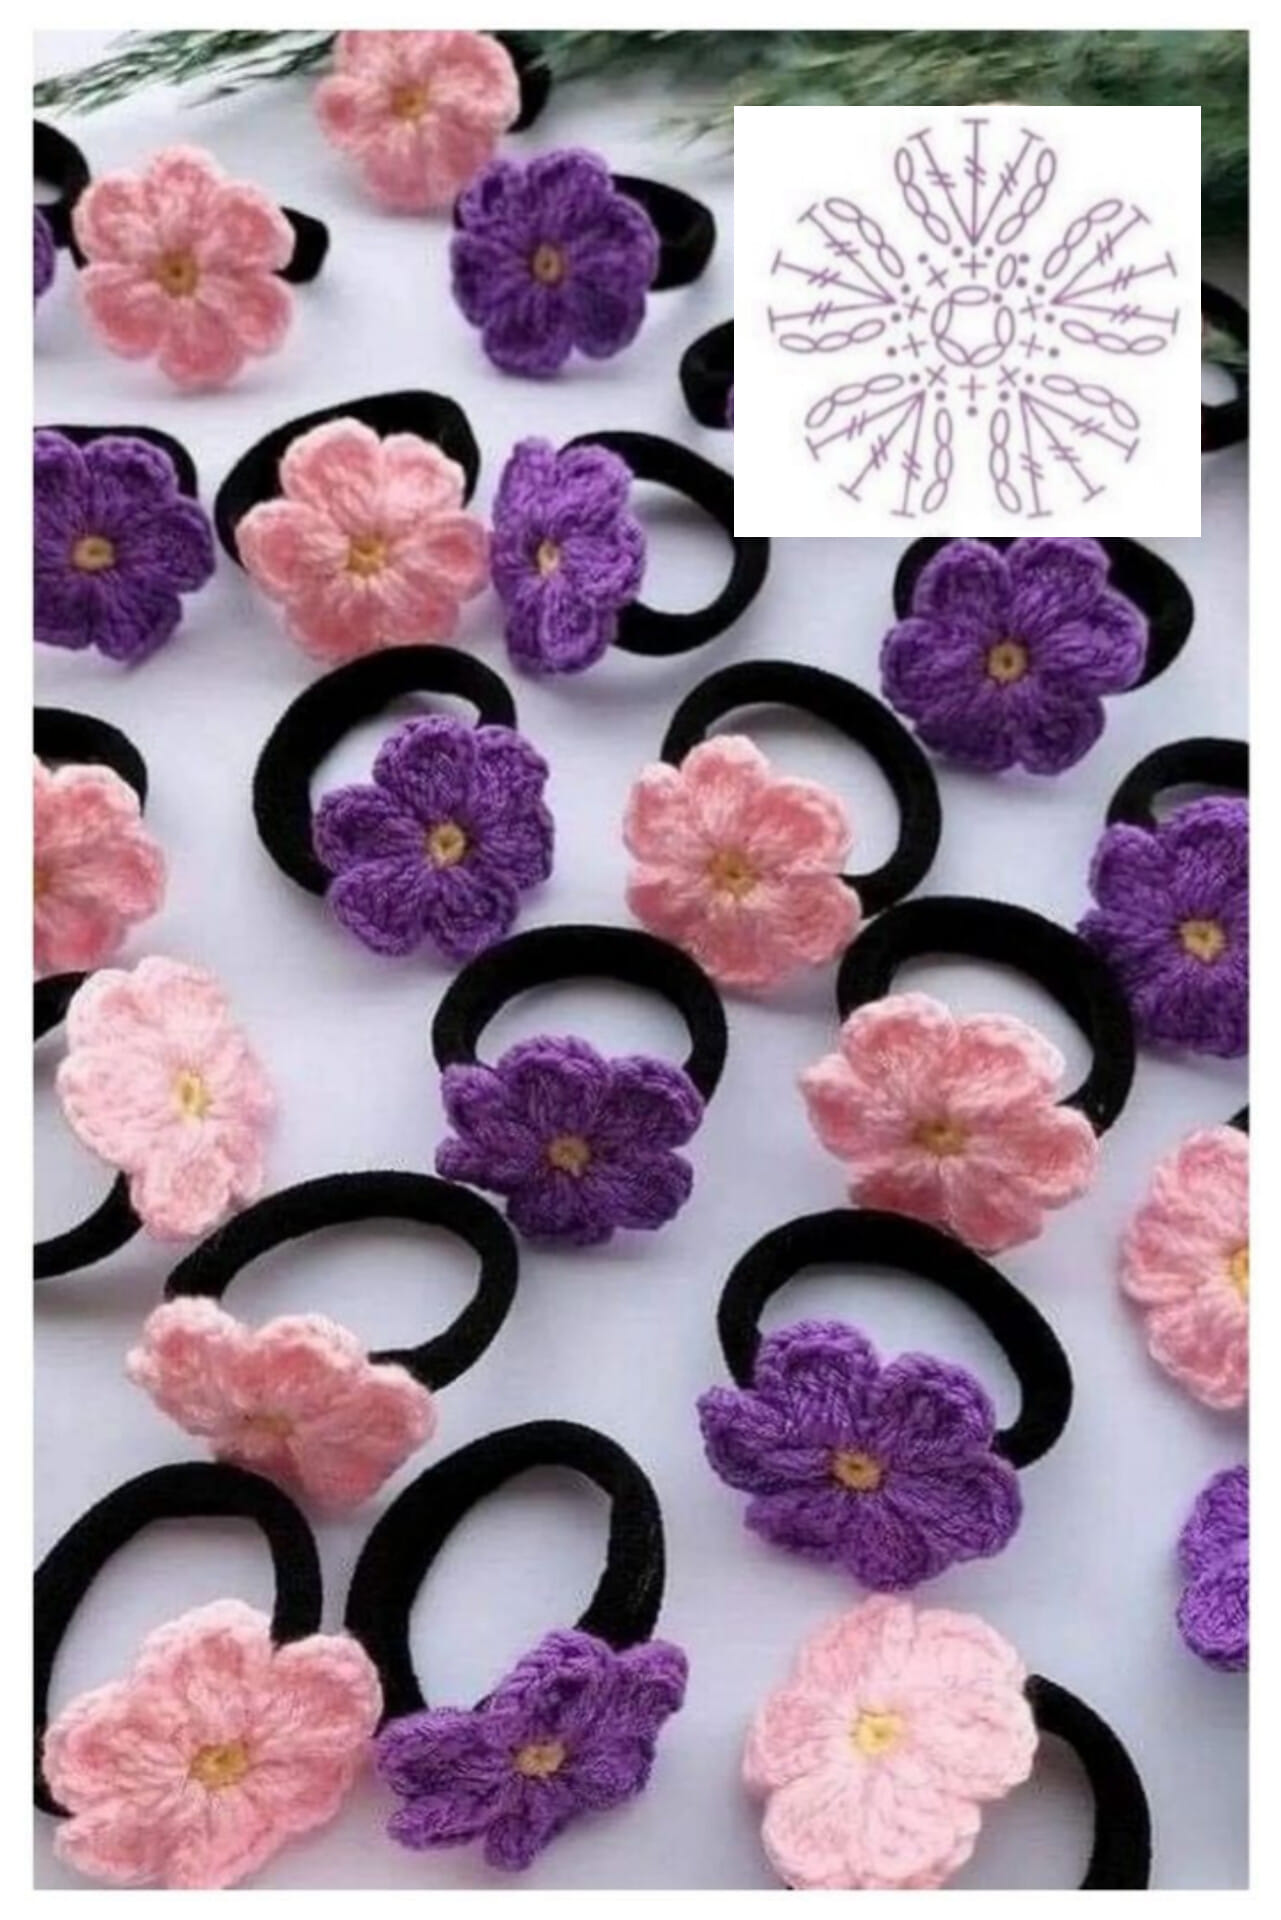
From Pinterest
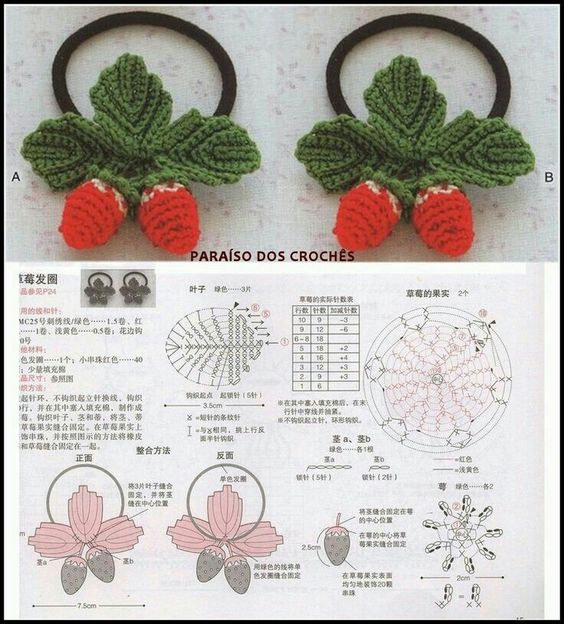
Source: Paraisodoscrochês
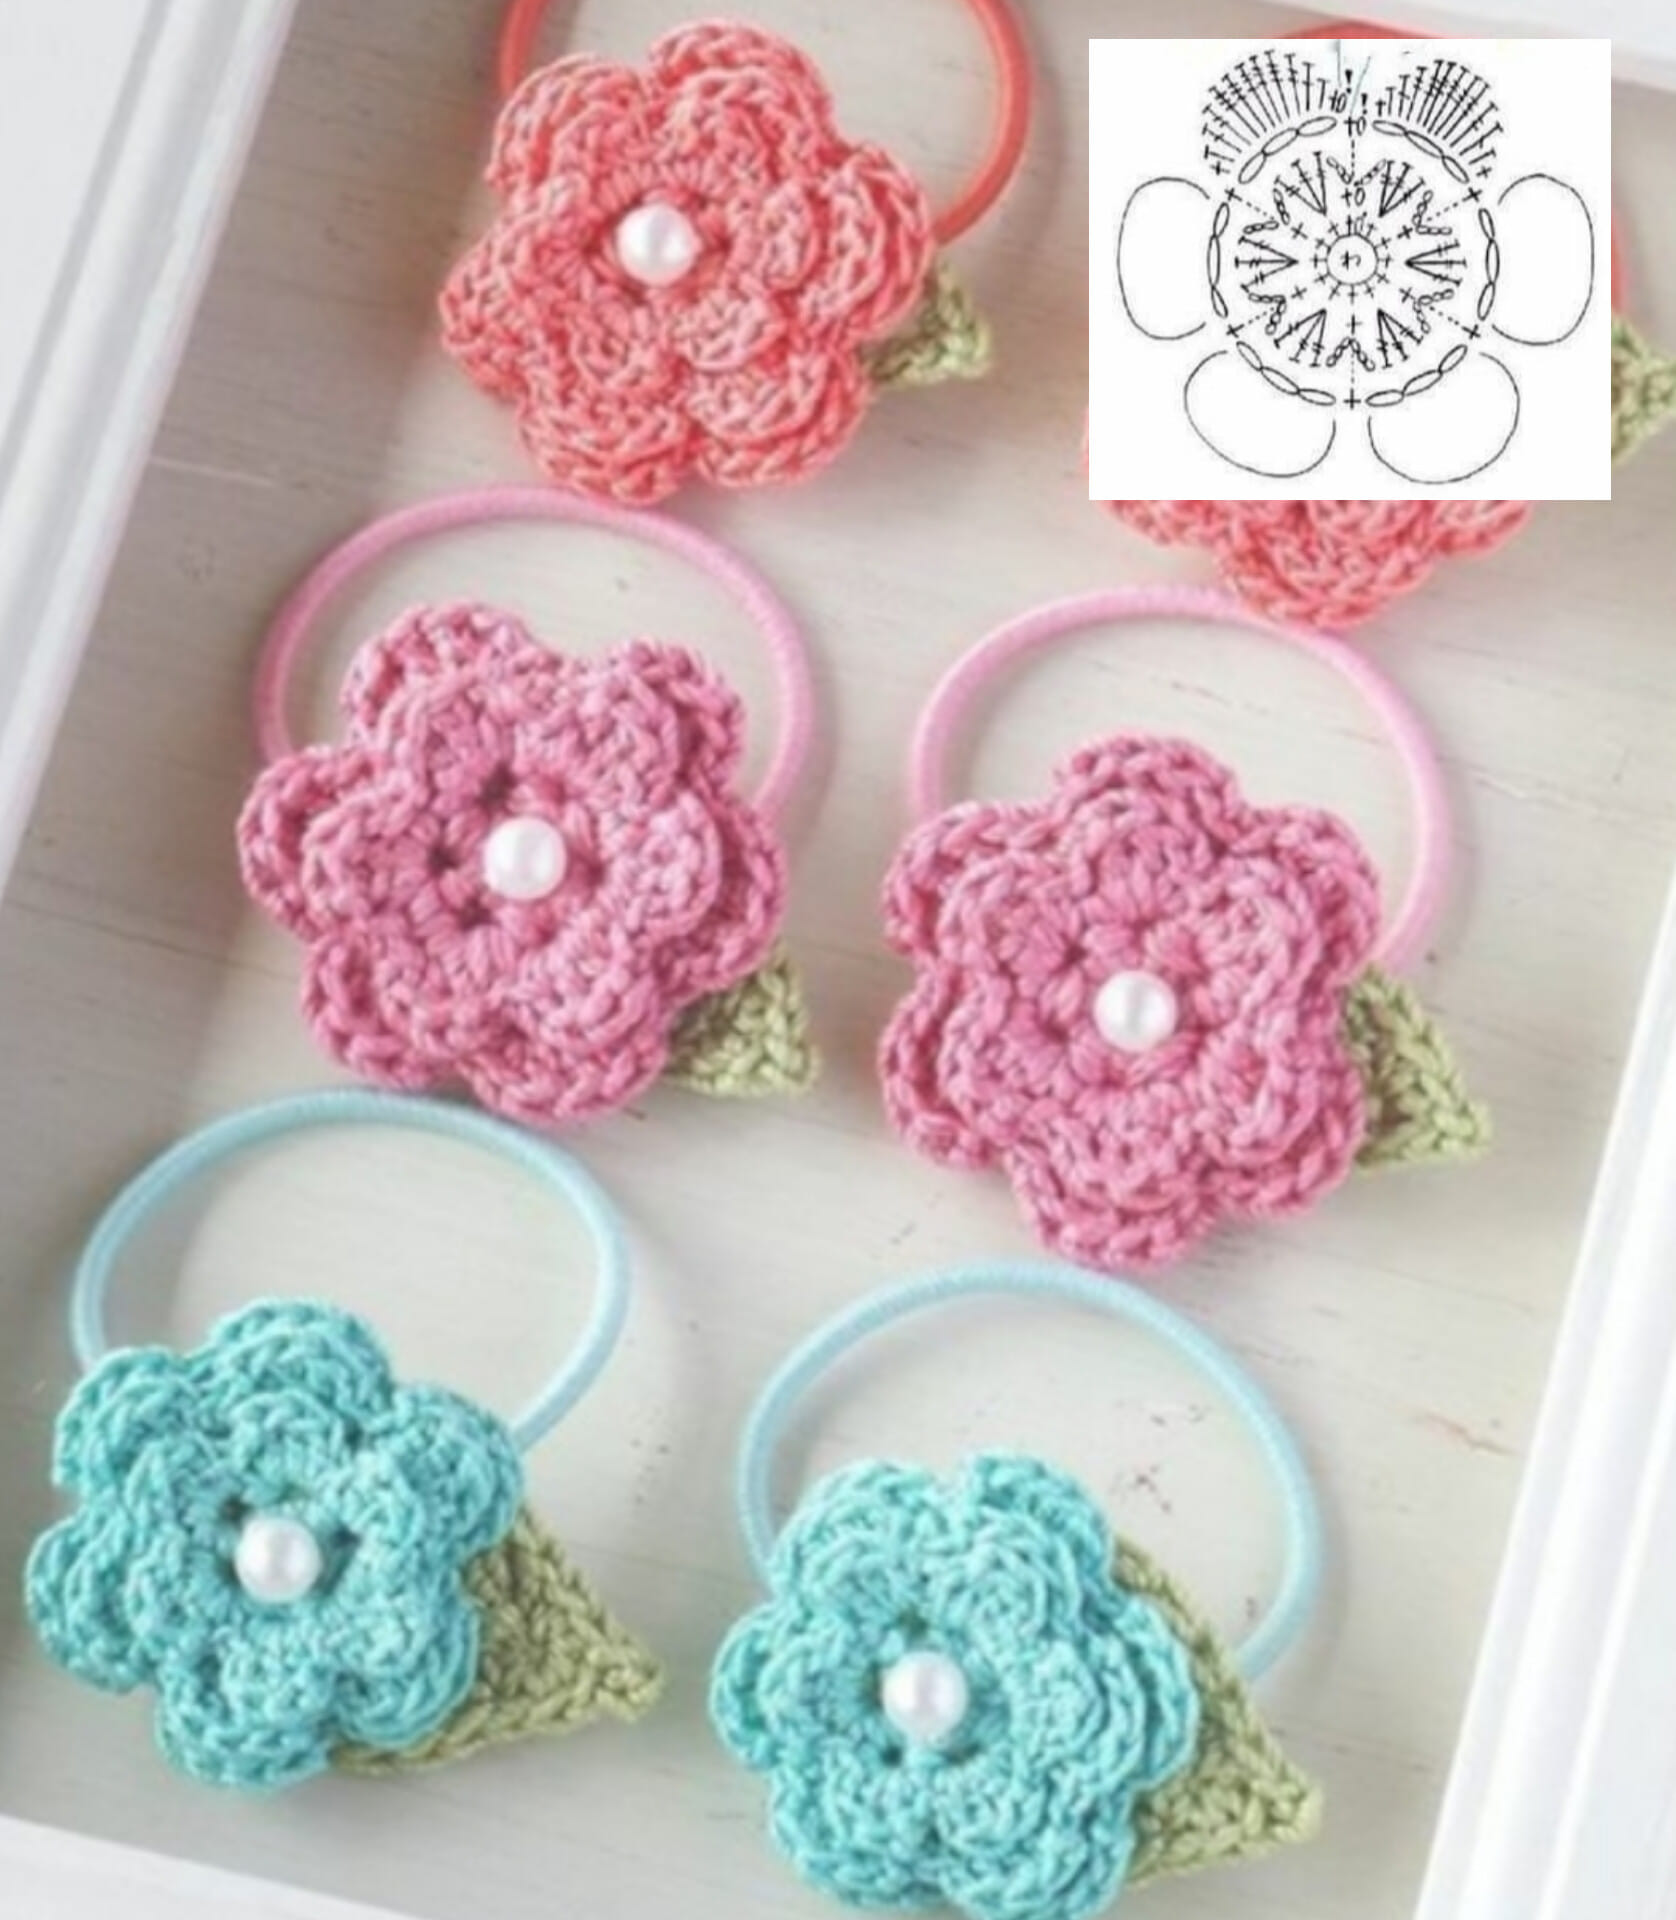
Source: ne.me
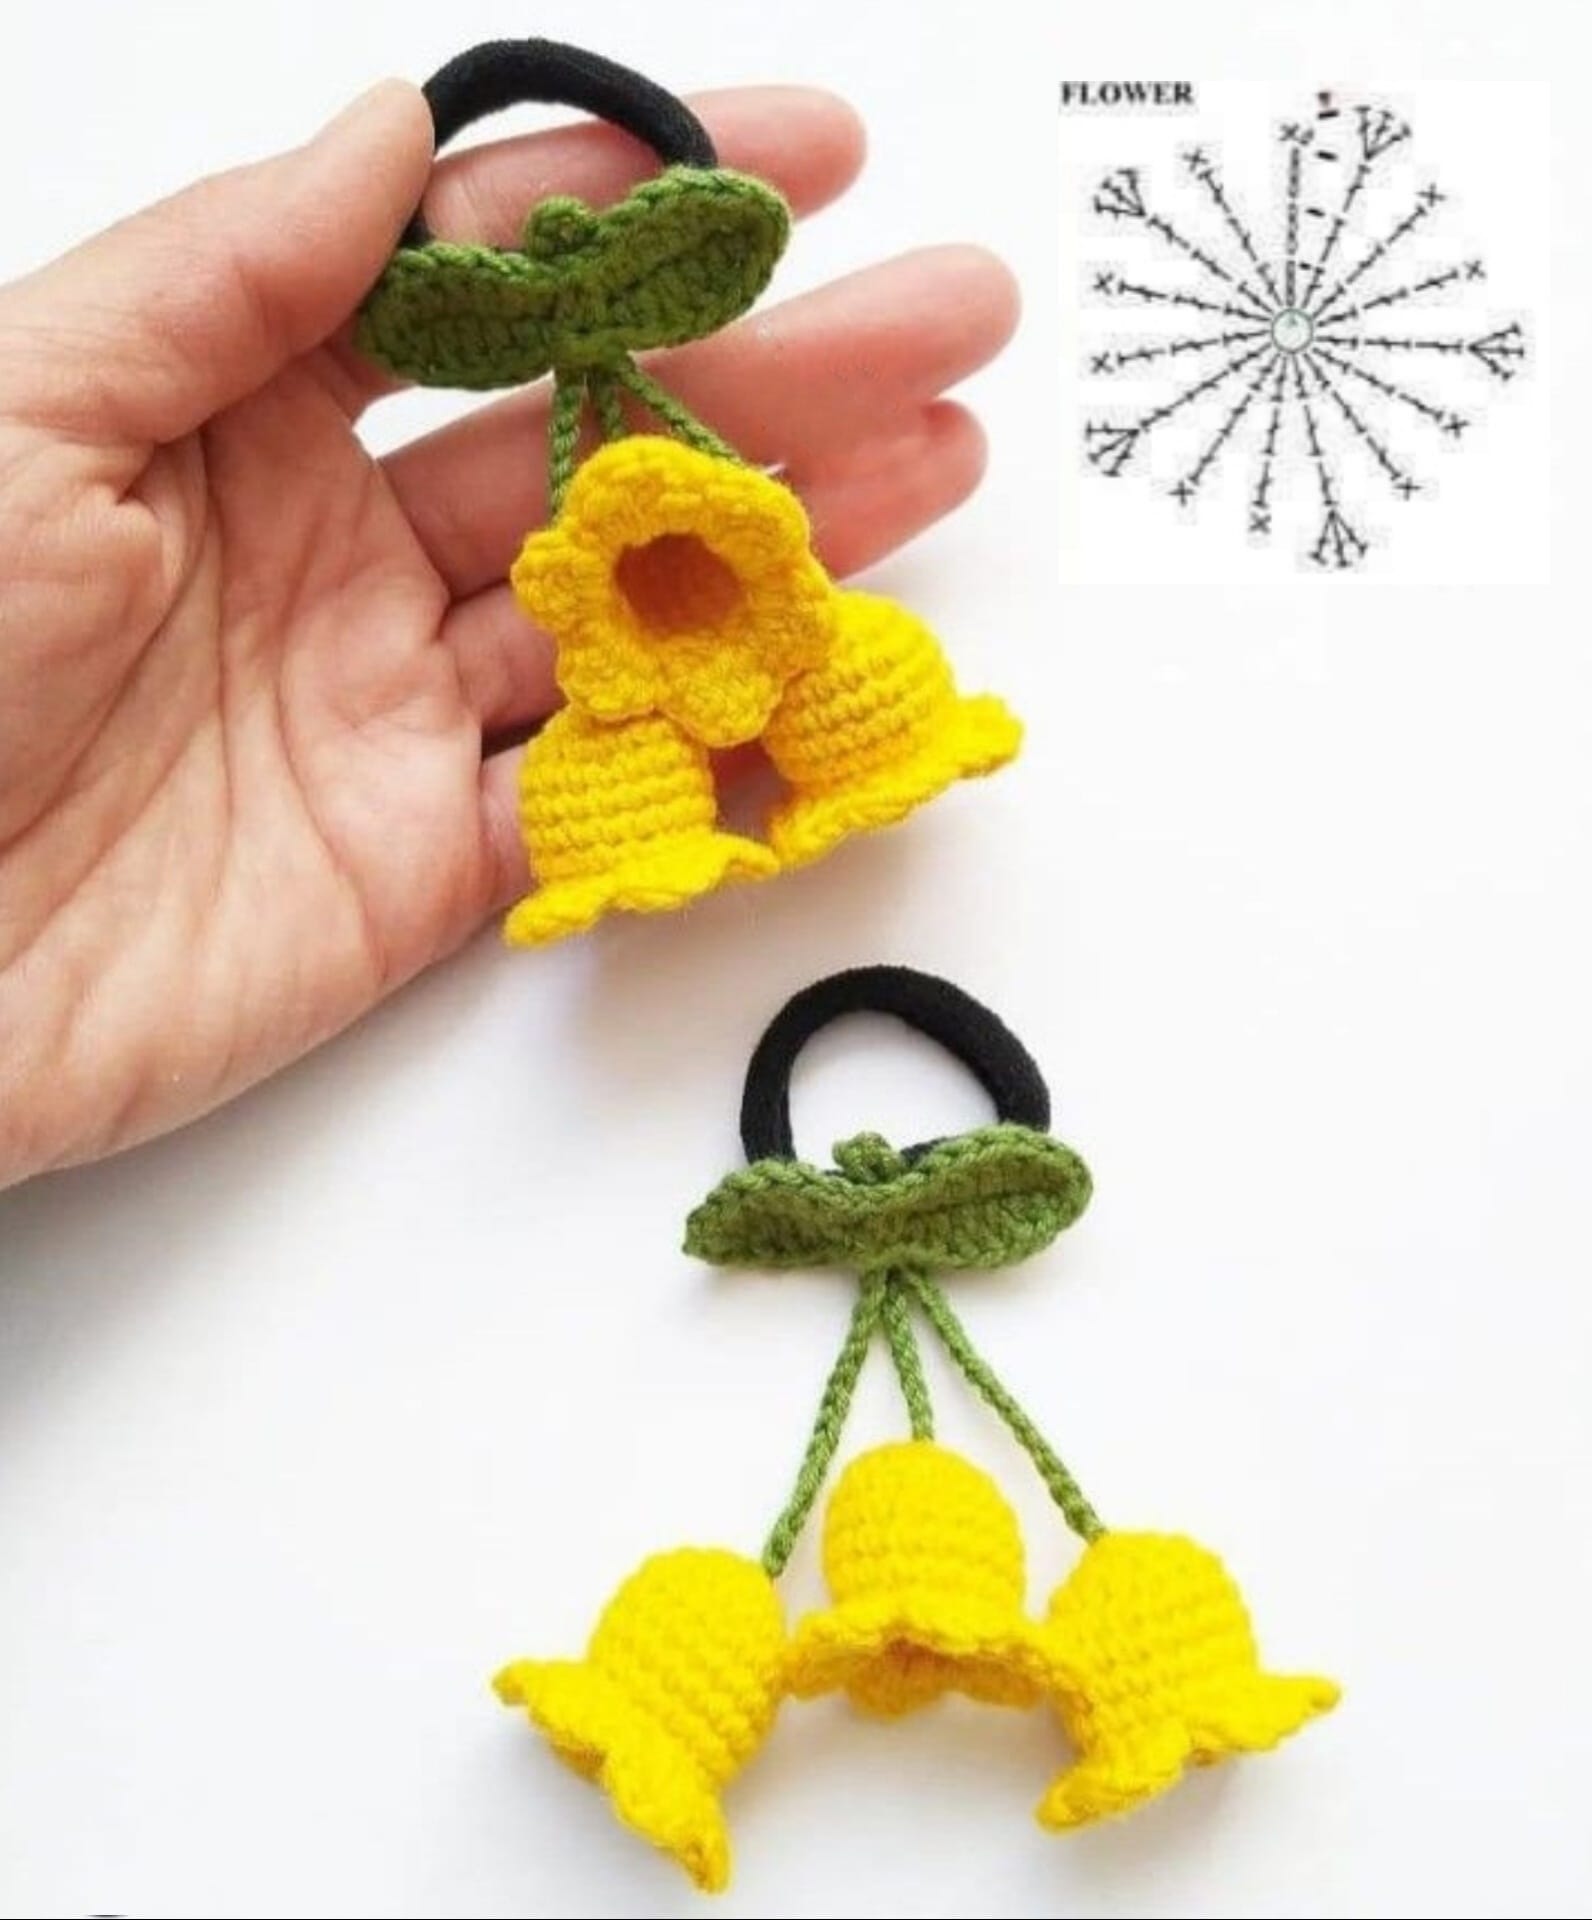
From Pinterest
Step-by-Step Guide
Step 1: Start with a Slip Knot
Begin by creating a slip knot on your crochet hook. This is the foundation of your crochet hair tie.
Step 2: Single Crochet Around the Elastic
- Insert your hook into the center of the hair elastic.
- Yarn over and pull through the elastic to create your first stitch.
- Continue to single crochet around the entire elastic until it's fully covered.
Step 3: Add Decorative Edging
Once your elastic is covered, you can add a decorative edge to give it a unique flair. Here’s a simple scallop pattern:
- Chain 3.
- Skip the next stitch.
- Slip stitch into the following stitch.
- Repeat around the entire hair tie.
Step 4: Secure and Weave in Ends
After completing your decorative edge, cut the yarn, leaving a tail. Use a tapestry needle to weave in the ends securely.
Tips for Customization
- Color Variations: Use multiple colors to create stripes or patterns.
- Beads and Charms: Incorporate beads or charms for an added bohemian touch.
- Different Stitches: Experiment with different crochet stitches for a variety of textures.
Why Choose Crochet Hair Ties?
- Eco-Friendly: Reusable and made from natural materials.
- Customization: Tailor to your personal style and preferences.
- Durability: Handmade with love, ensuring longevity.
Make your own crochet hair ties with this easy guide. Explore colorful, stylish patterns to elevate your hair accessories and give them a unique handmade touch!
Discover how to create beautiful, eco-friendly crochet hair ties with our step-by-step guide. Perfect for beginners and experienced crafters alike. Click to learn more!
By following this guide, you’ll not only craft a beautiful accessory but also immerse yourself in a therapeutic and rewarding hobby. Happy crocheting!
CHECK MORE CROCHET PATTERNS