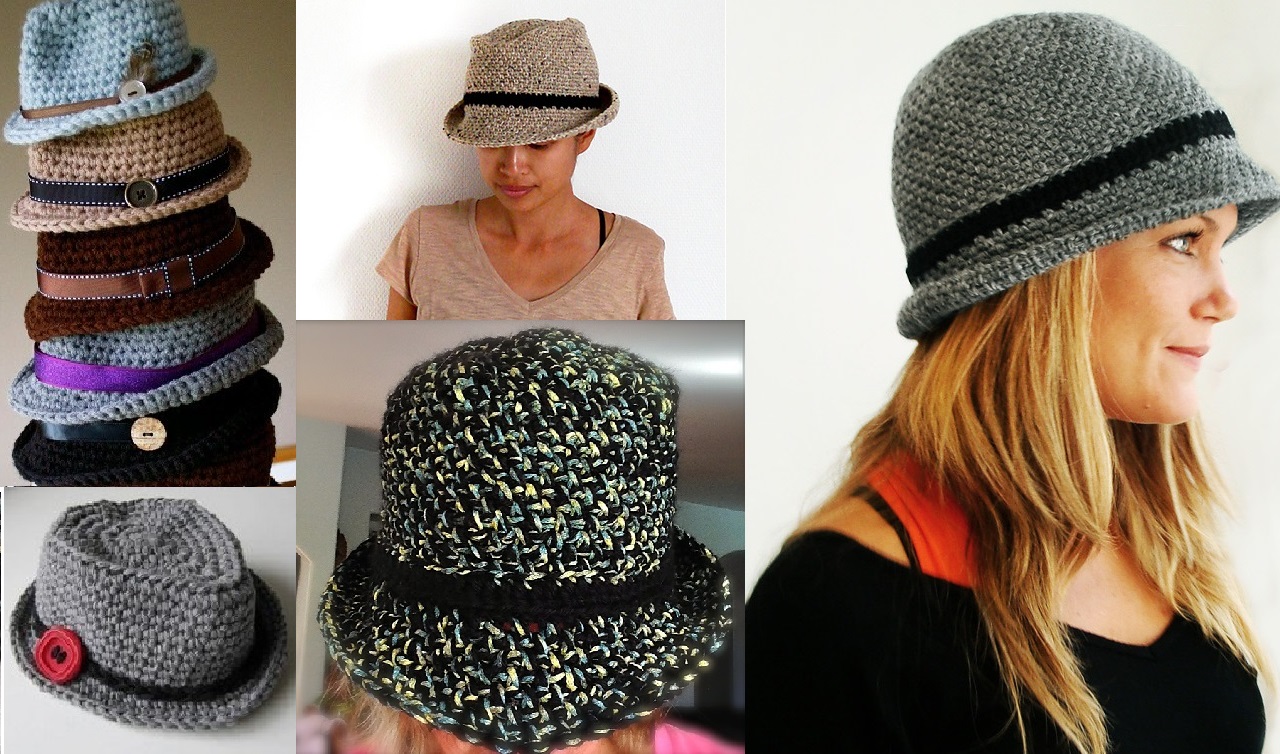
How To Crochet Novi Hat (FREE PATTERN + VIDEO)

Looking for a unique, cozy hat to keep you warm this winter? The Novi Hat is the perfect crochet project that combines style and functionality.
This beautiful hat is a great way to showcase your crochet skills while creating a winter accessory that stands out.
In this guide, we’ll take you through the steps of how to crochet the Novi Hat, provide customization ideas, and explore how to style it for the cold months.
How To Crochet Novi Hat
Well today we want to show you how to crochet Novi ( Fedora) hat. This beautiful and amazing hat will also cover your ears and so thats why this hat is useful too.
We have searched for you Pattern and video tutorial to crochet easily and perfect one. You can choose any color and make as you like of course, because it will be your hat and we hope this hat will become your favorite one.

Enjoy and make present for you or for your close people. Good Luck.
Click Here For Novi Hat Pattern (PDF)
Materials Needed for the Novi Hat
To crochet the Novi Hat, you’ll need the following materials
:
- Yarn: Worsted weight yarn (size 4) works well for this pattern. Choose a soft, warm fiber like wool or acrylic.
- Crochet Hook: Use a 5.5mm (I-9) hook for a snug and cozy fit.
- Tapestry Needle: For weaving in ends.
- Scissors: For cutting yarn.
- Optional: A faux fur pom-pom or yarn pom-pom for decoration.
Step-by-Step Guide to Crochet the Novi Hat
Step 1: Create the Band
The Novi Hat starts with a ribbed band that adds structure and elasticity to the hat.
- Foundation Chain: Begin by chaining 10 (or more, depending on how wide you want the brim of the hat to be).
- Row 1: Single crochet (sc) in the second chain from the hook and in each chain across. Turn your work.
- Row 2: Chain 1, single crochet in the back loops only (BLO) across the row. This creates the ribbed texture for the band. Turn your work.
- Repeat: Continue crocheting rows of single crochet in the back loops only until the band fits comfortably around your head. The band should stretch slightly to ensure a snug fit.
- Join the Band: Once the band reaches the desired length, slip stitch the two ends together to form a ring. This will be the base of your hat.
Step 2: Start the Body of the Hat
- Set-Up Round: Chain 1, work single crochets evenly around the top edge of the band. The number of stitches should be a multiple of 4 to maintain the pattern. Slip stitch to join the round.
- Round 1: Begin the texture pattern by chaining 2. Work half-double crochets (hdc) into each stitch around. Slip stitch to join.
- Round 2 (Texture Round): Chain 1, and alternate between front post double crochet (fpdc) and back post double crochet (bpdc) around the hat. This creates the textured ribbed effect. Slip stitch to join.
- Continue the Pattern: Repeat the textured pattern for several rounds, alternating between fpdc and bpdc stitches to build the body of the hat. Continue until the hat reaches the desired length, usually around 7-8 inches from the band.
"The unique texture of the Novi Hat comes from the combination of front and back post stitches, giving it a cozy, ribbed appearance that stands out in the crowd."
Step 3: Shape the Crown
- Decrease Rounds: To shape the top of the hat, begin decreasing the number of stitches in each round.
- Round 1: Chain 2, and work 1 hdc in the next 2 stitches, then hdc2tog (half-double crochet 2 together) in the next stitch. Repeat around the hat.
- Round 2: Work 1 hdc in the next stitch, hdc2tog in the following stitch. Continue around.
- Continue Decreasing: Keep decreasing until only a few stitches remain at the top of the hat. Fasten off, leaving a long tail.
- Close the Top: Thread the yarn tail through a tapestry needle and weave it through the remaining stitches. Pull tightly to close the top of the hat. Secure the yarn and weave in any loose ends.
Step 4: Add the Pom-Pom (Optional)
- Attach a Pom-Pom: If you’d like, attach a faux fur pom-pom or make a yarn pom-pom to sew onto the top of the hat for extra flair.
- Secure the Pom-Pom: Use your tapestry needle to securely sew the pom-pom onto the top of the hat. Weave in all remaining ends.
CHECK MORE CROCHET PATTERNS