Crochet Interlaced Petals Flower: A Crafty Delight
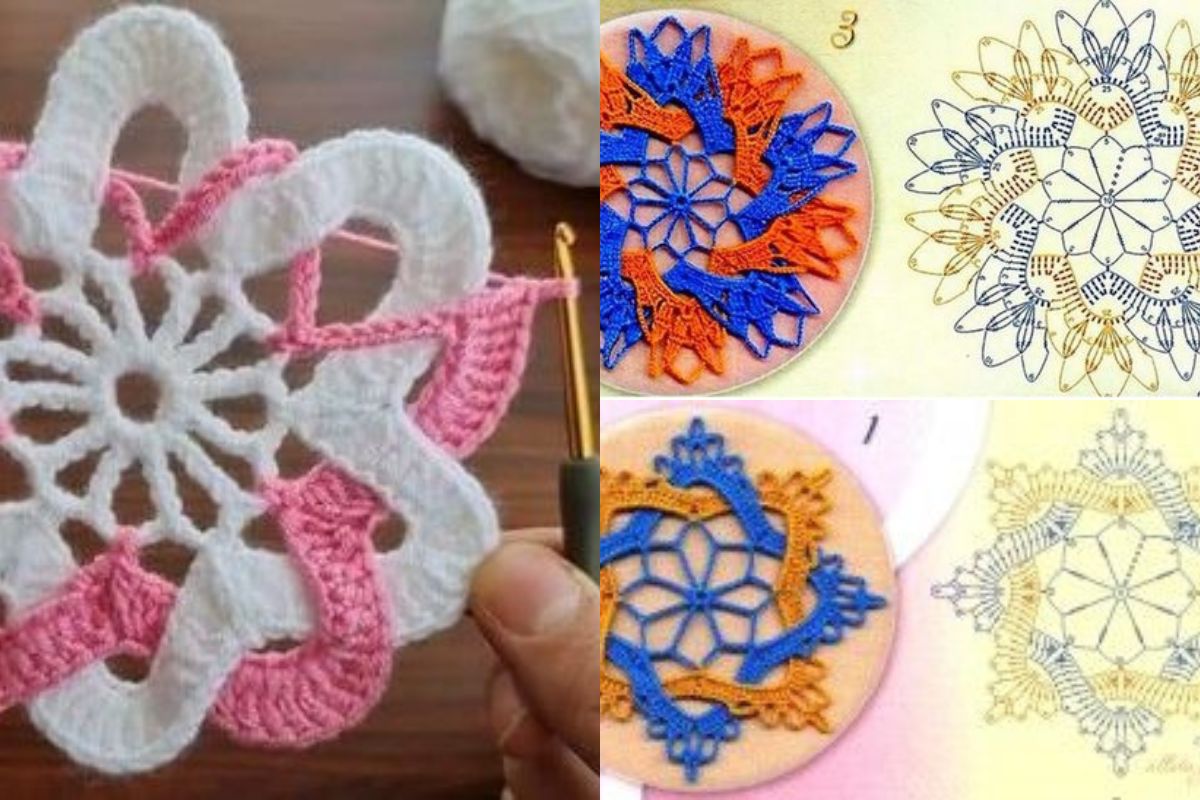
Explore the world of yarn crafts with our beautiful Crochet Interlaced Petals Flower.
It combines traditional Mexican embroidery with vibrant style. Made with Stylecraft Classique cotton yarn, it features bright colors and clear stitch definition.
We tried many times to perfect the crochet technique. This project is perfect for both experienced crocheters and beginners, offering a fun challenge to make something unique.
Interlaced Petals Technique
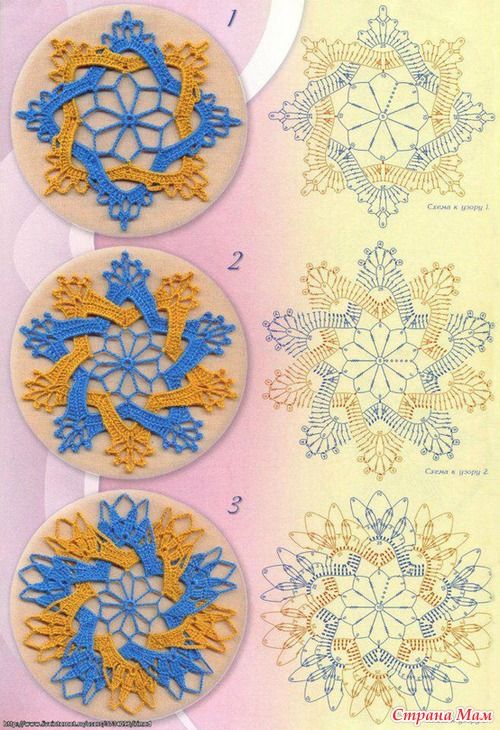
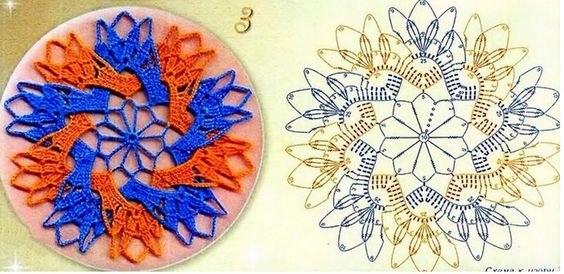
The Interlaced Petals technique is a captivating crochet method perfect for DIY projects and needlework hobbies. It creates stunning decorative accents inspired by vibrant Mexican art. Crafters can produce intricate designs that bring a touch of cultural flair to any space.
Origins of the Interlaced Petals Design
This eye-catching technique draws inspiration from Frida Kahlo's colorful costumes and floral paintings. It mimics traditional Mexican embroidery, featuring bright shades against dark backgrounds. These elements combine to create striking crochet pieces that serve as beautiful decorative accents in any home.
Materials Needed for This Project
To start your interlaced petals crochet project, gather Stylecraft Classique cotton yarn and appropriate crochet hooks. These materials allow you to create intricate designs with ease. The cotton yarn provides the perfect texture for crafting delicate, flower-like patterns that stand out in your needlework hobbies.
Skill Level and Time Investment
This project suits intermediate to advanced crocheters looking to expand their DIY projects repertoire. The difficulty increases as you progress, making it an engaging challenge. While time investment varies, the resulting decorative accents are well worth the effort, showcasing your needlework skills through stunning intricate designs.


Source: ana-fiosdearte.blogspot.com
From: coloresynudosblog.wordpress.com
From: ukinok.blogspot.com
Materials You'll Need
Before you start your Crochet Interlaced Petals Flower, gather these materials:
- Yarn: Choose a medium-weight yarn (or lighter for a more delicate flower).
- Crochet Hook: A 4.0 mm (G/6) hook is recommended, but you can adjust based on your yarn.
- Scissors: For cutting yarn ends.
- Tapestry Needle: To weave in loose ends and assemble the flower if needed.
- Stitch Markers (optional): Useful for keeping track of rounds.
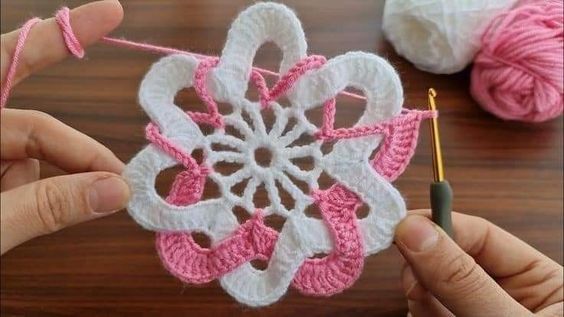
Crochet Interlaced Petals Flower
1. Begin with a Magic Ring
The magic ring (or magic circle) creates a tight, seamless center for your flower:
- Wrap the yarn around your fingers to form a loop.
- Insert the hook into the loop, yarn over, and pull through.
- Chain 2 (this counts as your first double crochet) and prepare for the first round.
2. First Round: The Foundation
In this round, we’ll create the foundation for the flower by working into the magic ring.
- Chain 2 (this counts as the first double crochet).
- Work 11 double crochets (DC) into the magic ring.
- Pull the yarn tail to close the ring tightly.
- Slip stitch to the top of the chain-2 to close the round. You should now have 12 stitches.
3. Second Round: The Petal Bases
Now we’ll create the bases for the interlaced petals, which will lay the groundwork for their weaving.
- Chain 3 (this counts as the first treble crochet).
- In the same stitch, work 2 treble crochets (TR), creating the first petal base.
- Chain 1 and skip the next stitch.
- Work 3 treble crochets in the following stitch.
- Chain 1, skip 1 stitch, and repeat the pattern of 3 treble crochets, chain 1 until you complete the round.
- Slip stitch to join. You should have 6 petal bases evenly spaced around the flower.
4. Third Round: Forming the Petals
Now that you have your bases, it’s time to create the beautiful, flowing petals that interlace:
- Chain 4, work 5 double crochets (DC) into the same chain-1 space from the previous round.
- Chain 4 again, and slip stitch into the next chain-1 space.
- Repeat this process of 5 DCs into each chain-1 space, followed by Chain 4, slip stitching into the next space until you finish the round.
At the end of this round, you will have 6 petals forming the outer layer of the flower.
5. Weaving the Petals
Here’s where the magic happens—the interlacing! In this step, we’ll carefully interlace the petals to give them that beautiful overlapping effect:
- Starting with the first petal, gently pull it over the second petal and then under the third.
- Continue weaving the petals in this over-under fashion until all the petals are interlaced.
This weaving effect creates an intricate, textured flower with overlapping petals that looks both elegant and dynamic.
6. Finishing the Flower
Once you’ve finished weaving your petals, it’s time to finish your flower and give it a polished look:
- Fasten off the yarn, leaving a tail long enough to sew the flower onto your project.
- Use a tapestry needle to weave in any loose ends or to secure the petals in place.
- If you want your flower to have a more secure structure, you can block it lightly by dampening it and pinning it down until it dries.

Crochet Interlaced Petals Flower: Step-by-Step Guide
Ready to make a stunning Crochet Interlaced Petals Flower? This project mixes classic crochet with a fresh floral pattern. Follow this guide from start to finish.
Creating the Flower Center
Begin with a small cosmos flower at the center. This is the base of your design. Keep your stitches even and your tension steady. This central piece is key for the intricate petals to follow.
Forming the Interlaced Petals
Now, the magic happens! Work behind the petals for that amazing interlaced look. Each round adds to the flower's shape. Make sure to keep track of stitch counts and measurements. Aim for a final size of about 19.5cm at its widest.
Adding Finishing Touches
As you finish, focus on the details. Smooth out any rough edges and make sure all petals are neatly interlaced. This pattern is a great way to show off your crochet skills. Happy crocheting!
CHECK MORE CROCHET PATTERNS