Crochet Olive Branches: A Beautiful and Symbolic Craft Idea
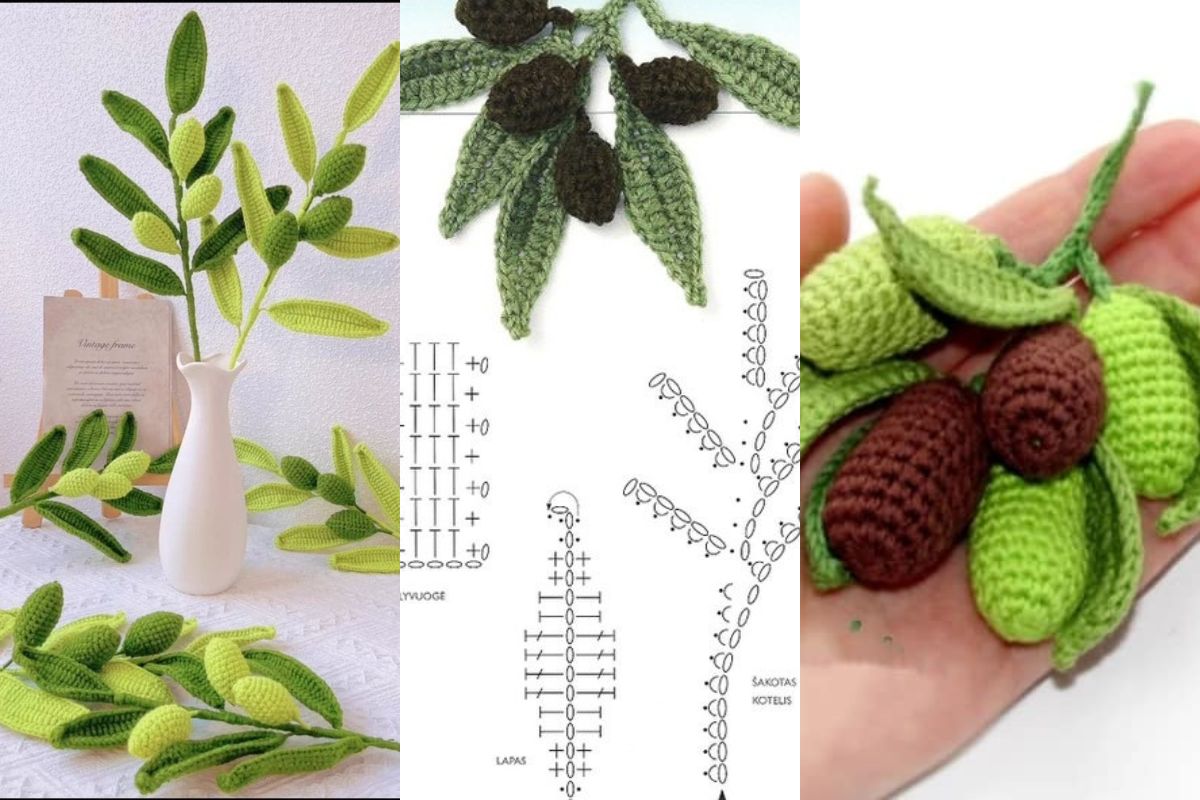
Crocheting olive branches is not only a creative project, but it also holds symbolic significance. The olive branch has been a symbol of peace, unity, and hope for centuries. By incorporating it into crochet, you can create a beautiful and meaningful piece of art that can be used for decorations, gifts, or even as a symbol of solidarity in your home.
In this article, we will dive into the art of crocheting olive branches, exploring different techniques, designs, and how you can incorporate this beautiful element into your crochet projects.
Whether you're a beginner or an experienced crocheter, these olive branch crochet patterns will inspire you to create something both visually appealing and meaningful.
Crochet Olive Branches
The olive branch is often associated with peace, friendship, and healing. It is mentioned in numerous cultural and religious texts and has deep roots in Mediterranean traditions. Crocheting this symbol brings a modern touch to an ancient icon and allows you to craft your own version of this symbol of peace.
Materials Needed to Crochet Olive Branches
Before you begin, it's essential to gather the right materials. The basic tools and supplies for crocheting olive branches are simple and accessible.
Materials List:
- Yarn: Choose green yarn for the leaves, brown or gray for the stems, and optionally, white or golden for highlighting or decorative touches.
- Crochet Hook: Use a crochet hook that matches your yarn weight. Typically, a 4mm to 5mm hook is suitable for most yarn types.
- Tapestry Needle: For sewing and attaching elements together.
- Scissors: For trimming ends.
- Beads or Small Stones (optional): For adding texture or embellishments.
- Fiberfill: If you want to add volume or padding to the branches.
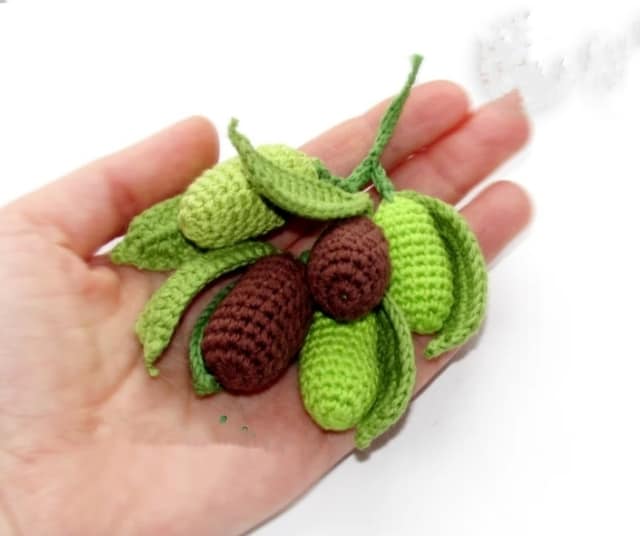
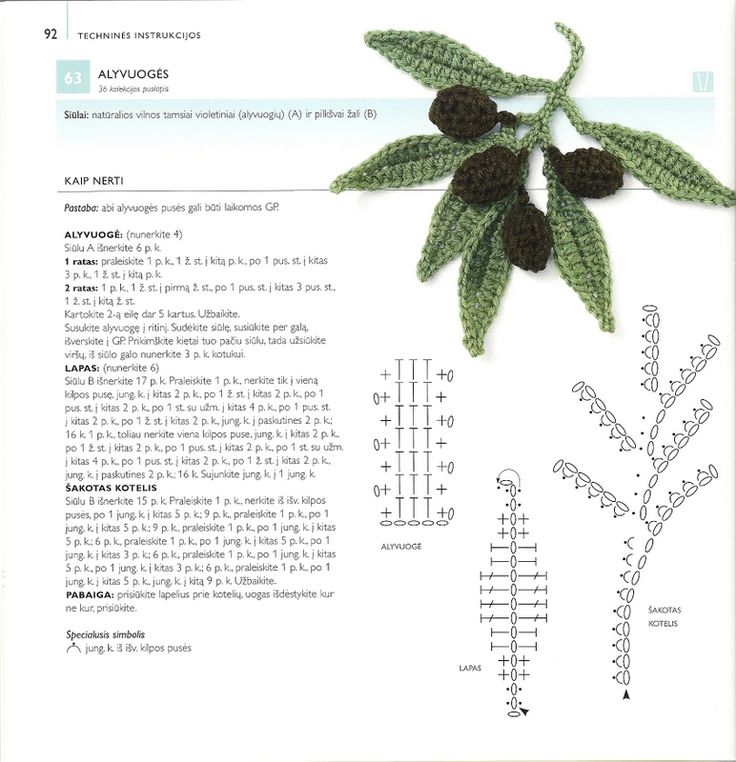
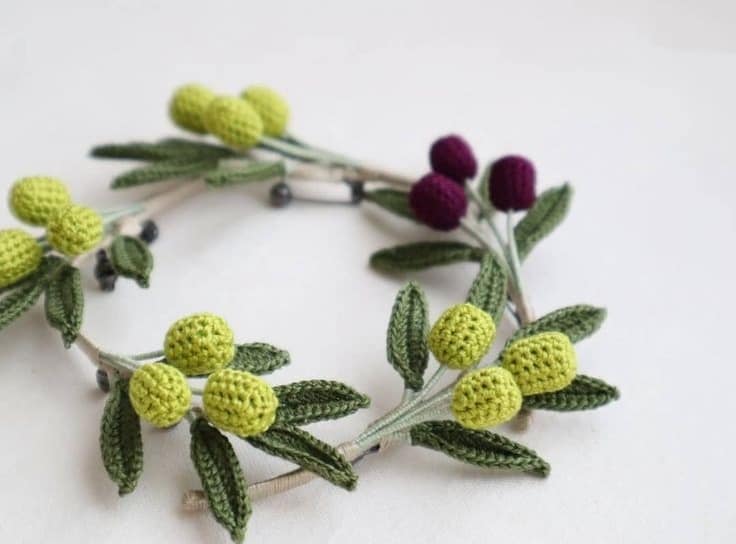

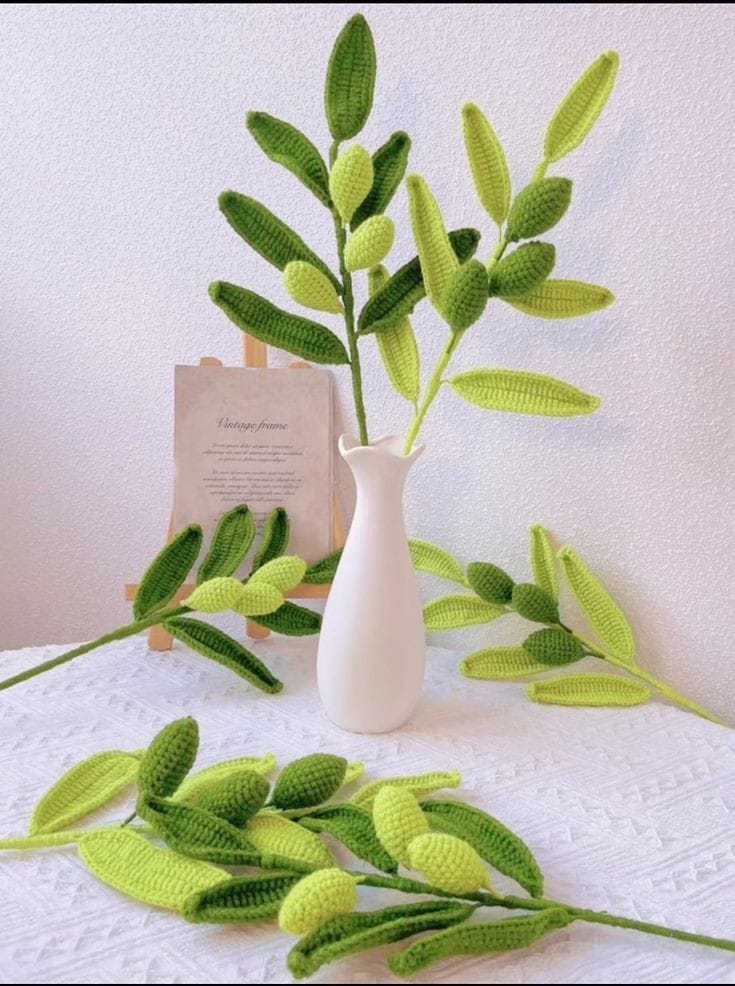
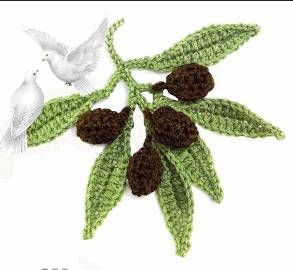
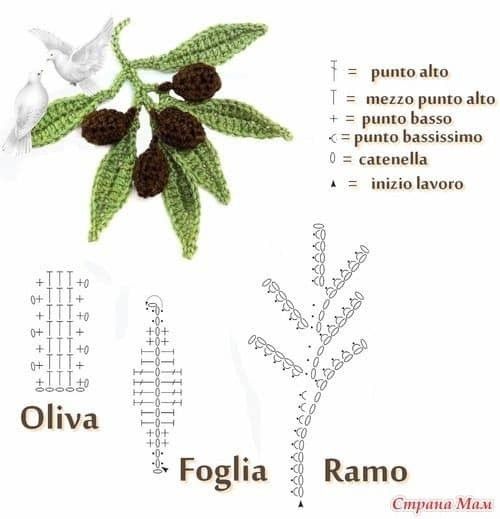
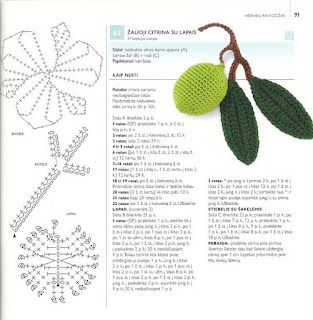
Step-by-Step Guide to Crocheting Olive Branches
Creating crochet olive branches can be a fun and rewarding project. Below is a basic step-by-step guide to get you started on crafting your olive branch. You can customize the design by changing the colors or adding more leaves and branches to make it as intricate as you wish.
Step 1: Crocheting the Olive Leaves
To start, you will need to crochet the olive leaves. These leaves are simple to make and can be done in a short amount of time.
Instructions for Leaves:
- Start with a slip knot on your crochet hook and chain 6 stitches.
- Turn the work and crochet into the second chain from the hook with a single crochet (sc).
- Continue with single crochet for the remaining 4 chains.
- To create the leaf's pointed end, chain 2 and turn your work.
- In the next row, crochet into the first stitch, then crochet 2 single crochets in the next stitch, and finish with single crochet across to the end.
- Repeat these steps to create as many leaves as you want for your branch. Typically, 6-8 leaves are ideal for each branch.
Once your leaves are finished, you can use a tapestry needle to sew the yarn ends and weave in any loose strands.
Step 2: Crocheting the Olive Branch Stem
The stem of your olive branch should be sturdy yet flexible. For this, a simple chain stitch works well.
Instructions for Stem:
- Chain 15-20 stitches, depending on how long you want your branch to be.
- In the second chain from the hook, crochet 1 single crochet into each stitch down the row.
- Once you reach the end, you can cut the yarn, leaving a long enough tail to attach the leaves.
- For a more structured branch, you can crochet several strands of stem and twist them together for added texture.
Step 3: Attaching the Leaves to the Stem
Once your leaves and stem are ready, it's time to assemble the olive branch.
Instructions for Assembly:
- Start by using your tapestry needle to sew the leaves onto the stem. Space them out evenly or cluster them towards one end, depending on the look you want.
- Attach the leaves with a few stitches, ensuring they are securely fastened.
- You can overlap some of the leaves for a more dense look or keep them spaced apart for a more airy feel.
- Optional: Use beads or small embellishments in the center of the leaves to add a touch of glamour.
Customizing Your Crochet Olive Branches
One of the best parts of crocheting olive branches is how customizable they are. You can make these branches to fit any decorative theme or occasion. Below are some ideas for personalizing your olive branches.
1. Add Flowers or Other Elements
- Incorporate tiny crocheted flowers such as daisies, roses, or lavender alongside your olive leaves to create a more lush and vibrant branch.
2. Use Multi-Colored Yarns
- Instead of sticking to traditional green leaves, try experimenting with different shades of green, or use golden yarn to create artificial olive branches for a more unique and festive look.
3. Create a Wreath
- Combine several crochet olive branches into a wreath for a stunning door or wall decoration. Add some ribbons or flowers to make it even more striking.
4. Add Beads for Texture
- Add small beads to the stems or leaves to enhance the branch's natural look or give it a more rustic, Mediterranean style.
Ideas for Displaying Your Crochet Olive Branches
Now that your olive branches are ready, let’s explore how to display them in your home or gift them to someone special.
1. Table Centerpiece
Place a crochet olive branch in a vase or a ceramic jar as part of your dining table centerpiece. This adds a rustic, calming touch to your dinner table and is perfect for special occasions like Thanksgiving or Easter.
2. Wall Art
Group several olive branches and create a wall hanging or framed piece. This can serve as a beautiful piece of home decor and a reminder of peace and serenity.
3. Gift Wrap
Use the olive branch as part of a gift wrapping design. Attach a small crochet olive branch to the top of a wrapped gift or use it as part of the bow to create a unique, thoughtful touch.
Crochet olive branches are a perfect project for those looking to create something beautiful and symbolic. Whether used as decorative pieces, gifts, or home accessories, these branches represent peace, love, and nature in a thoughtful and artistic way. Embrace the beauty of these natural symbols, and let your creativity flow as you crochet your own olive branches today!
CHECK MORE CROCHET PATTERNS