How to Crochet Wheat: A Simple and Elegant Craft for Your Projects
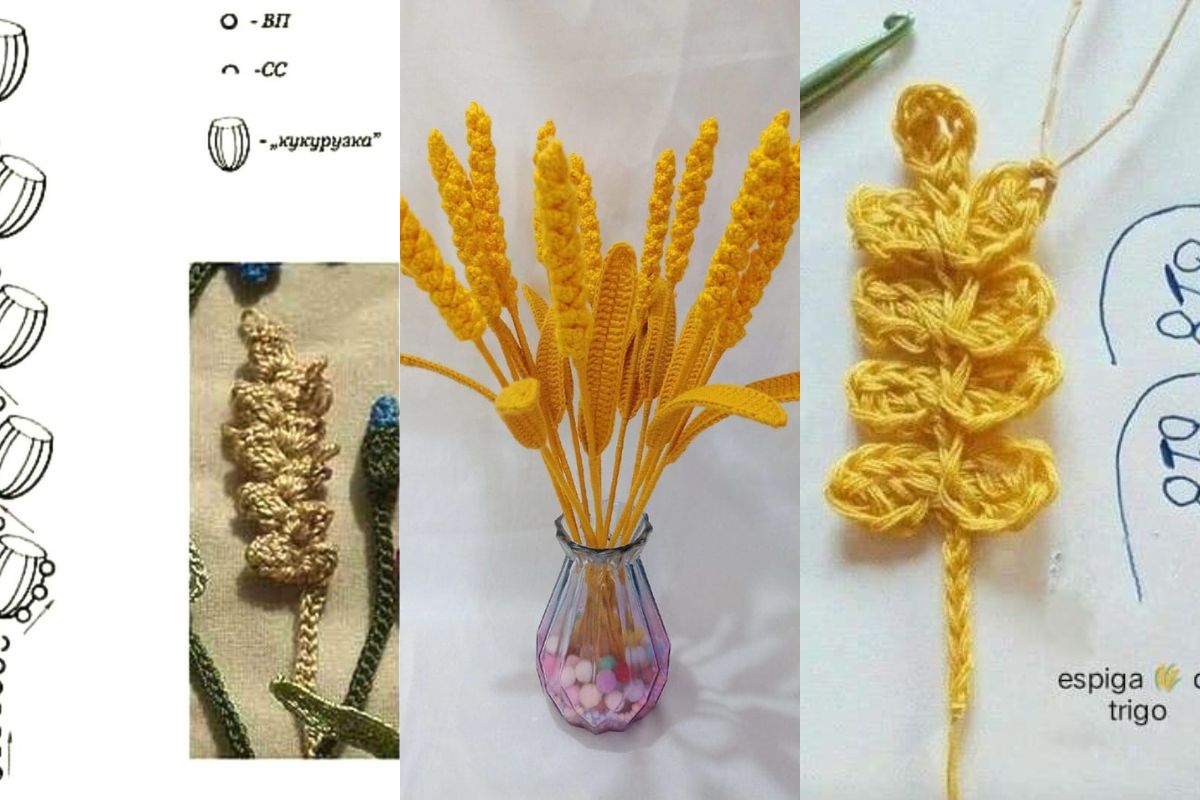
Crocheting wheat can add a unique and rustic touch to your crafting projects. Whether you’re decorating for fall, creating a Thanksgiving centerpiece, or just looking for a new project to enhance your crochet skills, making crochet wheat is a beautiful and creative way to bring nature into your designs.
In this article, we’ll explore the techniques and tips to crochet wheat in a simple yet elegant way, allowing you to incorporate this versatile motif into a variety of projects.
Crocheting wheat is a fantastic way to express creativity through nature-inspired designs. Here's why you should consider adding wheat stalks to your crochet projects:
Crocheting Wheat
Before you start crocheting wheat, it’s essential to gather the right materials. Below is a list of basic crochet supplies you’ll need to get started:
Essential Materials:
- Yarn: Choose a brown or beige yarn for the wheat stalks. You can also experiment with golden, yellow, or green hues for added variation.
- Crochet Hook: Use a medium-sized hook (around 4.0mm to 5.0mm) for the desired thickness of the wheat stalks.
- Scissors: To trim any excess yarn.
- Tapestry Needle: For weaving in loose ends.
- Floral Wire (optional): If you want to make the wheat more structured, you can use floral wire to give your wheat a firmer shape.

Optional Materials:
- Beads or buttons: To add extra detail to your wheat.
- Embroidery floss: For adding subtle details to the wheat stalks.
Step-by-Step Instructions for Crocheting Wheat
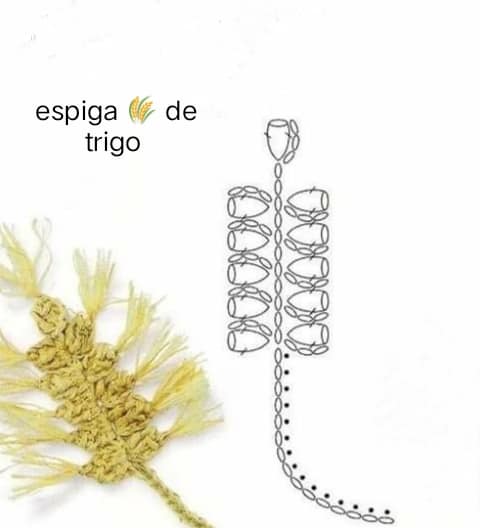
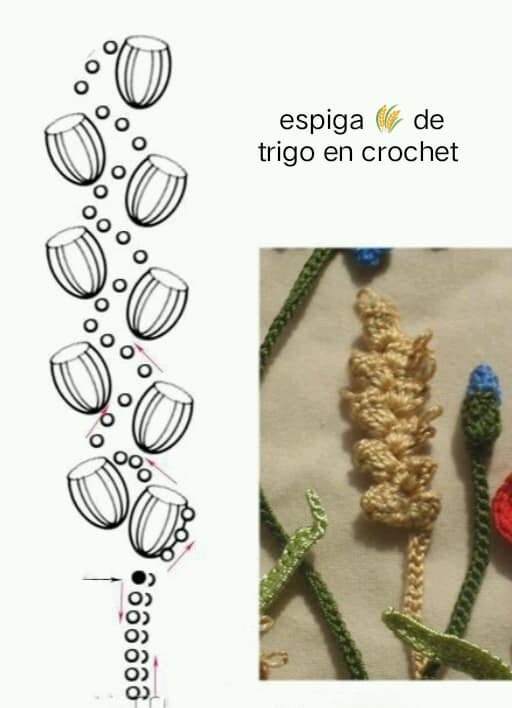
Follow these simple steps to crochet realistic wheat stalks. You can adjust the length and thickness of the wheat by changing the number of chains or stitches you use.
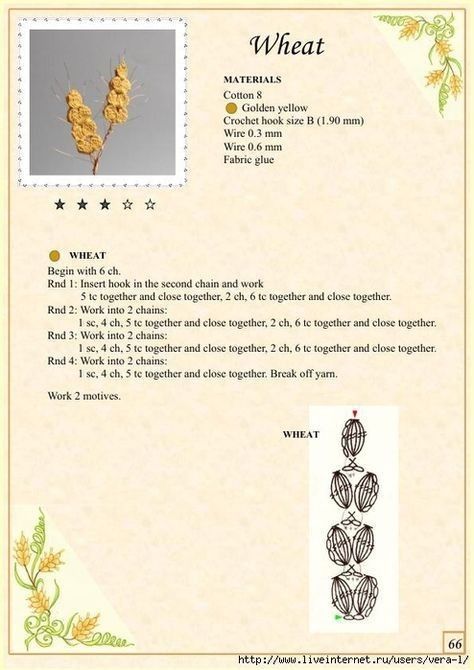
Step 1: Create the Foundation Chain
- Start with a foundation chain: Begin by creating a foundation chain of 15-20 chains. This will form the length of the wheat stalk.
Tip: For a more realistic effect, vary the length of each wheat stalk. Some can be longer or shorter to give a more natural, organic feel.
Step 2: Crochet the Stalks
- Single Crochet (SC): Start working single crochet stitches into each chain from the second chain from the hook. This will form the main body of the wheat stalk.
- Work in Rows: Continue with single crochet stitches until you reach the end of the foundation chain. At this point, you can adjust the number of rows for a thicker stalk.
Tip: If you want to add texture, alternate between single crochet and half-double crochet to create a thicker, more dimensional stalk.
Step 3: Add Texture to the Wheat
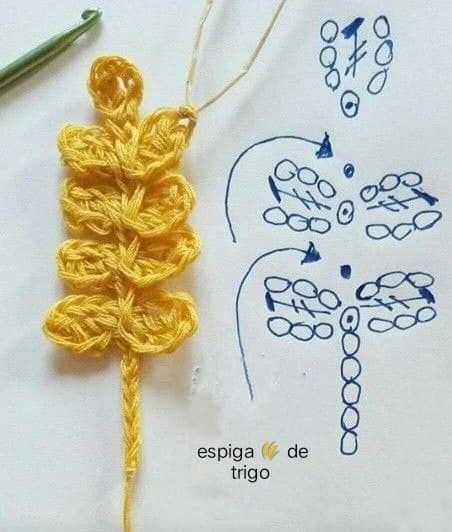
- Crochet the Husks: To create the husks of the wheat, crochet small loops or picots along the edges of the stalk. Use slip stitches to form little knots or loops that resemble the husks of wheat.
- Vary the Loop Sizes: To add variety, you can make the loops different sizes. Some can be small, while others can be slightly larger. This will mimic the natural look of wheat.
Alternative: You can also experiment with shell stitches to create a fuller look at the top of the wheat stalk, which will mimic the flower head of a real wheat plant.
Step 4: Secure and Shape the Wheat Stalk
- Fasten off: Once you are satisfied with the texture of your wheat stalk, fasten off the yarn and weave in the loose ends using a tapestry needle.
- Shape the Wheat: If you’re using floral wire, thread it through the base of the wheat stalk to give it extra structure and shape. This will allow your wheat to stand tall and maintain its form.
Tip: If you prefer a looser, more natural look, you can skip the floral wire and allow the wheat to drape gently.
Step 5: Assemble the Wheat Bundle
- Create a Bundle: You can make several wheat stalks of varying lengths and bundle them together. Use a ribbon or twine to tie the stalks together at the base.
- Decorate: For added embellishment, you can wrap the base with yarn, add beads, or even decorate with small flowers for a more colorful effect.
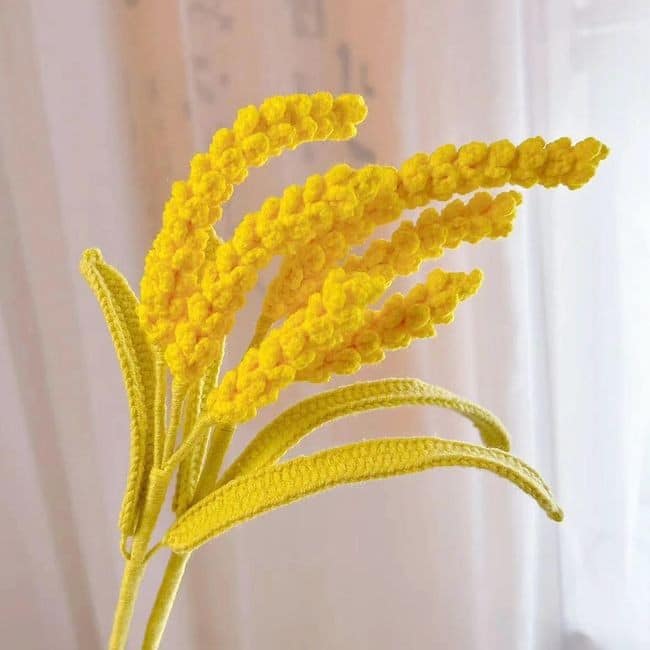
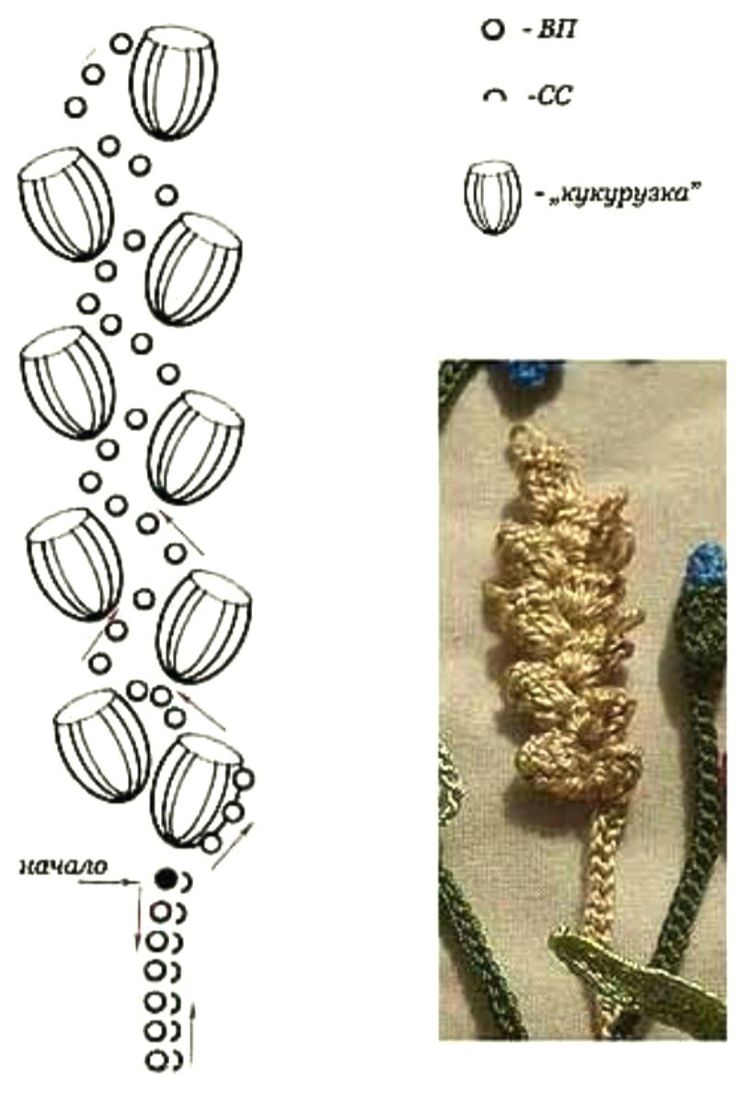
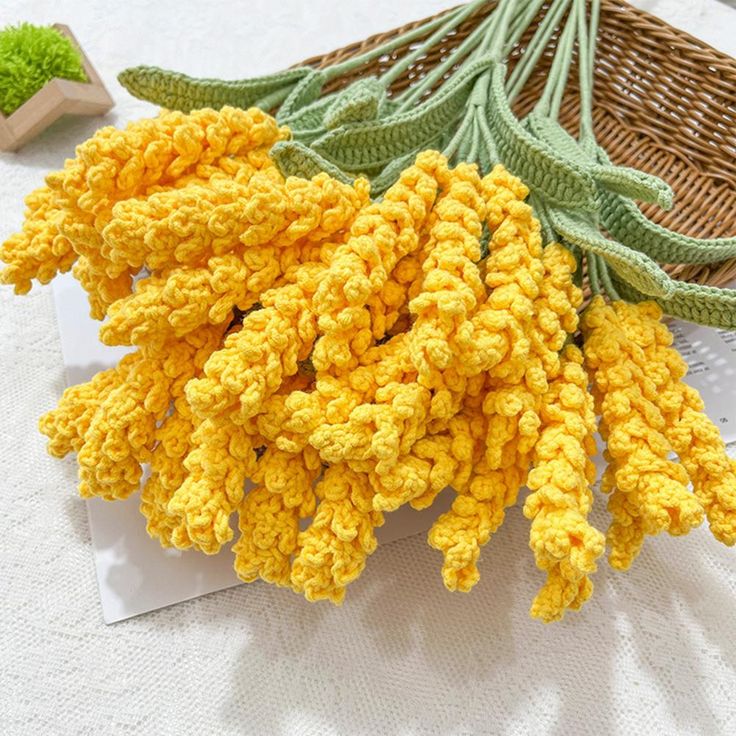
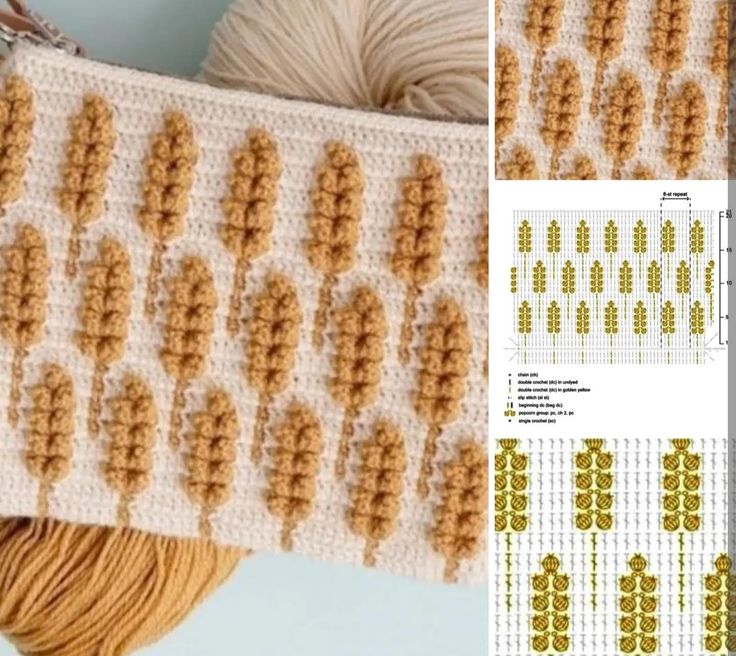
Creative Ideas for Using Crocheted Wheat
Once you've mastered the basic technique of crocheting wheat, you can incorporate it into a variety of projects. Here are some ideas to get you started:
1. Wheat Wreaths
Create a rustic wheat wreath for your door. Simply attach several stalks of crocheted wheat to a wreath form, using hot glue or floral wire to secure them. Add small decorative ribbons, dried flowers, or pine cones for extra charm.
2. Wheat Garland
A wheat garland is a lovely way to add a natural touch to your space. String multiple stalks of crocheted wheat together using a thin cord or twine and hang it over your mantel, on the wall, or around windows.
3. Table Centerpieces
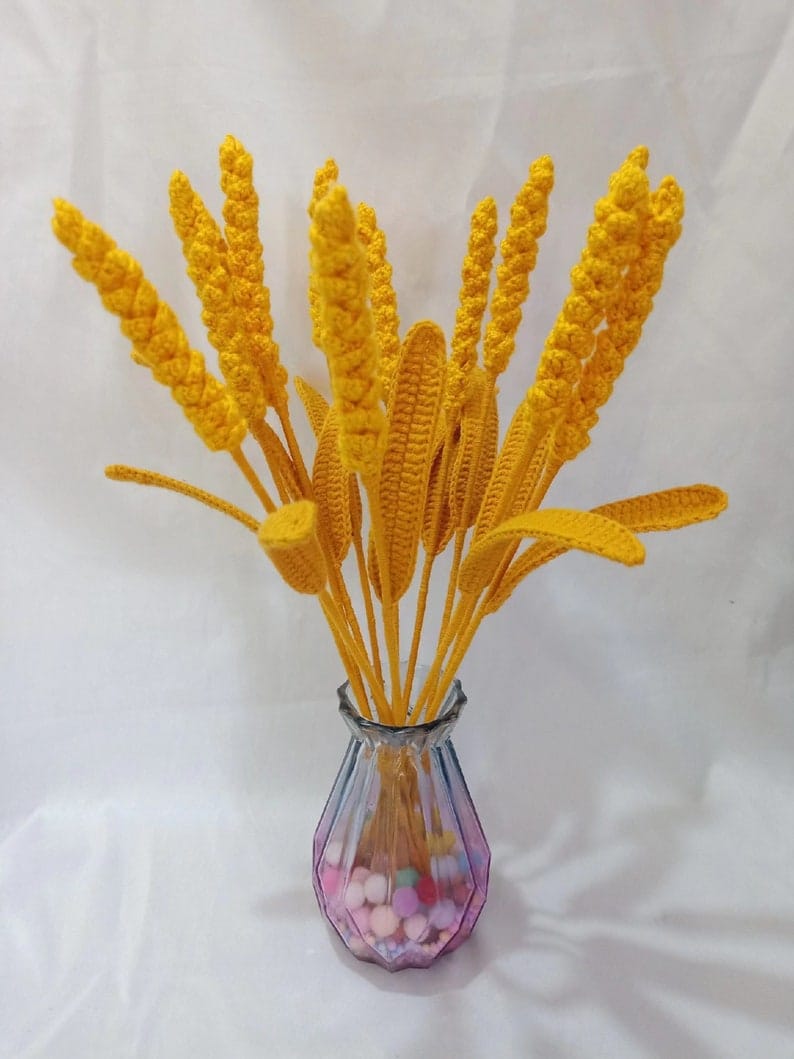
Use crocheted wheat as part of your Thanksgiving or harvest-themed centerpiece. Arrange several stalks in a vase or basket along with pumpkins, apples, or autumn leaves for a gorgeous seasonal display.
4. Wheat Ornaments
Crochet small wheat stalks and attach them to ribbons or hooks to create wheat ornaments for your holiday tree or to hang around your home.
5. Handmade Wheat Baskets
For a more detailed project, crochet miniature baskets and fill them with small wheat stalks. These could make adorable additions to your home decor or serve as handmade gifts.
Conclusion
Crocheting wheat is a simple yet elegant way to bring the beauty of nature into your crochet projects. Whether you're creating rustic wreaths, adding texture to your fall decor, or making giftable items, crocheted wheat adds a special touch that’s both creative and versatile. By following these basic steps and tips, you can create stunning wheat motifs that will elevate your crafting game.
CHECK MORE CROCHET PATTERNS