Crochet Clover Keychains: A Lucky DIY Accessory
Looking for a charming, handmade accessory that symbolizes luck and creativity?
Crochet clover keychains are the perfect blend of craftsmanship, elegance, and meaning. Whether you want to make them for St. Patrick’s Day, as a gift, or for personal use, these adorable keychains will bring a touch of magic wherever they go!
This detailed guide will teach you how to create your very own crochet clover keychains, covering everything from materials to step-by-step instructions and creative variations. Let's dive in!
Why Make Crochet Clover Keychains?
Crocheting clover keychains is a rewarding and therapeutic activity. Here’s why you should consider making them:
- Symbol of Good Luck – The four-leaf clover is believed to bring prosperity and fortune.
- Handmade Elegance – Nothing beats a unique, handcrafted accessory.
- Perfect for Gifts – Give them as personalized, thoughtful presents.
- Eco-Friendly & Sustainable – Made with yarn instead of plastic.
- Portable & Stylish – Attach them to keys, backpacks, or purses.

Materials You’ll Need
Before starting, gather these essential materials:
- Cotton yarn (green for the clover, but you can experiment with colors!)
- 2.5mm or 3mm crochet hook
- Keychain ring or lobster clasp
- Scissors
- Tapestry needle
- Stitch marker (optional)
- Beads or charms (optional for embellishment)
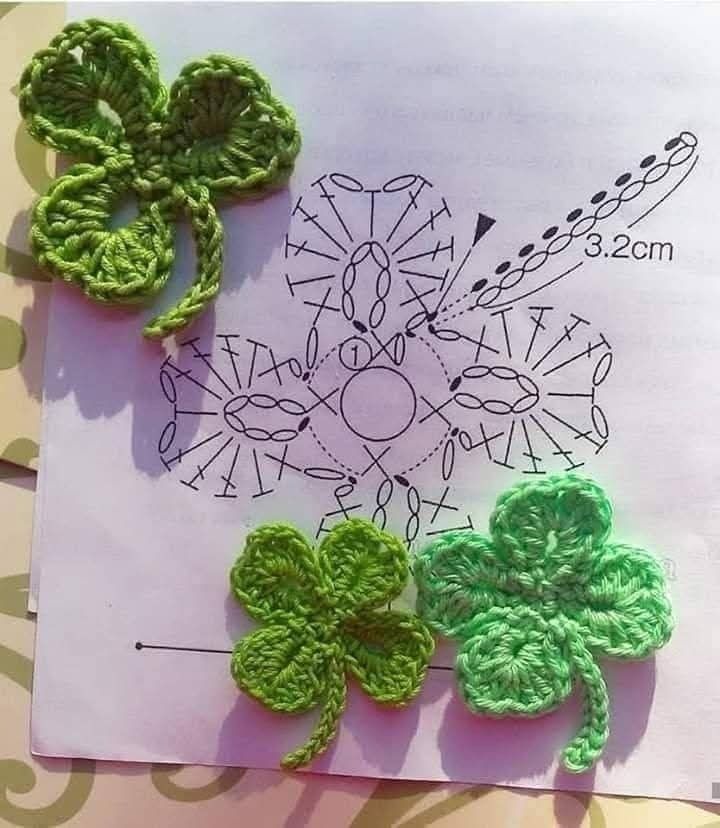
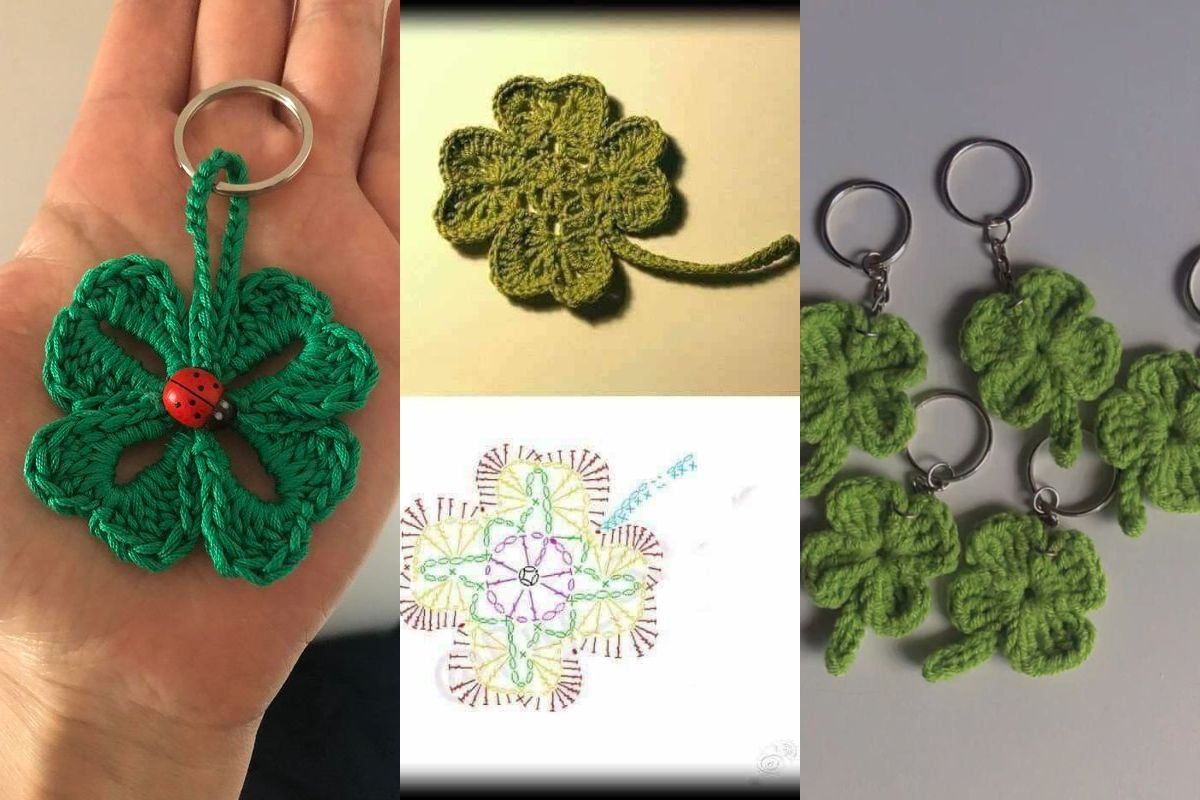
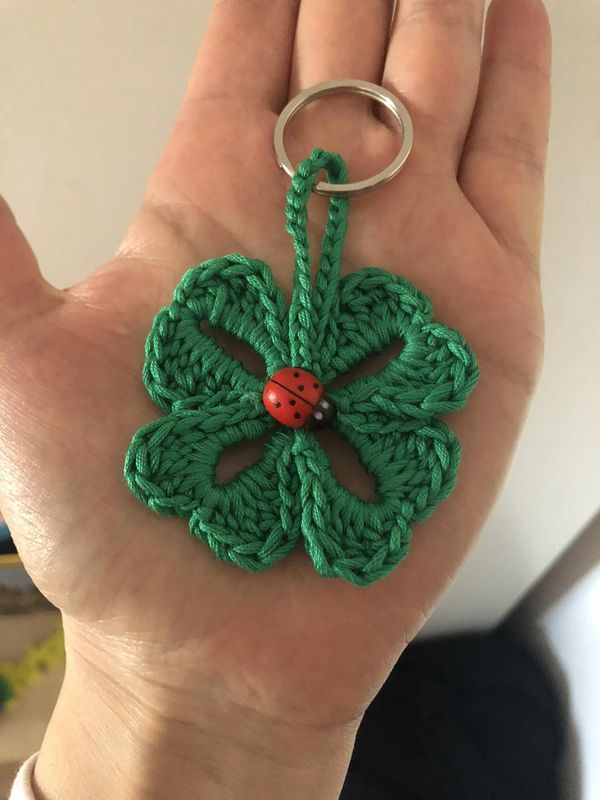
From: lutyartescrochet.blogspot.com
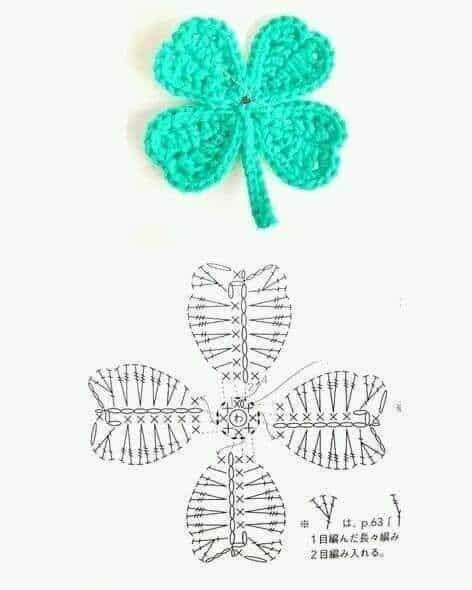
From Pinterest
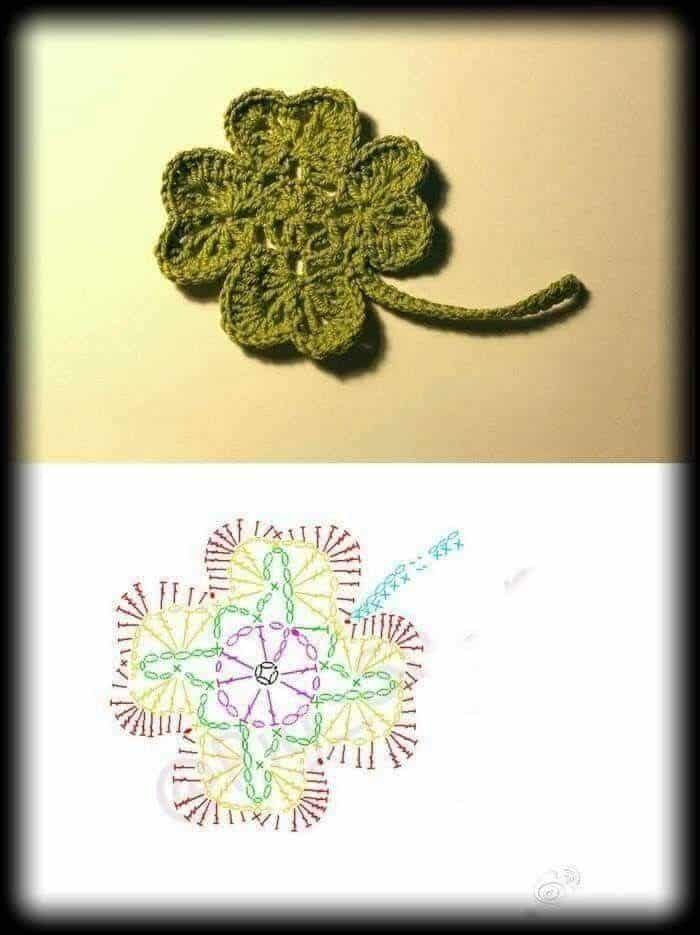
From: ETSY
From Pinterest
From Pinterest
Step-by-Step Guide to Crocheting a Clover Keychain
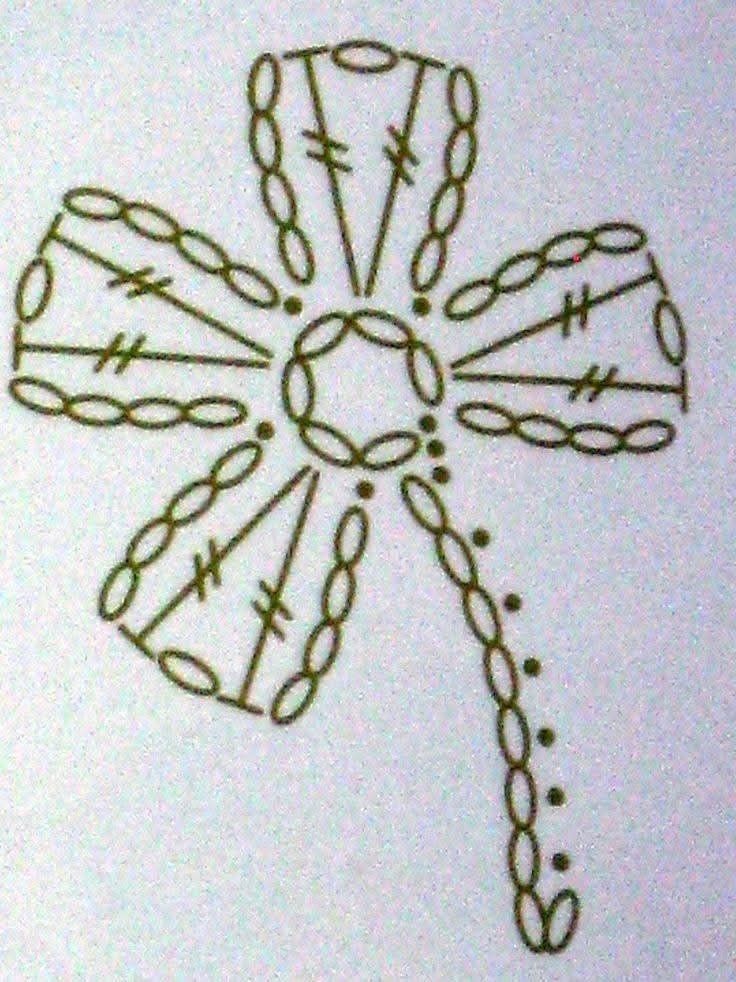
Step 1: Start with a Magic Ring
- Make a magic ring and secure it with a slip stitch.
- Chain 2 (this counts as your first half-double crochet stitch).
Step 2: Crochet the First Leaf
- Inside the magic ring, crochet:
- 3 half-double crochets (hdc)
- 1 slip stitch to secure the leaf.
- Repeat this process three more times to form four leaves.
- Pull the magic ring tight to close the center.
Step 3: Create the Clover Stem
- Chain 6 stitches to form the stem.
- Turn and slip stitch into each chain back to the base.
- Secure with a final slip stitch at the center of the clover.
Step 4: Finishing Touches
- Cut the yarn, leaving a long tail for sewing.
- Weave in the ends using a tapestry needle.
- Attach the keychain ring or clasp to the top of the clover.
- Add beads or tiny embellishments for extra charm.
Creative Variations
Looking to add a personal touch to your crochet clover keychain? Here are some fun variations:
- 🌈 Multicolor Clovers – Use gradient or variegated yarn for a unique twist.
- 💖 Embroidered Initials – Personalize your keychain by embroidering initials on one of the leaves.
- ✨ Glitter Yarn – Add a bit of sparkle with metallic or glitter-infused yarn.
- 🧵 Miniature Crochet Flowers – Attach tiny crochet daisies to enhance the design.
- 🔗 Double Keychain Set – Create two clovers and link them together for an intertwined luck charm!
How to Use Your Crochet Clover Keychain
Here are some creative ways to use your finished keychain:
- Keyring Accessory – Keep your keys stylishly lucky!
- Bag Charm – Clip it onto your backpack or purse.
- Bookmark Charm – Attach it to a notebook or planner.
- Gift Addition – Pair it with a handwritten note as a lucky charm gift.
- Home Decor – Hang it on a door handle for a rustic touch.
If you’re an intermediate crocheter, you can finish one in about 30-40 minutes.
Cotton yarn is the best choice because it is durable, holds shape well, and feels soft.
Spray a light coat of fabric stiffener or use a starch spray to help maintain the shape.
Learn how to create DIY crochet clover keychains! Follow this step-by-step tutorial to make your own lucky charm keychain with creative variations. Start now!
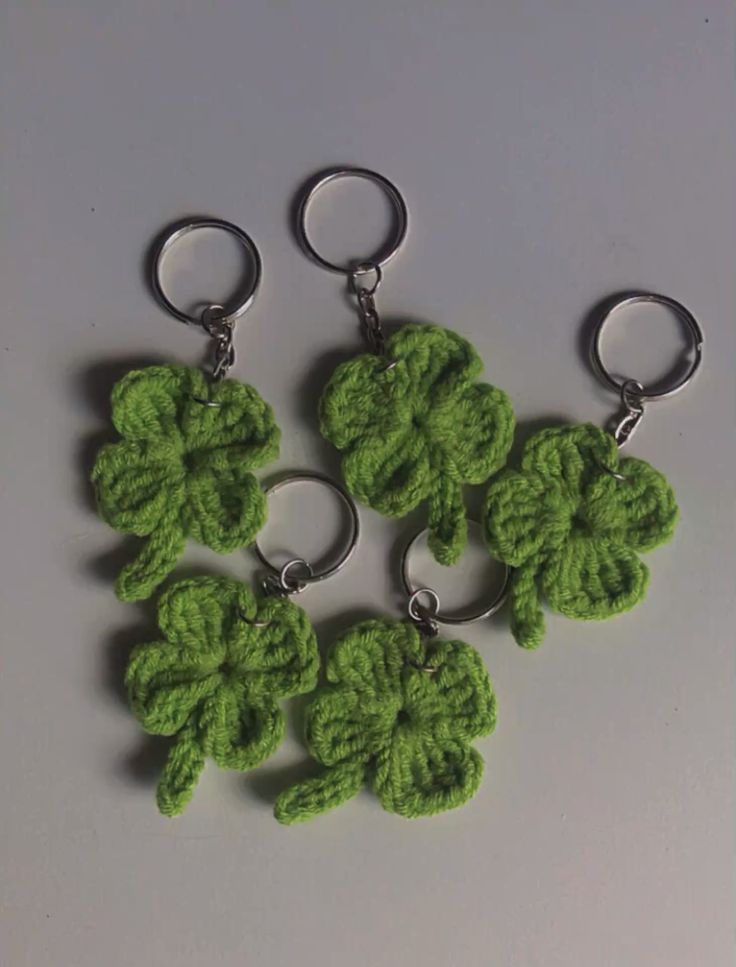
Crocheting a clover keychain is more than just a fun craft; it's a symbol of luck, love, and creativity. Whether you're making them for yourself, as gifts, or to sell, these charming little accessories will always be in style.
CHECK MORE CROCHET PATTERNS