Pronged Square and Ripple Blanket - Elegant Crochet Pattern Guide

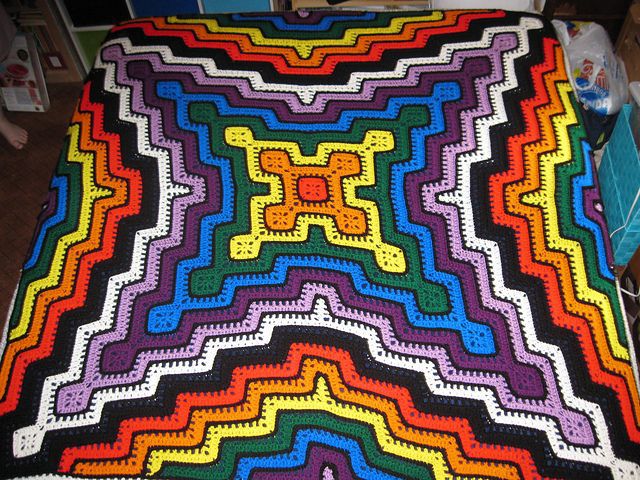
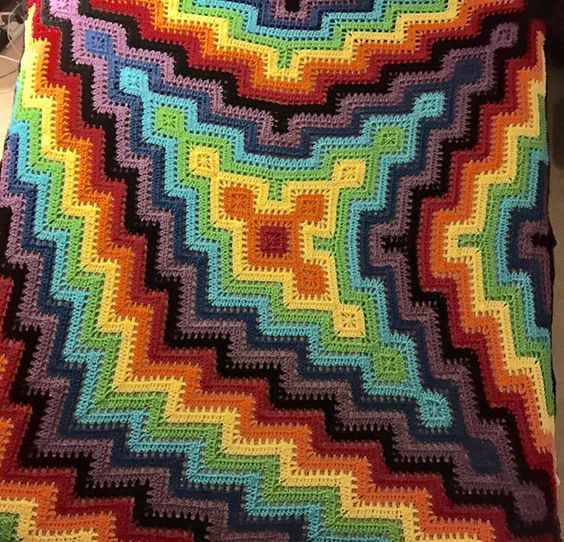
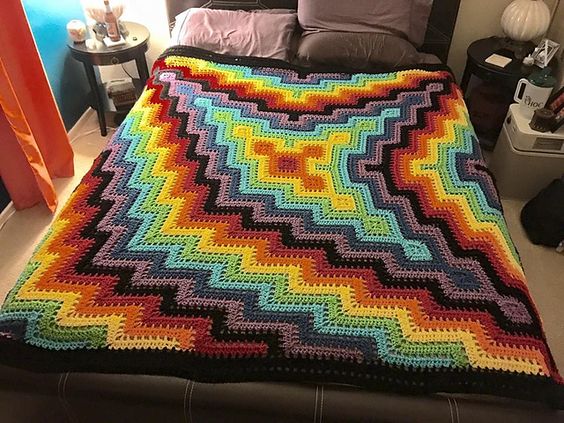
Creating a Pronged Square and Ripple Blanket is a delightful way to combine two classic crochet techniques into one beautiful and functional piece.
Also: Cozy and Stylish Granny Square Slippers Crochet Patterns
This blanket showcases the geometric elegance of pronged squares alongside the soothing waves of ripple patterns, resulting in a visually stunning and cozy blanket.
Whether you're an experienced crocheter or looking to expand your skills, this project offers a unique and rewarding challenge.
Pronged Square and Ripple Blanket
There are plenty of different patterns but… I just fell in love with this one! This was done using the following colors – Cherry Red, Pumpkin, Bright Yellow, Spring Green, Turqua, Blue, Medium Purple and Black. Amazing combination.


Materials You’ll Need
To create your pronged square and ripple blanket, gather these materials:
- Yarn: Choose medium weight yarn in multiple colors.
- Crochet Hook: Size H/8 (5 mm) recommended.
- Scissors: For cutting the yarn.
- Tapestry Needle: For weaving in ends and assembling parts.
This pattern is available free.
Step-by-Step Guide
1. Create the Pronged Squares
Start by crocheting the pronged squares that will form part of the blanket.
Pronged Square Pattern
Round 1: Chain (ch) 4, slip stitch (sl st) to the first chain to form a ring. Chain 3 (counts as first double crochet), 11 double crochet (dc) into the ring. Join with a slip stitch to the top of the beginning ch-3.

Round 2: Chain 3, 1 dc in the same stitch, *chain 3, skip the next dc, 2 dc in the next stitch*, repeat from * to * around, ending with chain 3, slip stitch to the top of the beginning ch-3.

Round 3: Slip stitch to the first chain-3 space, chain 3, 2 dc in the same space, chain 2, 3 dc in the same space (first prong made), *3 dc in the next chain-3 space, chain 2, 3 dc in the same space*, repeat from * to * around, slip stitch to the top of the beginning ch-3.
2. Crochet the Ripple Sections
Next, create the ripple sections to complement the pronged squares.
Ripple Pattern
Row 1: Chain a multiple of 12 + 3. Double crochet (dc) in the fourth chain from the hook and in the next 3 chains, *skip 2 chains, dc in the next 4 chains, chain 2, dc in the next 4 chains*, repeat from * to * across. Turn.

Row 2: Chain 3 (counts as first dc), dc in the next 3 stitches, *skip 2 stitches, dc in the next 4 stitches, chain 2, dc in the next 4 stitches*, repeat from * to * across. Turn.

Repeat Row 2 for the desired length of the ripple section.
3. Assemble the Blanket
Once you have enough pronged squares and ripple sections, it’s time to assemble your blanket.
Step 1: Lay out the pronged squares and ripple sections in a pattern you like.

Step 2: Using a tapestry needle, sew the squares and ripple sections together with a whip stitch or slip stitch them together with your crochet hook.
4. Add a Border
Finish your blanket with a beautiful border to give it a polished look.
Round 1: Single crochet evenly around the entire blanket, working 3 sc in each corner. Join with a slip stitch to the first sc.

Round 2: Double crochet in each stitch around, working 3 dc in each corner stitch. Join with a slip stitch to the top of the beginning ch-3.

Round 3: Chain 1, single crochet in each stitch around. Join with a slip stitch to the first sc.
CHECK MORE CROCHET PATTERNS