Crochet Happy-Flower Decoration: A Burst of Joy for Your Home
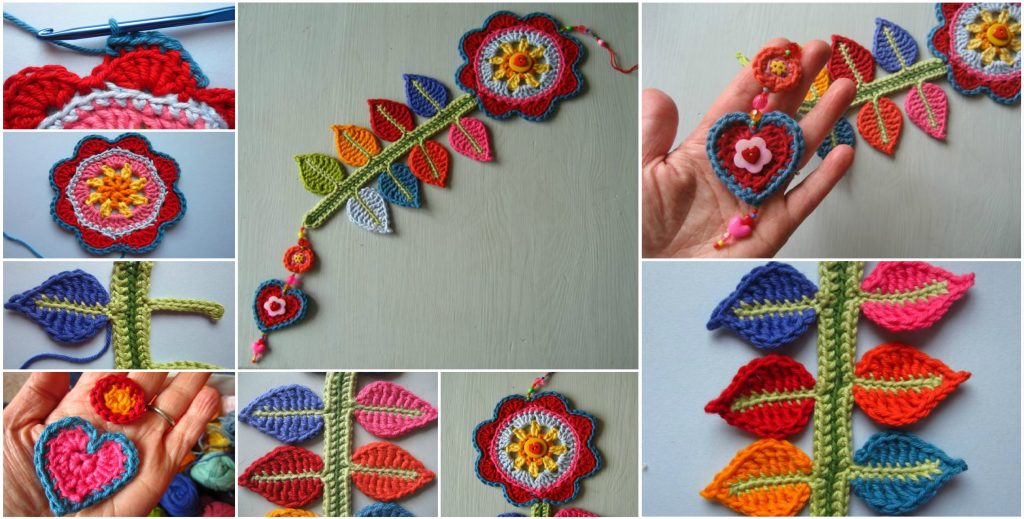
Decorating your home with crochet happy-flower decorations can transform any space into a vibrant, joyful haven.
These delightful creations, bursting with color and texture, are perfect for adding a touch of whimsy and warmth.
Whether you’re a seasoned crochet enthusiast or a curious beginner, these flowers are a fun and rewarding project.
Happy Flower Decoration
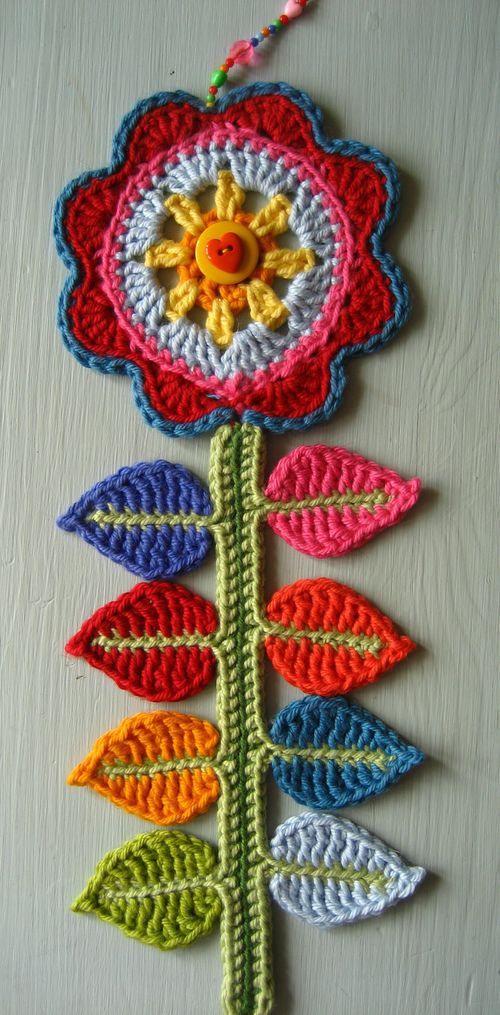
Today we are going to talk about this gorgeous beautiful and adorable Happy flower decoration and you already know that the talking is not the only thing we do in our articles.
Here in today’s post you are going to find a pattern of it so that means that you are going to learn how to make happy flower decoration yourself, Aren’t you exited?
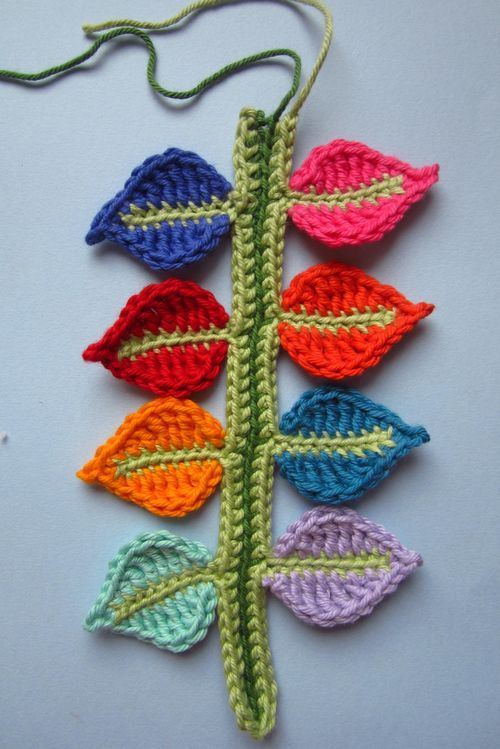
The flower itself is really beautiful, you can see how many colors it includes and how many thing can be learnt from this article. So enjoy it and crochet the happy flower decoration.
Don’t forget to share the article with your friends and the impressions and opinion about the flower with us. Good luck
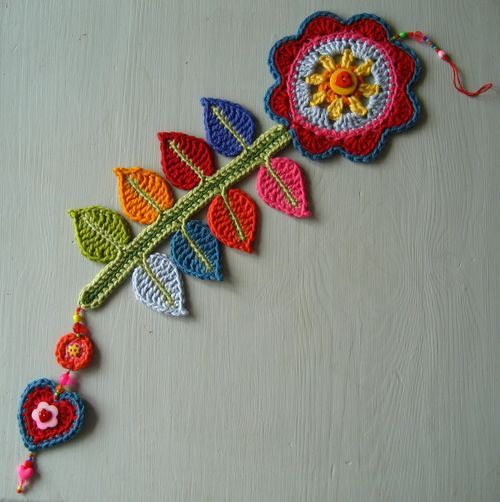
Follow The Link Below And View The Pattern:
Why Crochet Happy-Flower Decorations?
There are numerous reasons to fall in love with crochet happy-flower decorations:
- Easy to Make: Suitable for all skill levels.
- Customizable: Use any color and size to fit your decor.
- Eco-Friendly: Made from sustainable materials.
- Versatile: Perfect for home decor, gifts, and accessories.
Step-by-Step Guide: How to Crochet Happy-Flower Decoration
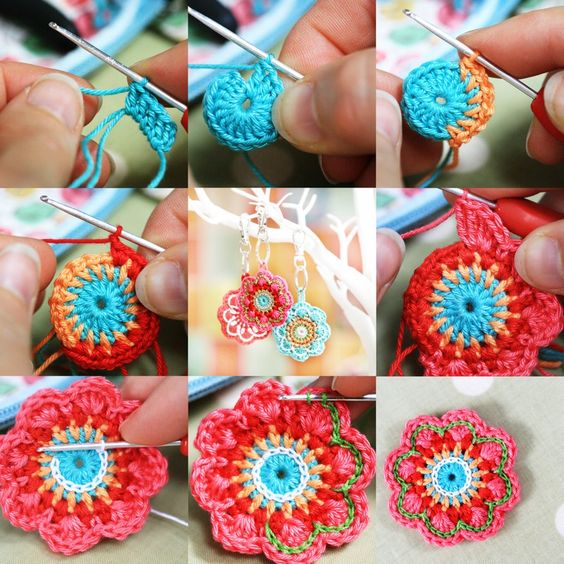
1. Crochet the Center of the Flower
- Start with a Magic Ring: Using your chosen yarn color for the center (typically yellow), create a magic ring.
- Round 1 – Single Crochet: Crochet 6 single crochets (SC) into the magic ring and pull tight to close.
- Round 2 – Increase: In this round, you’ll increase by crocheting 2 SC in each stitch around (12 SC total).
- Round 3 – Continue Increasing: In this round, crochet 1 SC in the first stitch, followed by 2 SC in the next stitch. Repeat this pattern all the way around (18 SC total).
- Fasten Off: After finishing the center, fasten off and weave in the ends using a yarn needle.
2. Create the Petals
- Attach Yarn for the Petals: Choose your favorite bright color for the petals. Attach the yarn to the back loops of the last round of the center.
- Start the Petals: Chain 4 stitches, then insert your hook into the next stitch and make a slip stitch (SS) to form the base of the first petal.
- Build the Petals: Continue by chaining 4 stitches again, inserting your hook into the next stitch, and repeating the slip stitch. Do this all the way around the center to create as many petals as you’d like.
- Round 2 of Petals: Once you have your first layer, you can build a second round of petals on top of the first by attaching the yarn to the back of the center and repeating the petal steps. This will give your flower more volume and layers.
- Fasten Off: Once your petals are complete, fasten off and weave in any loose ends.
3. Adding Details to Your Flower
Now that your basic flower is complete, it’s time to add some personality with these fun ideas:
- Add Beads to the Center: Sew a small bead or button in the center of the flower to give it a cute, polished finish.
- Embroider Details: If you’re feeling crafty, embroider small designs on the petals or the center for extra flair.
- Use Glitter Yarn: For a more whimsical look, use glitter yarn or yarn with metallic threads to add a touch of sparkle to your petals.
4. Customizing Your Happy-Flower Decoration
- Color Combinations: Experiment with different color schemes for the petals and center. You can make rainbow flowers, monochromatic flowers, or stick to seasonal colors like pastel for spring or deep reds and oranges for fall.
- Size Variations: Use a smaller hook for tiny flowers or a larger hook for oversized, bold blooms.
- Petal Textures: Try using different crochet stitches such as half-double crochets (HDC) or double crochets (DC) to create different textures and looks for your petals.
- Layered Flowers: For a fuller look, create multiple layers of petals by working in rounds, building them up for a 3D effect.
Creative Ways to Use Crochet Happy-Flower Decoration
- Wall Art: Create a collection of crochet flowers and arrange them in a shadowbox or frame for a unique and colorful wall decoration.
- Gift Toppers: Add a crocheted flower to a wrapped gift for a personalized, handmade touch.
- Table Centerpiece: Arrange several flowers on a table for a bright and happy centerpiece, perfect for spring or summer gatherings.
- Party Decorations: Hang crocheted flowers from a string as garlands for parties, weddings, or baby showers.
- Home Décor: Attach the flowers to pillows, curtains, or even crochet them onto a blanket for a touch of whimsy.
- Accessory Embellishments: Sew these crochet flowers onto hats, scarves, or bags for an instant style upgrade.
Conclusion
Crochet happy-flower decorations are more than just a craft; they are a way to infuse your home with joy and creativity. By following this guide, you can create beautiful, personalized decorations that brighten any space.
CHECK MORE CROCHET PATTERNS