Crochet Easy Ponchos for Kids- Pattern and ideas
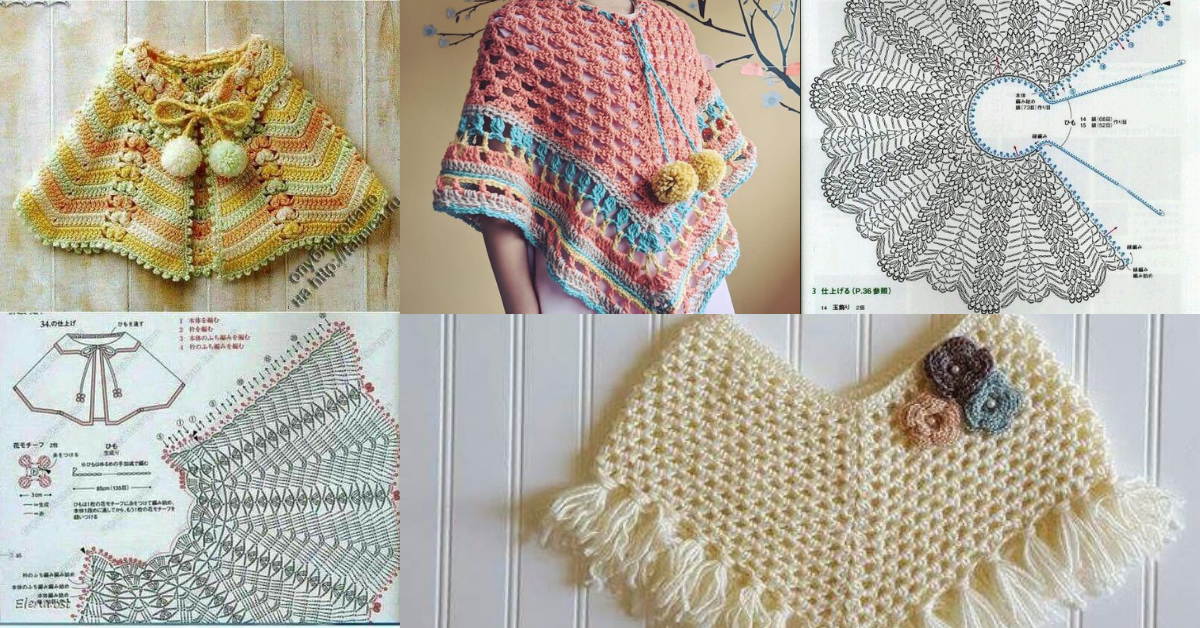
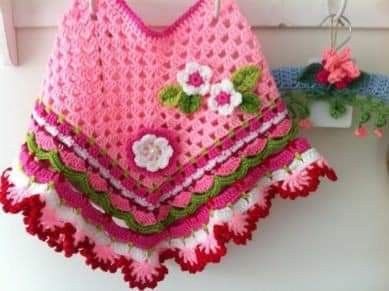
The poncho is a piece of clothing that is always in fashion. Either you like it or you hate it, but the truth is that children are super cute with a poncho.
There are many models of ponchos, the simplest and the most elaborate. The application of a hood, pompoms or other accessories makes your poncho even more beautiful.
Here are some crochet poncho ideas and tutorials for kids.
How to crochet baby poncho
Crochet ponchos are not only adorable but also practical garments for kids. They provide warmth, versatility, and an easy fit, making them ideal for active youngsters. Whether you're looking for a cozy layer for chilly days or a stylish accessory for playdates, crochet ponchos can be customized to fit any child's personality.
In this guide, we will explore various crochet poncho ideas, provide easy patterns, and share tips for customizing your creations. Let’s dive into the wonderful world of crochet ponchos for kids!

Ponchos for Kids Ideas
Using Your Crochet Poncho
Once your crochet poncho is complete, consider these creative uses:
1. Everyday Wear
- Use the poncho as a comfortable layer for school, playdates, or casual outings.
2. Special Occasions
- Dress it up with a cute outfit for family gatherings or holiday celebrations.
3. Gift Giving
- Crochet ponchos make thoughtful gifts for birthdays or holidays. Personalize them with the child’s favorite colors or themes.
4. Craft Fairs and Markets
- If you enjoy crafting for profit, consider making and selling crochet ponchos at craft fairs or online shops.
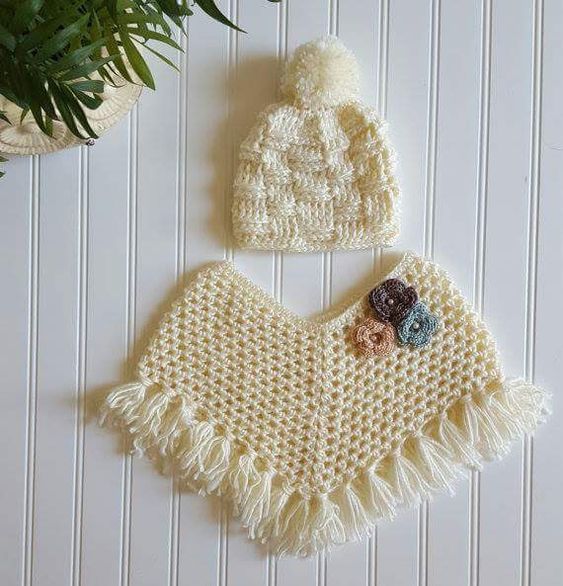
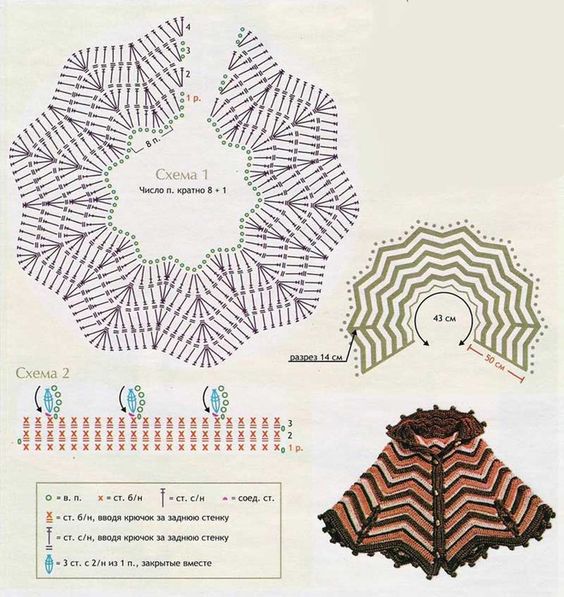
Via: www.katiaribeiro.com.br
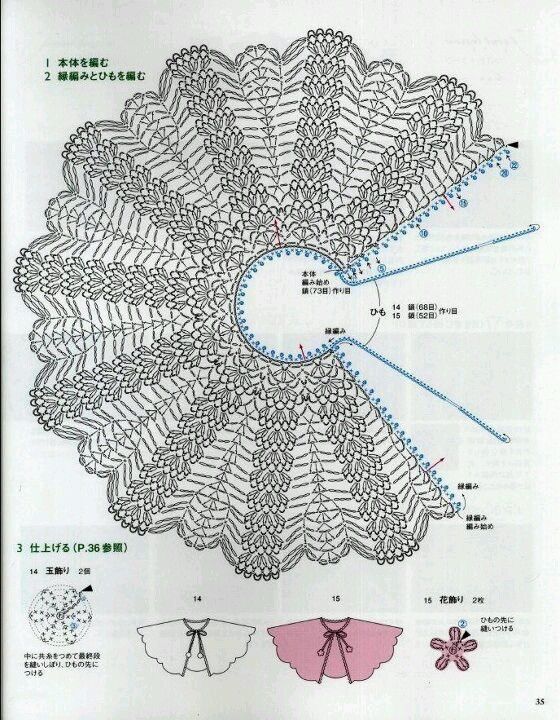
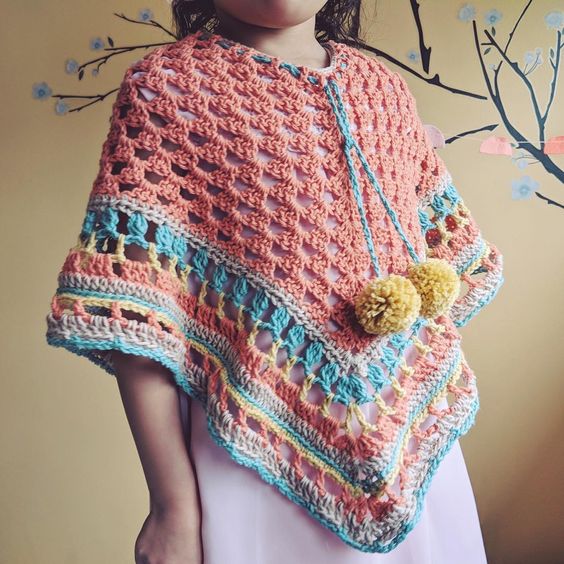
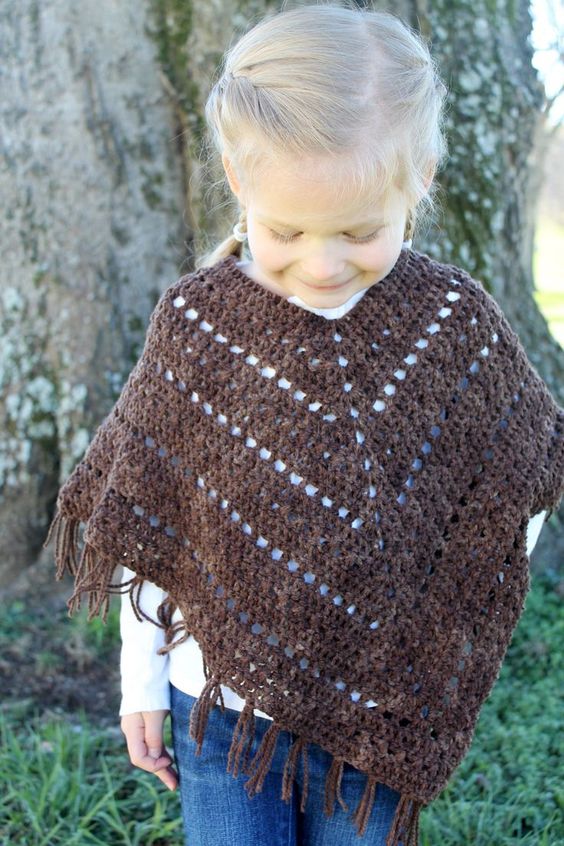
Via: ѕlιpĸnoтgoodѕ
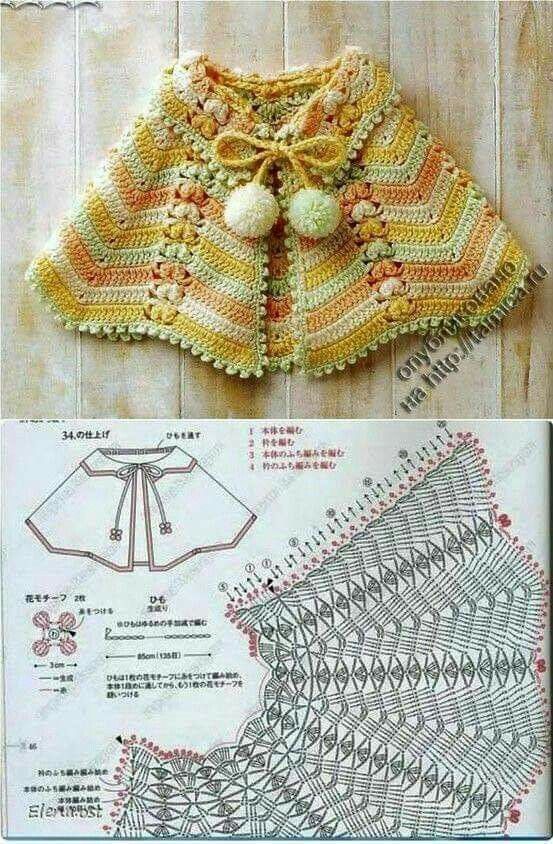
Via: littlemonkeysdesigns.com
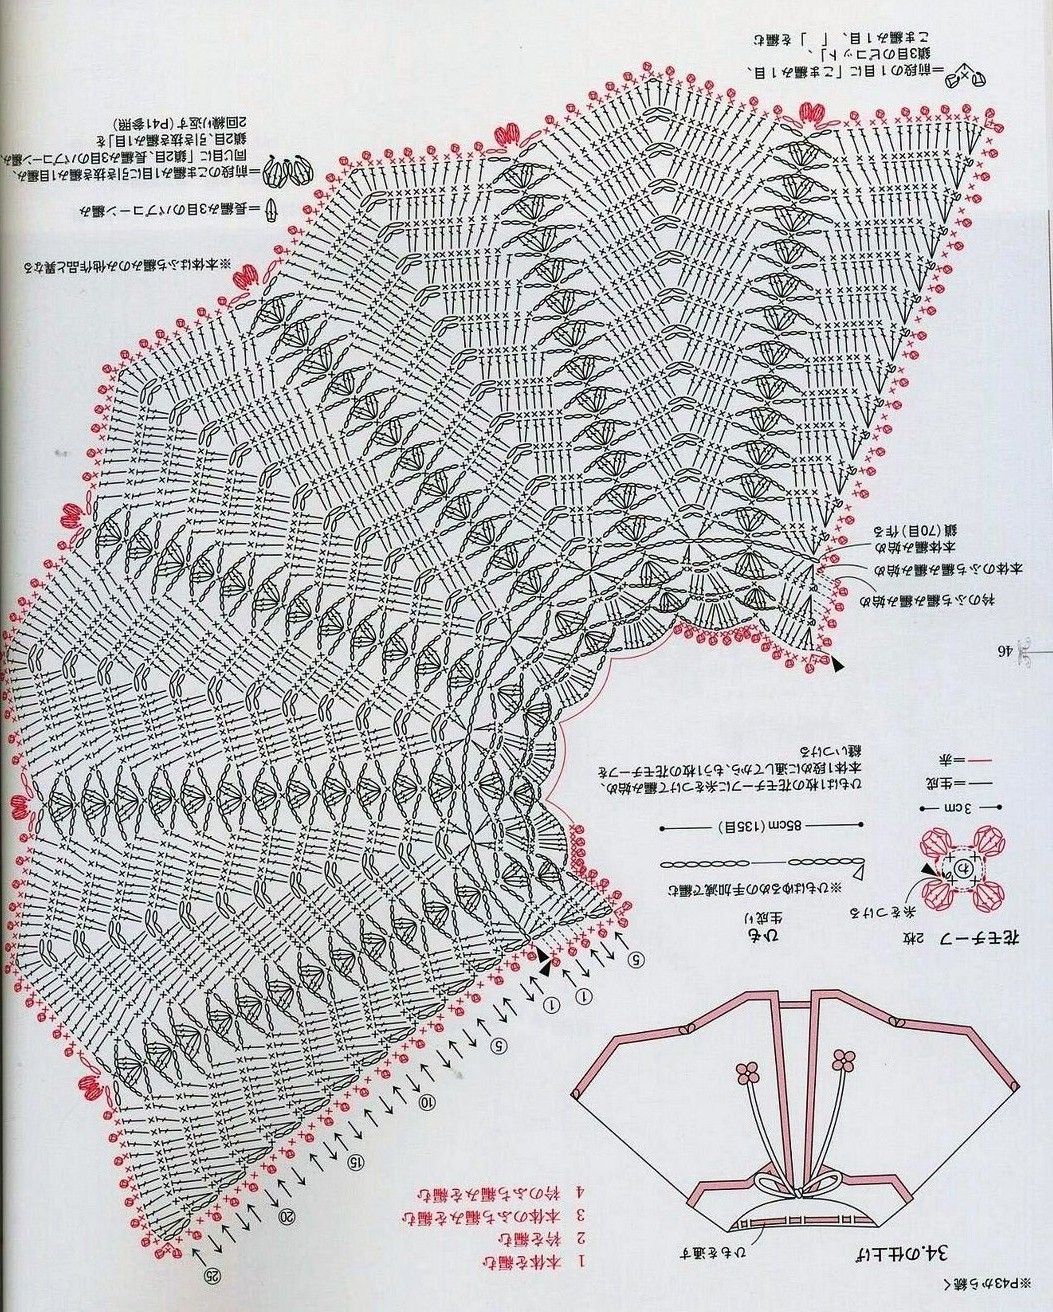
Via: graficosereceitas.wordpress.com
From Pinterest.
Easy Crochet Poncho
Step 1: Choose Your Pattern and Size
- Select a Pattern:
- Look for beginner-friendly patterns designed specifically for kids. You can find many free options online that cater to various styles.
- Measurements:
- Measure the child's chest, length from shoulder to desired hem, and desired sleeve width. A typical child’s poncho should have a width that accommodates their size comfortably.
Step 2: Create the Body of the Poncho
- Foundation Chain:
- Start with a foundation chain. The length should be enough to fit comfortably around the child’s neck and shoulders. For example, you might start with 40-60 chains for a child’s poncho.
- First Row:
- Work in double crochet (dc) or single crochet (sc) across the chain. The choice depends on the desired texture and warmth.
- Continuing the Body:
- For subsequent rows, continue to work in the same stitch until the body reaches the desired length. Generally, a poncho will measure about 18-24 inches in length for children.
Step 3: Shaping the Neckline
- Create the Neckline Opening:
- Depending on your pattern, you may need to create a neck opening. This can be done by leaving a gap in the middle of the row.
- For example, if the total width is 60 stitches, you might work 25 dc, chain 10 for the neck opening, and then work another 25 dc.
- Continue Working in Rounds:
- After forming the neck opening, continue working in rounds or rows to finish the body of the poncho.
Step 4: Create the Edges
- Add a Decorative Border:
- Once the body is complete, add a border around the bottom edge of the poncho for a polished finish. This can be a simple sc round or a more intricate stitch pattern.
- Finishing Off:
- Cut the yarn, leaving a long tail for weaving in. Pull the tail through the last stitch to secure it.
Step 5: Optional Hood (If Desired)
- Creating the Hood:
- To add a hood, chain enough stitches to cover the head comfortably, then work in rows to create the desired length of the hood.
- Attach the Hood:
- Once the hood is complete, sew it onto the neckline of the poncho, securing it with a yarn needle.
CHECK MORE CROCHET PATTERNS