Crochet zigzag blanket tutorial
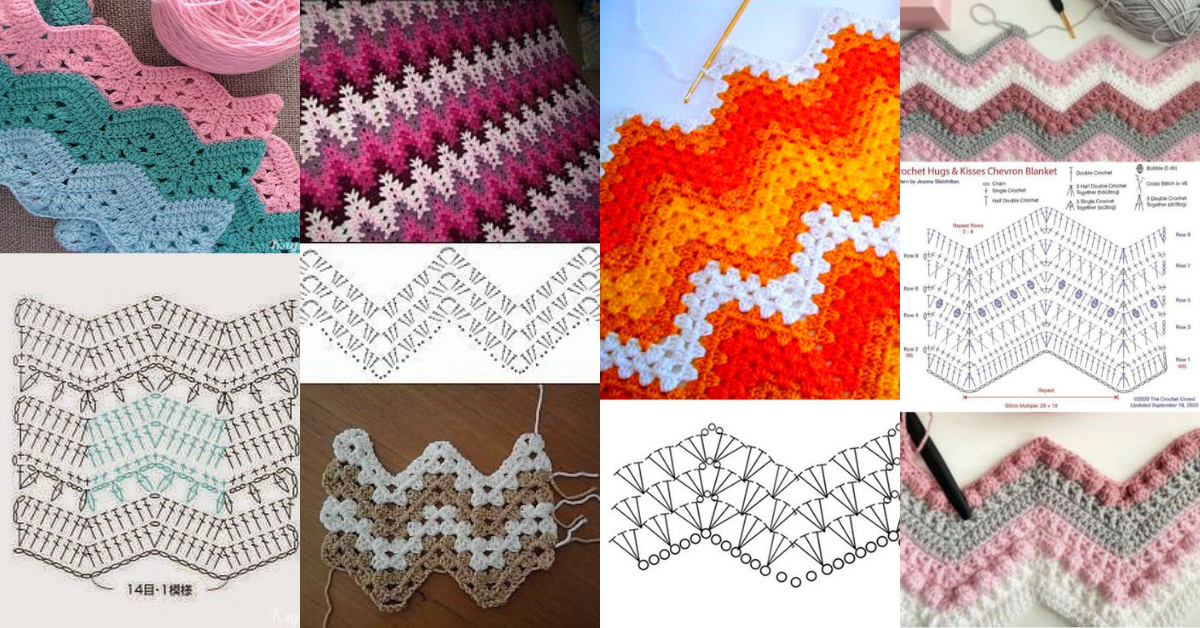
Blankets are a decorative element that almost everyone uses. Blankets are very versatile and can be used in many ways in a home, they can be used to decorate a sofa, armchair or bed.
Crochet blankets are a trend, they are timeless and match many styles. There are so many options and models, our suggestion today is a blanket with a zigzag or chevron stitch.
Check out the step-by-step guide here and some models to use as inspiration.
Crochet zigzag blanket tutorial
A crochet zigzag blanket, also known as a chevron blanket, is one of the most eye-catching and versatile patterns you can make. With its characteristic wave-like design and bold color stripes, this blanket brings warmth, texture, and a playful pop of pattern to any room.
This zigzag crochet pattern is not just a feast for the eyes, but also a fun and engaging project to work on, whether you’re a beginner or an experienced crocheter.
In this detailed tutorial, we'll walk you through creating your very own crochet zigzag blanket, complete with tips, tricks, and creative variations.

Crochet zigzag blanket ideas
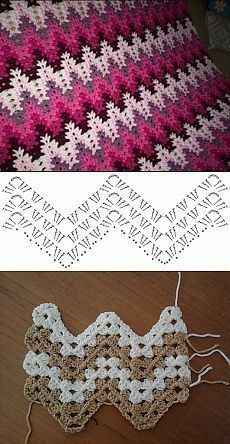
Via: tejidoscarla.blogspot.com
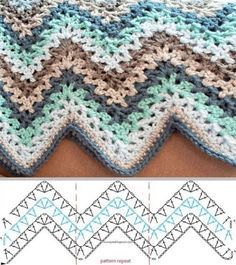
Via: tejido-facil.blogspot.com
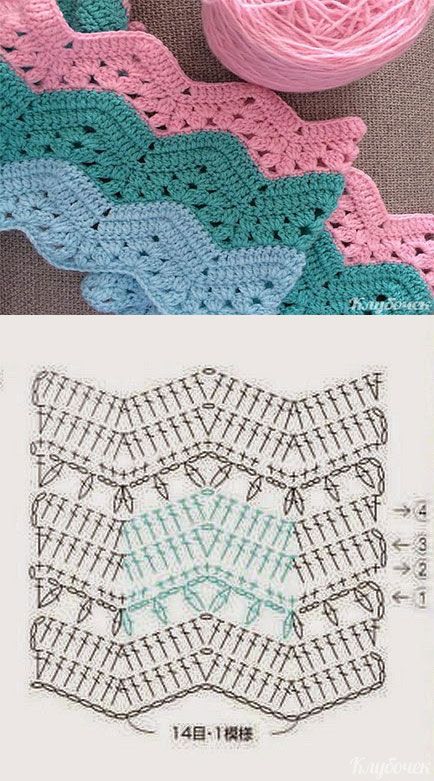
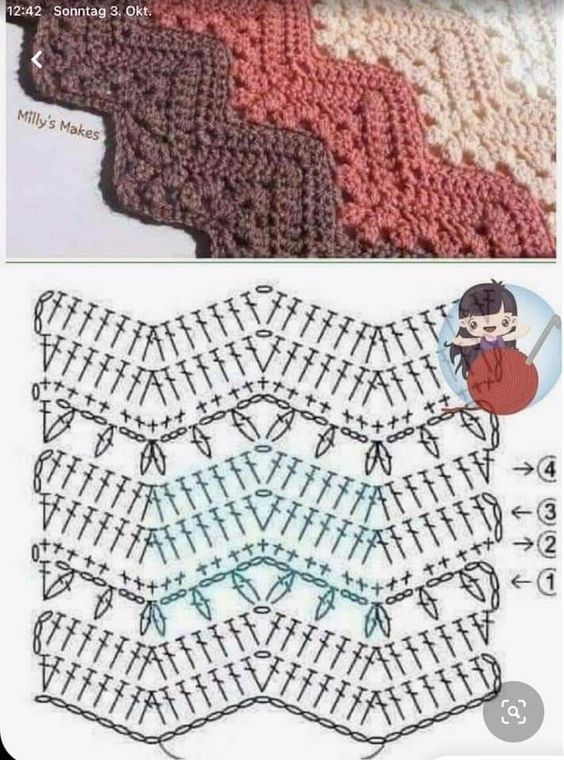
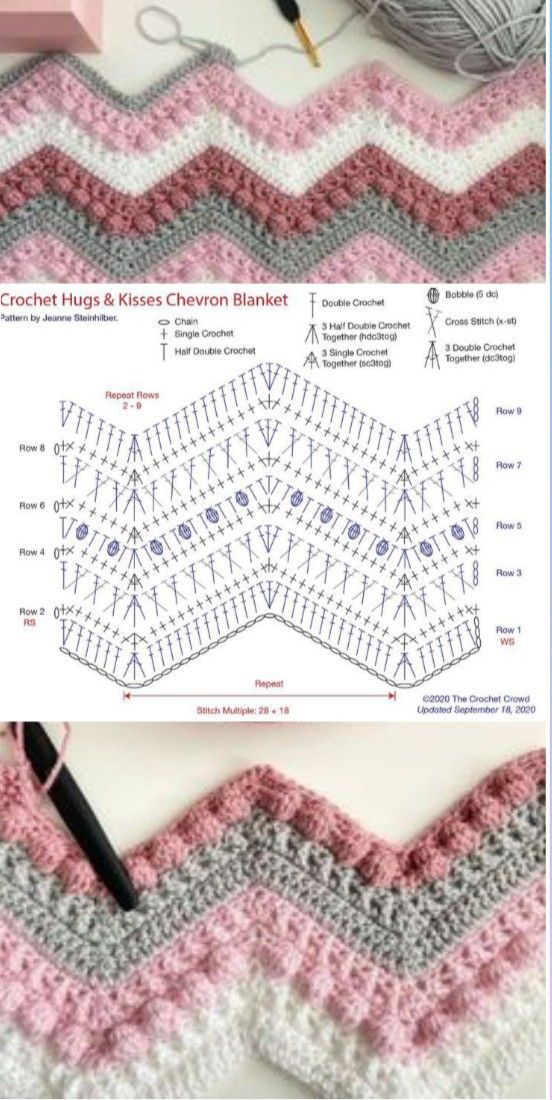
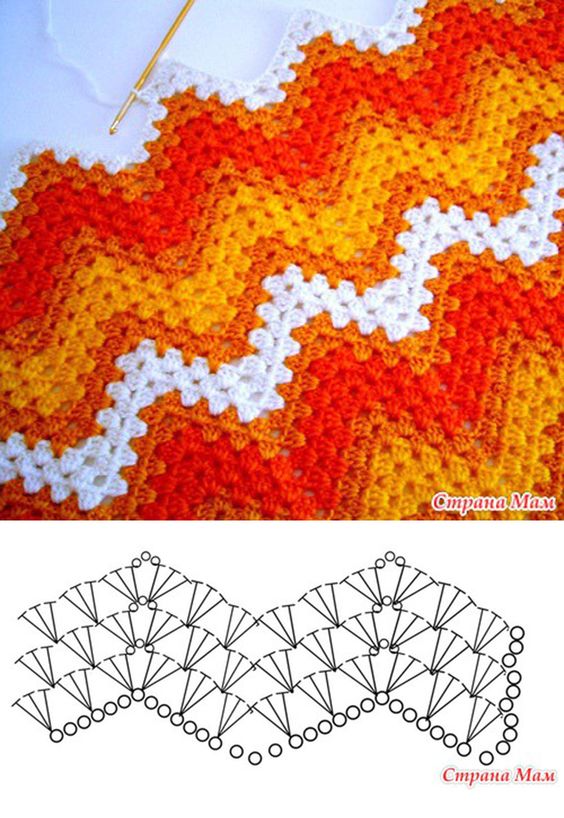
Via: sarahlondon.wordpress.com
Materials List:
- Yarn: Choose a medium-weight yarn (worsted weight) in 2 or more colors. The amount will depend on the size of the blanket; approximately 1500-2000 yards for a standard throw.
- Crochet Hook: Use a hook size appropriate for your yarn (usually a 5.5mm or 6mm hook for worsted weight yarn).
- Scissors: For cutting yarn.
- Tapestry Needle: To weave in ends.
Suggested Colors:
- For a classic look, choose alternating stripes of white and a contrasting color.
- For a bold statement, use a rainbow of colors.
- For a subtle, cozy vibe, use shades within the same color family.
Step-by-Step Crochet Zigzag Blanket Tutorial
Stitches Used:
- Chain (ch)
- Double Crochet (dc)
- Double Crochet Decrease (dc2tog): Yarn over, insert hook into the next stitch, yarn over, pull up a loop (3 loops on hook), yarn over, pull through 2 loops, yarn over, insert hook into the next stitch, yarn over, pull up a loop (4 loops on hook), yarn over, pull through 2 loops, yarn over, pull through all loops on hook.
Foundation Chain:
- Determine the Width: To create the foundation chain, use a multiple of 12 chains + 2 extra chains for the turning chain. For example, if you want a blanket about 40 inches wide, start with 144 chains + 2 chains (146 total). This can be adjusted based on how wide you want your blanket to be.
- Row 1: Creating the Base of the Zigza
- Starting the First Row: Skip the first 2 chains (these act as the turning chain). In the third chain from the hook, work 1 dc.
- Increase: Work 1 dc in each of the next 5 chains. In the 6th chain, work 3 dc into the same stitch (this forms the peak of the zigzag).
- Crochet Along: Work 1 dc in each of the next 5 chains.
- Decrease: To form the valley of the zigzag, crochet a double crochet decrease (dc2tog) over the next 3 chains (this means you’re working 1 stitch over the next 3 chains, bringing them together).
- Repeat the Pattern: Continue this pattern across the row – 5 dc, 3 dc in one stitch, 5 dc, dc2tog.
- Finish the Row: At the end of the row, work 1 dc in each of the last 6 chains to keep the edges straight.
Row 2: Building the Zigzag Pattern
- Chain 2 and Turn: This forms the first double crochet of the next row.
- Continue the Pattern: Work 1 dc in each of the next 5 stitches. In the next stitch, work 3 dc (creating the peak).
- Crochet Along: Work 1 dc in each of the next 5 stitches.
- Decrease: Perform the dc2tog over the next 3 stitches to form the valley.
- Repeat: Continue this zigzag pattern across the row.
- End the Row: To maintain the blanket’s shape, finish with 1 dc in the last 6 stitches.
Row 3 and Beyond: Repeat the Pattern
- Repeat Row 2 for each additional row, switching colors every few rows if you want stripes. This creates the classic zigzag or chevron effect.
- Tip: To ensure neat edges, always remember to place 1 dc in the turning chain at the end of each row.
CHECK MORE CROCHET PATTERNS