How to Crochet Easter Eggs - Pattern and Tutorial
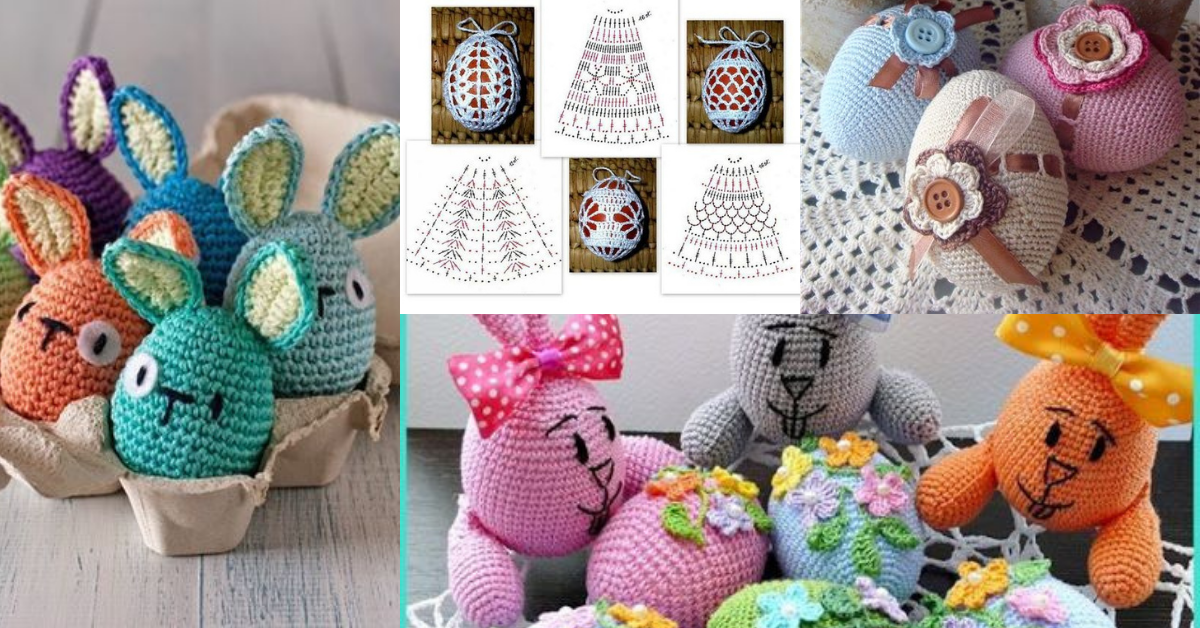
One of the main symbols of Easter is eggs. For those who do not understand this choice, eggs represent life and the renewal and rebirth of life.
Eggs are widely used in Easter decorations, they are perfect for making beautiful decorations for your home.
Eggs can be used in many ways, natural eggs or made with various materials such as fabric, felt…Our suggestion today is Amigurumi Eggs.
How to Crochet Easter Eggs
Easter is the perfect time to bring out your crochet skills and add a handmade touch to your holiday decorations. Crocheted Easter eggs are adorable, colorful, and offer a fun and creative way to celebrate the season.
They’re not only quick to make but also incredibly versatile—use them as table decorations, hang them on an Easter tree, or even turn them into keychains and gifts!
Check out video and ideas we have reserved for you.

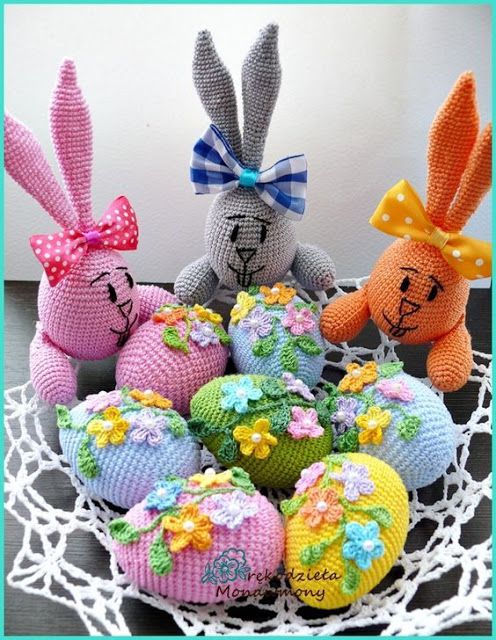
Crochet Easter Eggs ideas
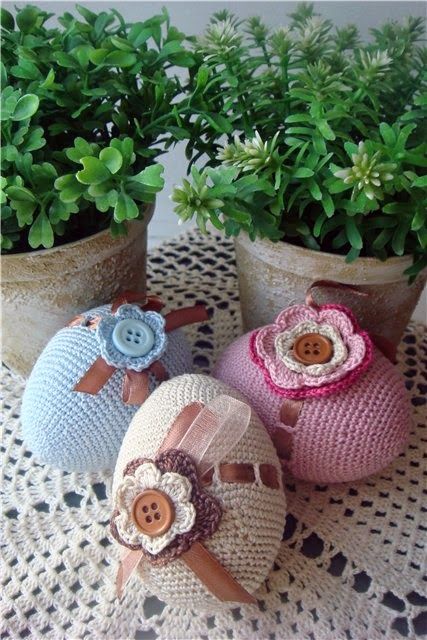
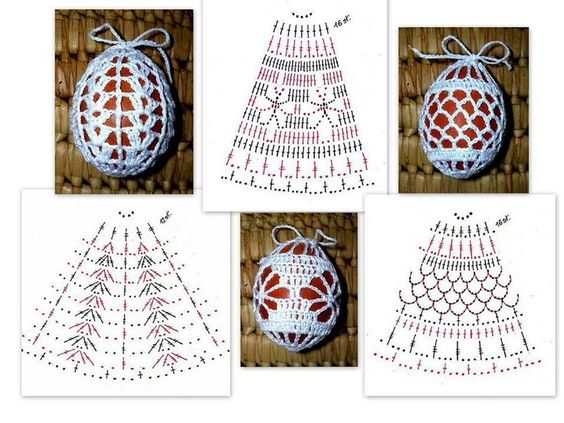
Via: stylowi.pl/56595831
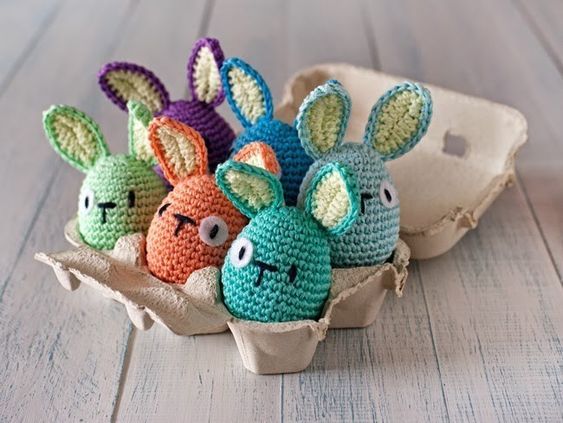
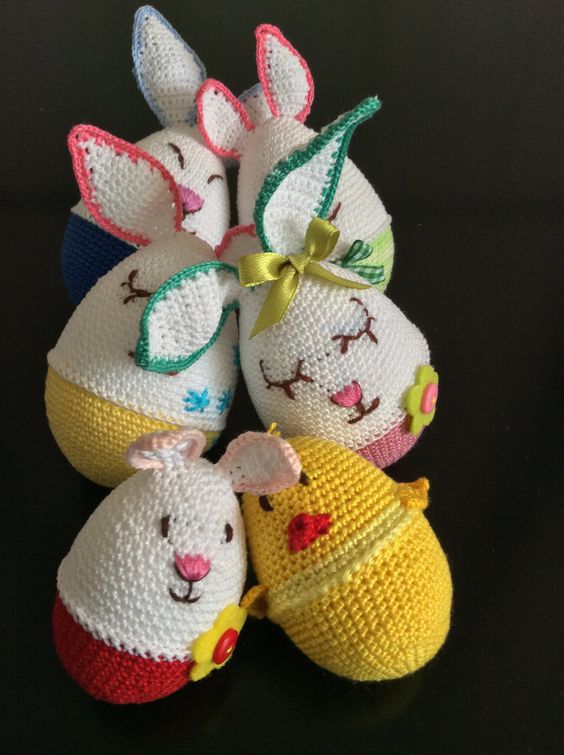
Via: stylowi.pl/41740685
Via Pinterest
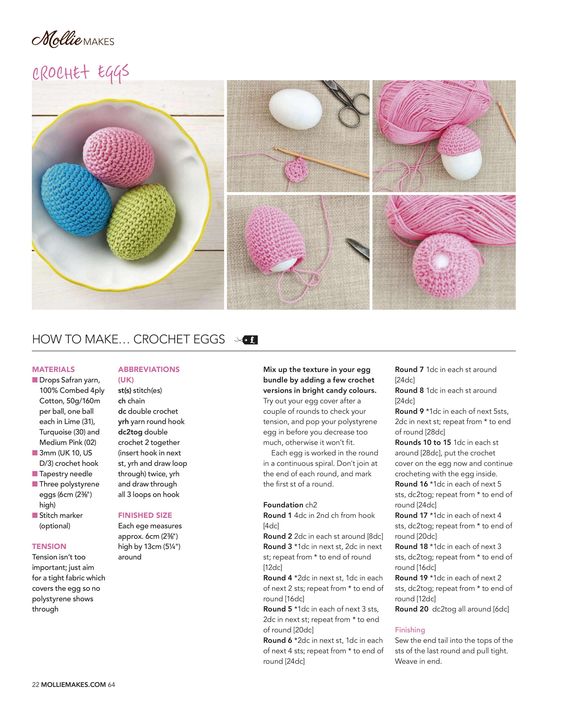
From pinterest.
How to Crochet Easter Eggs
Step 1: Start with a Magic Ring
- Create a Magic Ring: Begin with a magic ring to start the base of your egg. This technique allows you to pull the circle tight, which creates a neat and seamless look.
- Single Crochet (SC) Inside the Ring: Work 6 single crochets (SC) into the ring and pull tight to close.
Step 2: Increase the Egg’s Circumference
- Round 1: Increase in each stitch around by making 2 SC in each stitch (12 stitches total).
- Round 2: Work 1 SC in the first stitch, 2 SC in the next—repeat this sequence around to reach 18 stitches.
- Round 3: 1 SC in the next 2 stitches, 2 SC in the following stitch—continue around for 24 stitches.
Step 3: Build the Body of the Egg
- Rounds 4-8: Work 1 SC in each stitch around for several rounds. This creates the middle section of the egg, giving it the desired length and roundness.
- Change Colors (Optional): Add a new color of yarn for a striped effect or stick with a solid color for simplicity.
Step 4: Start Decreasing for the Egg Shape
- Round 9: 1 SC in the next 2 stitches, SC2tog—continue around to 18 stitches.
- Round 10: 1 SC in the first stitch, SC2tog around for 12 stitches.
- Stuff the Egg: Add polyfill stuffing to the egg. Make sure it’s firm but not too tight.
The stuffing gives the egg its three-dimensional shape and a soft, plush feel.
Step 5: Finish the Egg with Final Decreases
- Round 11: Work SC2tog around to 6 stitches.
- Close the Egg: Pull the yarn through the remaining stitches and weave in the end with a yarn needle.
Creative Ideas for Decorating Crochet Easter Eggs
Crocheted Easter eggs can be customized with different colors, patterns, and even embroidery. Here are a few fun decorating ideas:
1. Embroidered Designs
Add simple embroidery to your eggs, such as flowers, zig-zags, or dots. Use contrasting yarn colors for a vibrant look, or add small French knots to give a dotted texture.
2. Striped and Polka-Dot Patterns
Experiment with stripes or polka dots. For stripes, alternate yarn colors every few rounds. For polka dots, add small crochet circles onto the egg or embroider dots directly.
3. Crochet Appliques
Crochet small appliques, like flowers, hearts, or mini bunnies, and attach them to the eggs. This gives each egg a unique look and adds a three-dimensional element.
4. Sequins and Beads
If you want to add a bit of sparkle, sew small sequins or beads onto the surface of the egg. This creates a festive, eye-catching look perfect for Easter decor.
CHECK MORE CROCHET PATTERNS