Crochet Gloves Step by Step
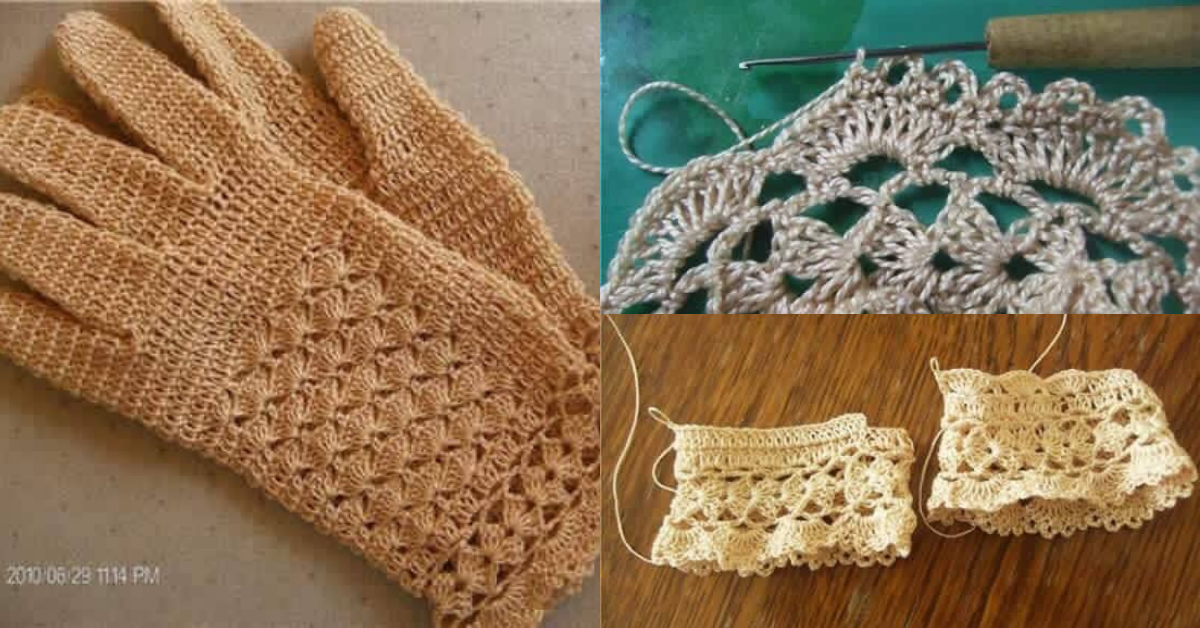
Gloves are a fashion accessory, they are perfect to keep your hands warm on the coldest days.
In addition to the function of warming your hands, the gloves are also perfect to give a special touch to your look. For those who like crochet and gloves, our suggestion today is perfect.
Check out the step-by-step crochet glove here. An idea that you can adapt to your personal taste.
Crochet Glove Step by Step
Be sure to try this wonderful idea.
Crochet gloves are a practical and stylish accessory that keeps your hands warm while adding a touch of elegance to your outfit. Whether you're a beginner or an experienced crocheter, this step-by-step guide will take you through everything you need to know to create your own beautiful pair of crochet gloves.
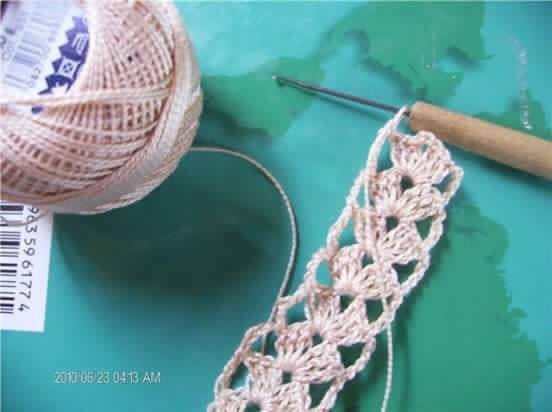
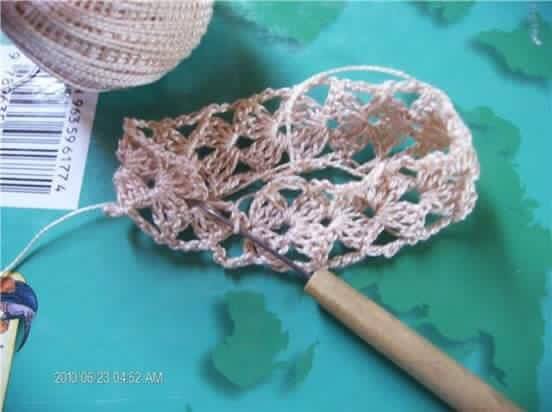
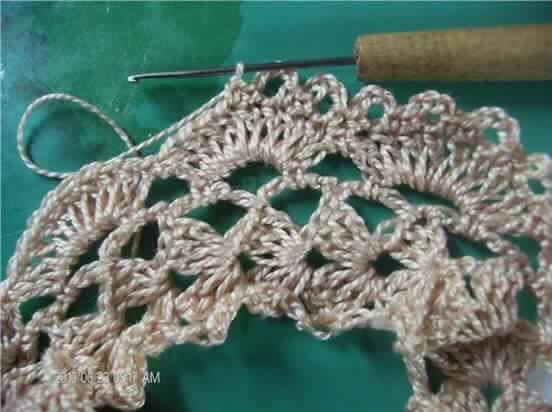
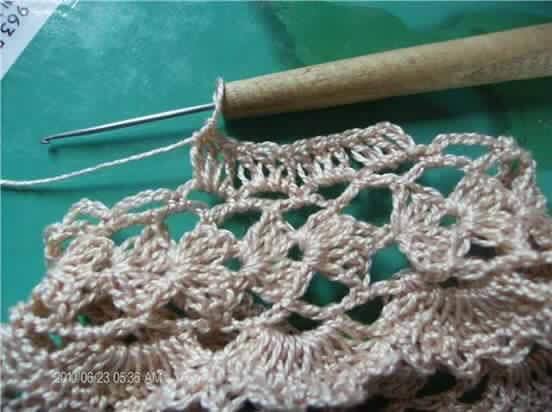
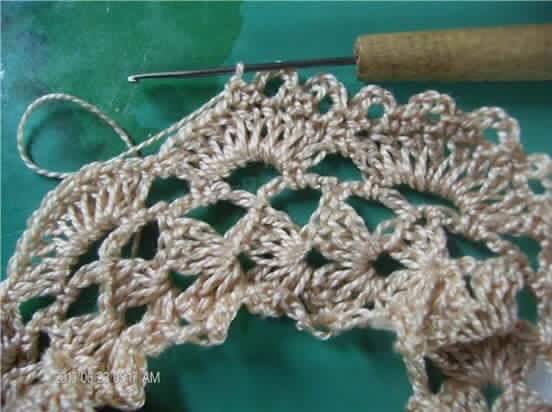
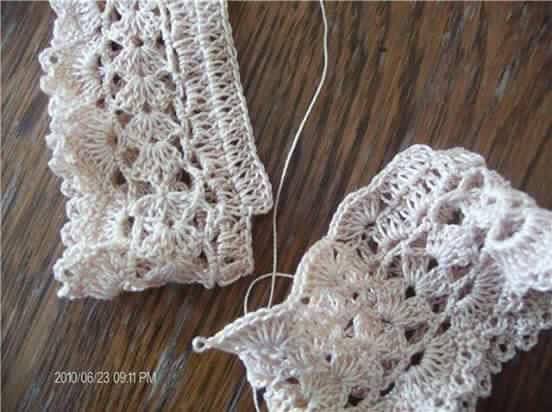
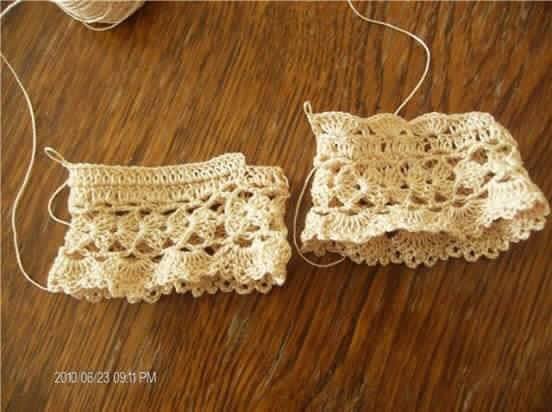
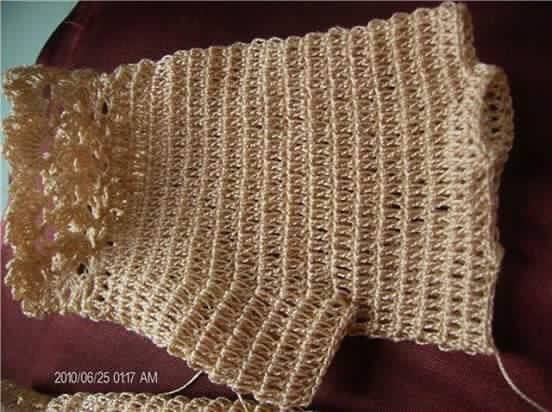
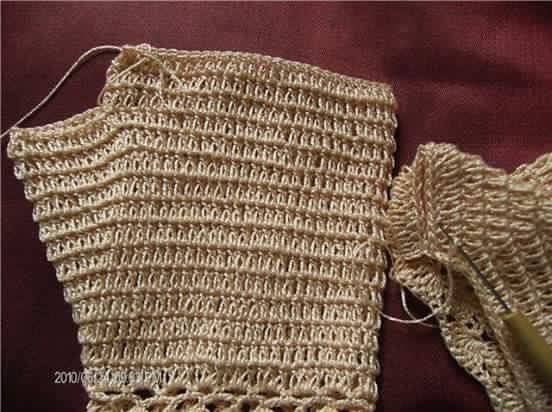
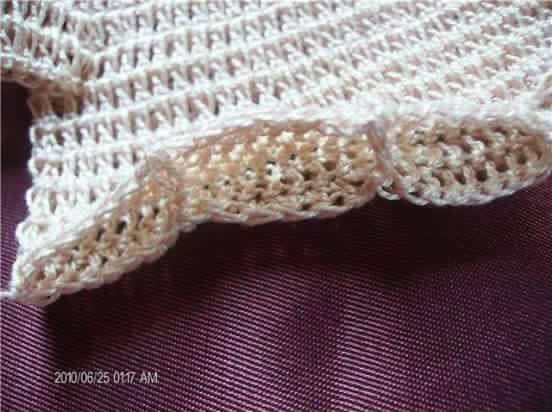
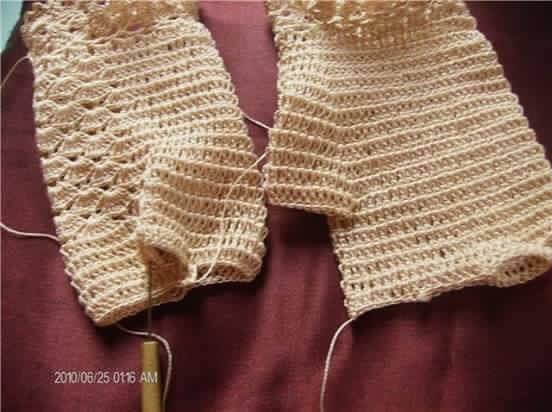
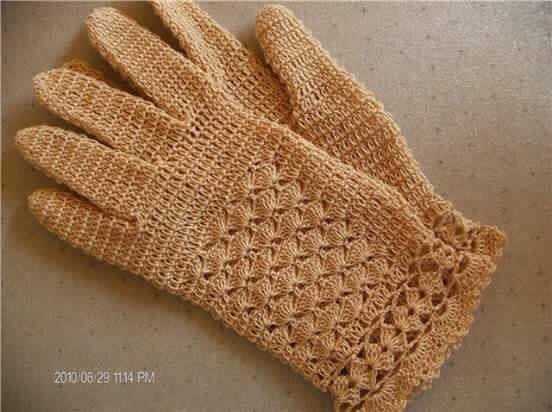
Source: Crochet O Maimah Nusairat.
Styling Your Crochet Gloves
1. Casual Look
- Pair your gloves with a simple tee and jeans for a relaxed vibe.
2. Elegant Attire
- Wear your gloves with a dress or formal outfit to add sophistication.
3. Layering
- Use your gloves as part of a layered look during cooler months, alongside a scarf and hat.
4. Bold Colors
- Choose vibrant colors to make a statement or stick with neutral tones for versatility.
Step-by-Step Instructions to Crochet Gloves
Step 1: Measure Your Hands
- Measure Circumference: Use the measuring tape to measure around the widest part of your hand.
- Measure Length: Measure from the base of your palm to the tip of your middle finger.
Step 2: Create a Foundation Chain
- Make a Slip Knot: Start with a slip knot on your hook.
- Foundation Chain: Chain a number of stitches equal to your wrist measurement plus an extra inch for comfort.
Example: If your wrist measures 7 inches, chain 30-35 stitches.
Step 3: Crochet the Cuff
- Round 1: Work in the round by joining with a slip stitch to form a circle.
- Round 2: Work single crochets around the chain to create a cuff.
Example: Sc in each stitch around, join with a slip stitch.
Step 4: Create the Hand Portion
- Continue with Rounds: After completing the cuff, continue working in rounds for the hand. You can alternate between sc and dc stitches for added texture.
Round 3: Work 1 sc in each stitch around. - Start Increasing for the Fingers: After several rounds, you will need to start creating spaces for the fingers.
Example: For a basic glove, you may want to leave 3 stitches unworked for the thumb hole.
Step 5: Thumb Hole
- Create the Thumb Opening: Chain a few stitches to skip over where the thumb will go and continue crocheting in the round.
Round 4: Sc until you reach the thumb stitches, ch 5 to skip over them. - Continue Rounds: Continue crocheting until the glove reaches your desired length.
Step 6: Creating the Fingers
- Finger Foundations: For each finger, you can either crochet directly or create small sections to add later.
Example: For the index finger, work a small chain, then attach it back to the glove. - Work in Rounds for Each Finger: Depending on your glove design, you may need to create separate rounds for each finger or keep it as a fingerless glove.
Step 7: Finishing Touches
- Final Rounds: Once you reach the tip of each finger, complete with a few rounds of sc or dc as desired.
- Fasten Off: Cut the yarn and pull it through the last loop to secure it.
Step 8: Weaving in Ends
- Use a Yarn Needle: Weave in any loose ends to ensure a neat finish.
Step 9: Create the Second Glove
Repeat the above steps to create the second glove.
CHECK MORE CROCHET PATTERNS