How to crochet a pumpkin- video and ideas
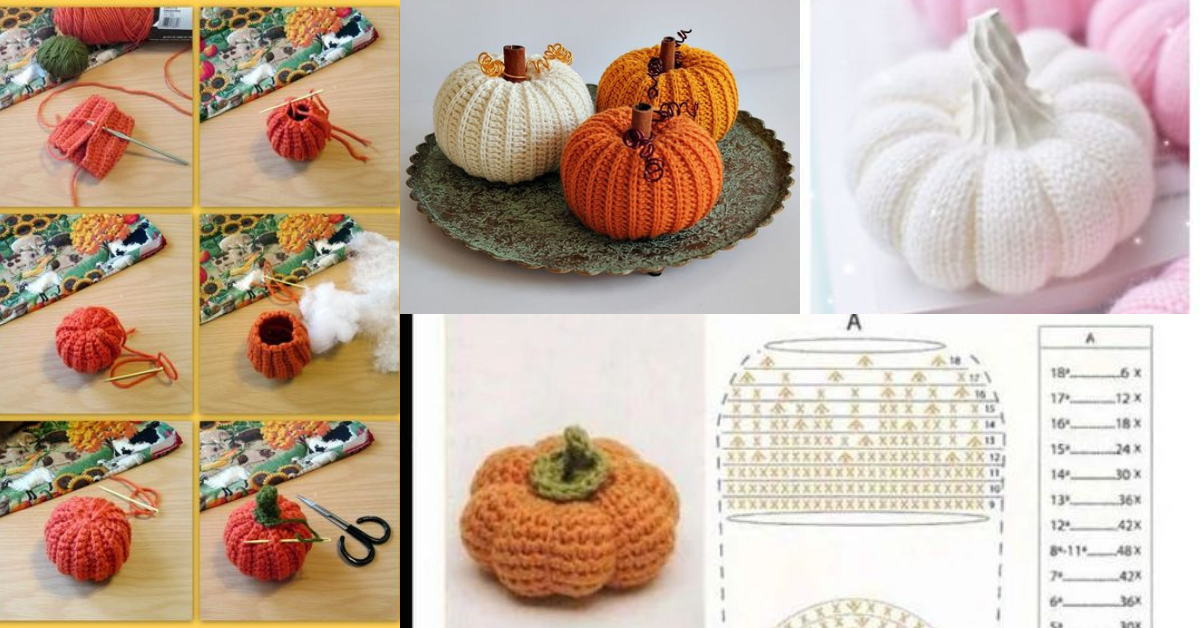
Pumpkins are one of the best known autumn fruits, their natural beauty is one of the reasons for their success.
Included in the fall/winter and Halloween-inspired decor, pumpkins work great for any style and taste.
Today we show you a video to learn how to crochet pumpkins and some ideas to use as inspiration.
How to crochet a pumpkin
With autumn in the air and pumpkin season in full swing, crocheting pumpkins is the perfect seasonal project to add a cozy and decorative touch to your home! Whether you’re an experienced crocheter or a beginner, creating these adorable little gourds is fun, quick, and easy.
In this guide, we’ll walk you through each step to make your own crochet pumpkin, share tips for customizing sizes and colors, and explore creative ways to display them.

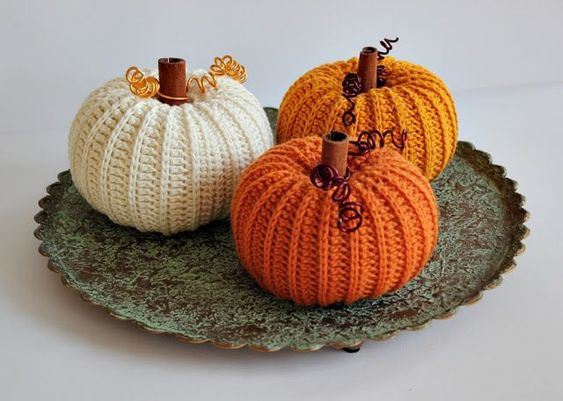
Crochet pumpkin ideas
- Size Variations: For a larger pumpkin, add more increasing rounds to the base, then more rows for height. For a mini pumpkin, reduce the number of increase rounds.
- Stem Textures: Use a popcorn stitch or bobble stitch on the stem for a more whimsical effect.
- Leaf and Vine Details: Crochet a small green chain and attach it to the stem for a vine, or add a simple leaf using DC stitches in a short chain.
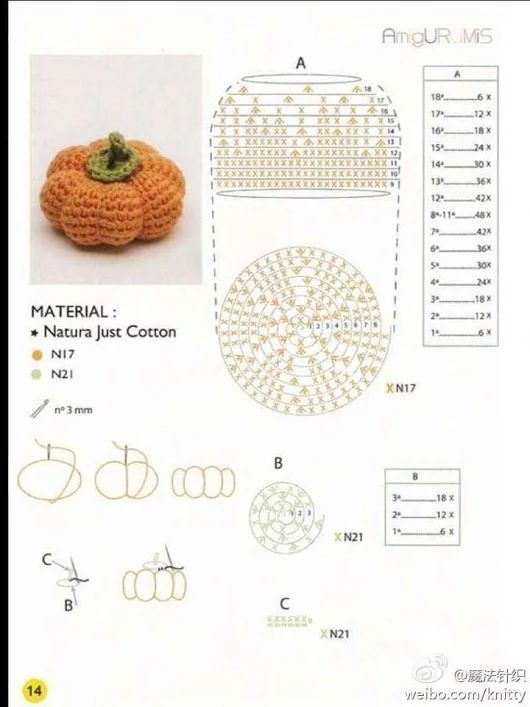
Via: m.blog.naver.com
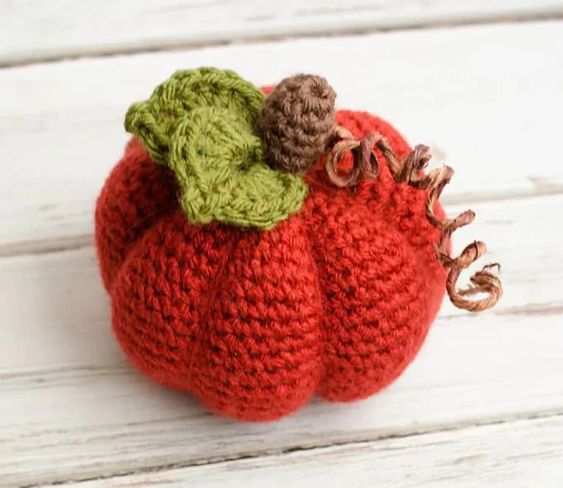
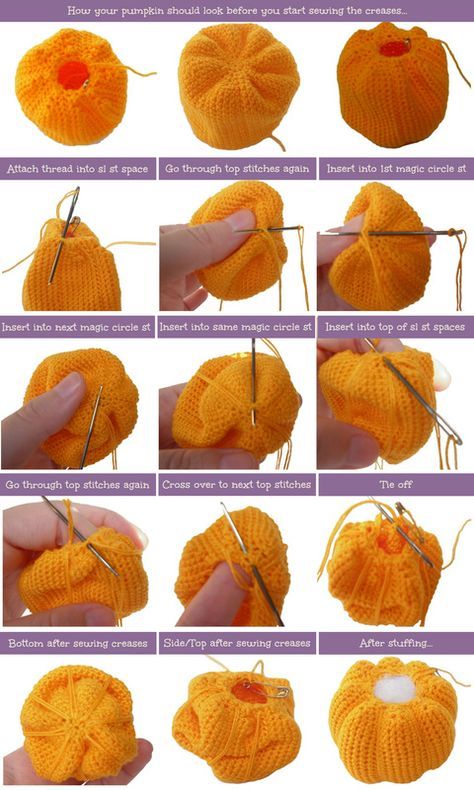
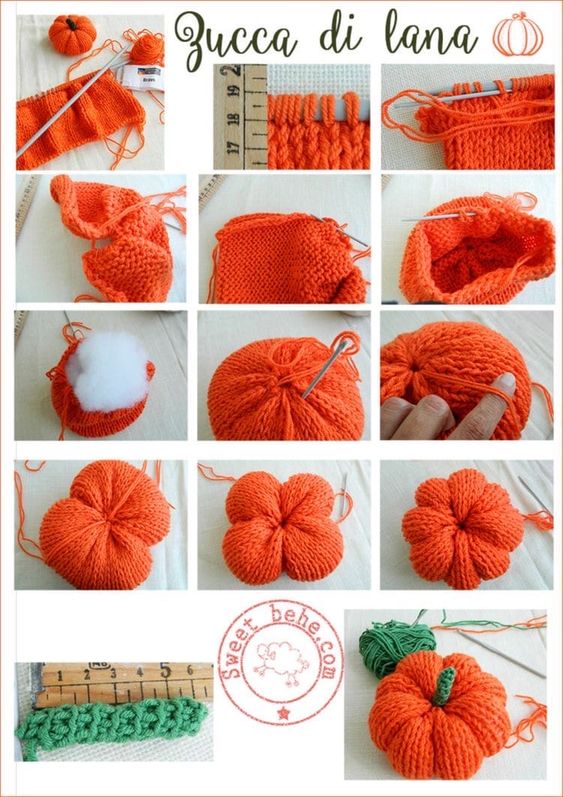
Via: sweetbehe.com
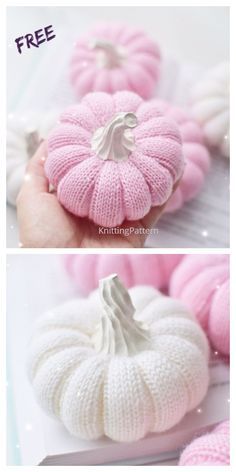
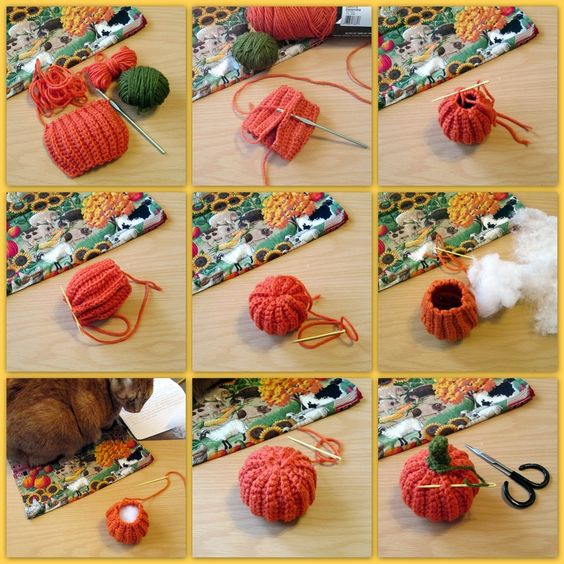
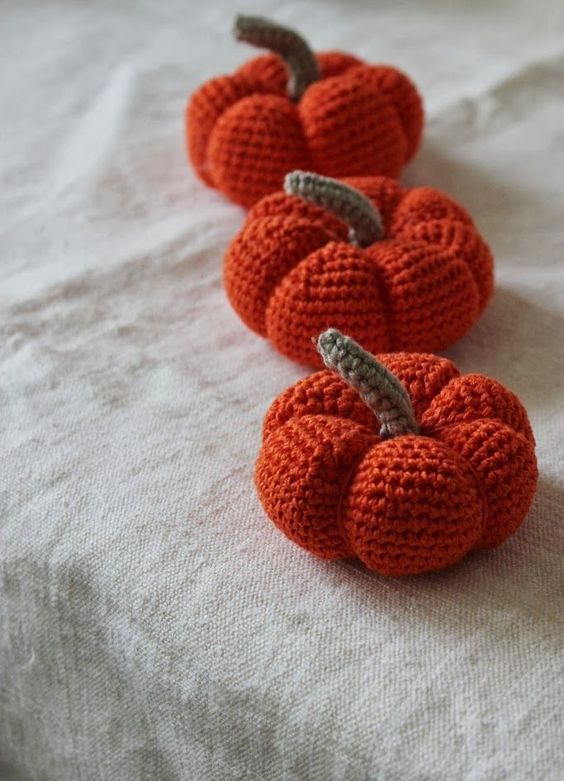
Via: Daily Doll Shop
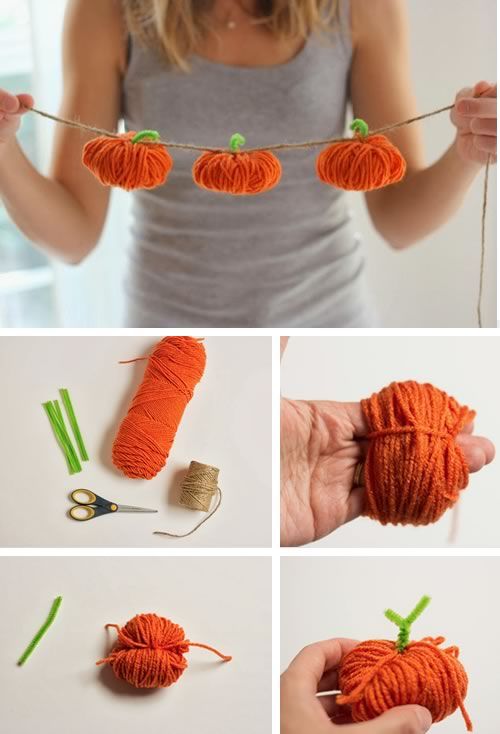
Step-by-Step Instructions
Step 1: Start with the Pumpkin Base
- Create a Magic Circle: This technique allows you to crochet in the round, forming the pumpkin’s base.
- Wrap the yarn around your finger to form a loop.
- Insert the hook into the loop, yarn over, and pull through to make your first loop.
- Chain 1 to secure it.
- Round 1: SC 6 stitches into the magic circle, then pull the tail to close the loop. (6 stitches)
- Round 2: INC in each stitch around. (12 stitches)
- Round 3: SC in the next stitch, INC in the next stitch; repeat around. (18 stitches)
- Round 4: SC in the next 2 stitches, INC in the next stitch; repeat around. (24 stitches)
- Continue Increasing: Add rows as needed until you achieve the desired size. Typical pumpkins increase up to 36 or 48 stitches around.
Step 2: Shape the Pumpkin Body
- For each round, SC in each stitch until your pumpkin reaches the desired height.
- To create more texture, try using back-loop single crochet (BLO SC) for a subtle ribbed look.
- Finish with 2-3 rounds of DEC: When you reach the last few rounds, start to decrease:
- SC in the next 2 stitches, DEC in the next stitch; repeat around until the opening is closed.
Pro Tip: To ensure a plump shape, don’t over-stuff your pumpkin; a moderate amount will help the stitches look even and defined.
Step 3: Add the Stem
- Switch Yarn Color: Attach green or brown yarn to the top of your pumpkin.
- CH 1 and HDC in each stitch around for a short, thick stem. You can also experiment with SC for a more delicate stem.
- Fasten Off: Leave a tail for weaving, and use the tapestry needle to tuck in any loose ends.
Learn how to crochet a pumpkin with this step-by-step guide! Perfect for fall decor, our tutorial covers materials, instructions, and creative display ideas for your crochet pumpkins.
Mastering the art of crocheting pumpkins is simple, enjoyable, and the perfect way to bring a bit of autumn into your home. Enjoy your project and happy fall crafting! 🍂
CHECK MORE CROCHET PATTERNS