How do you crochet a tissue box cover
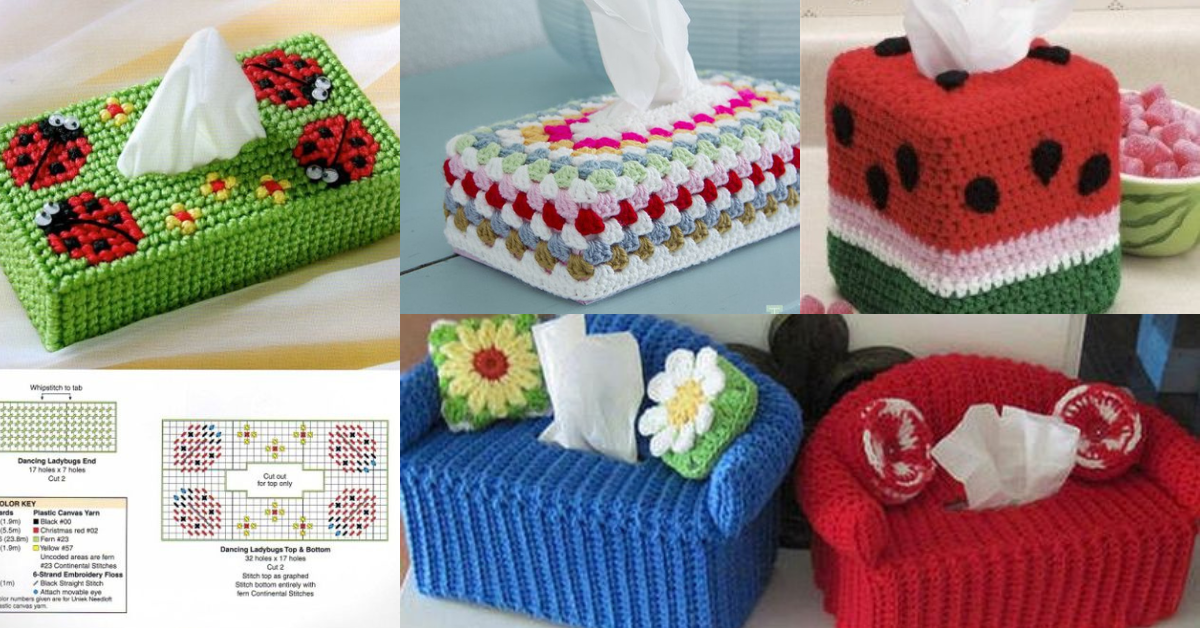
Tissues are very useful and are present in most homes. To have your tissues organized and to be easier to find the boxes are perfect.
Crochet is perfect for making boxes for your scarves, in addition to adding the functional part, it adds the beauty element.
Today we bring you some ideas crochet a tissue box cover. Check out the video tutorial and some inspiring ideas.
How do you crochet a tissue box cover
Transform a plain tissue box into a beautiful decorative piece with a crochet tissue box cover. With endless color and pattern possibilities, crocheted covers add a personalized, stylish touch to any room.
In this guide, we’ll explore unique design ideas, offer step-by-step instructions, and provide useful tips for creating a tissue box cover that’s both functional and aesthetically pleasing.

Crochet a tissue box cover ideas
Use your imagination and creativity to make crochet a tissue box cover
Perfect for your home, office, but also an original and beautiful gift for someone special.
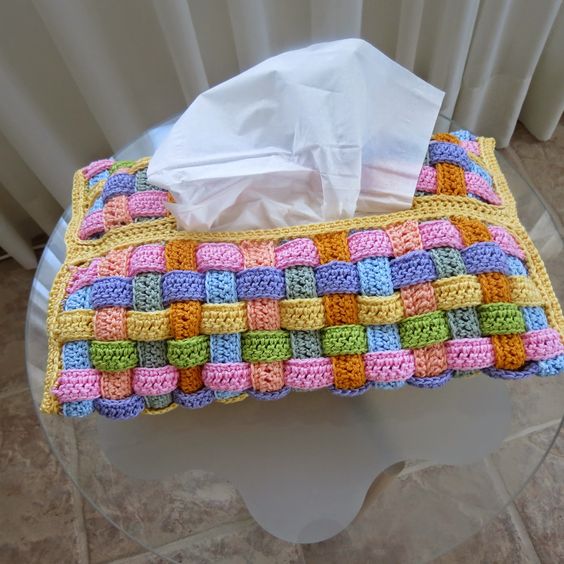
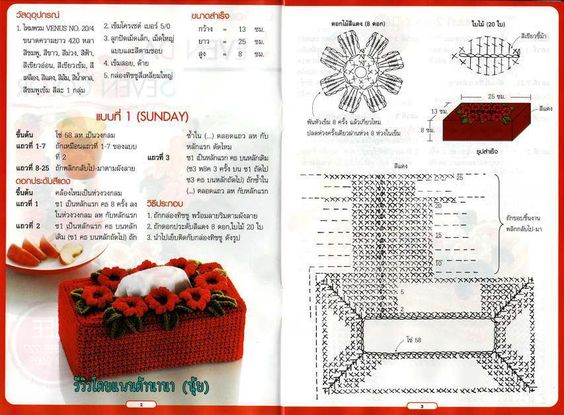
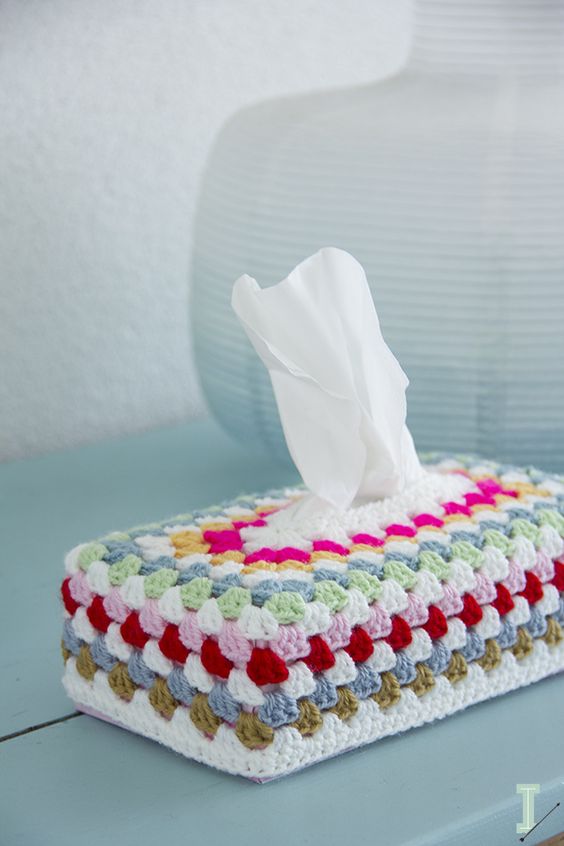
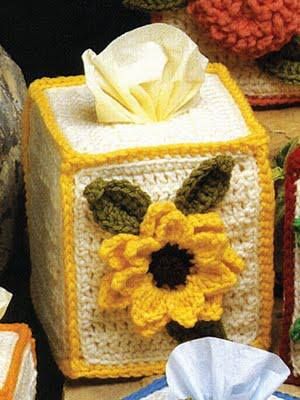
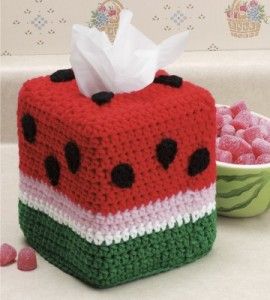
From: www.lovethecountry.com
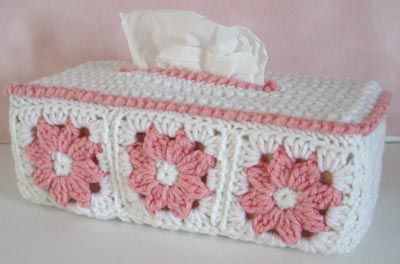
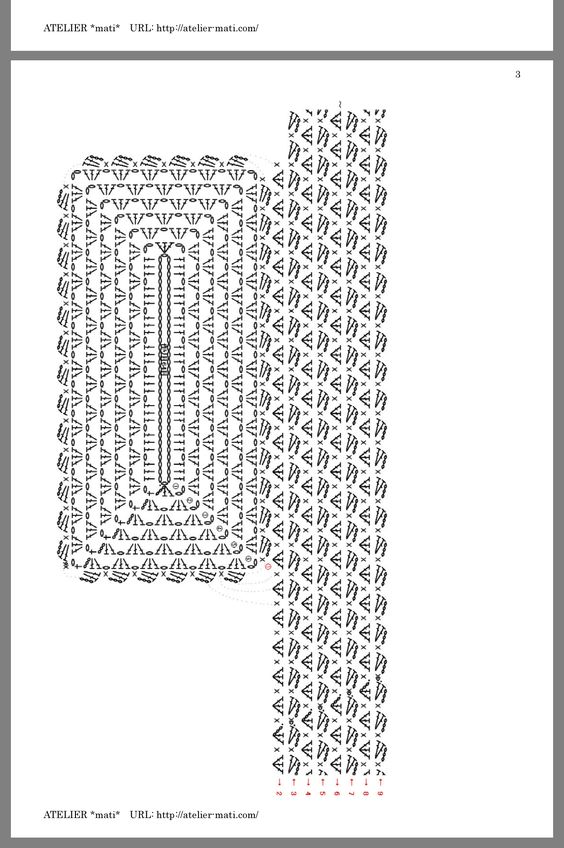
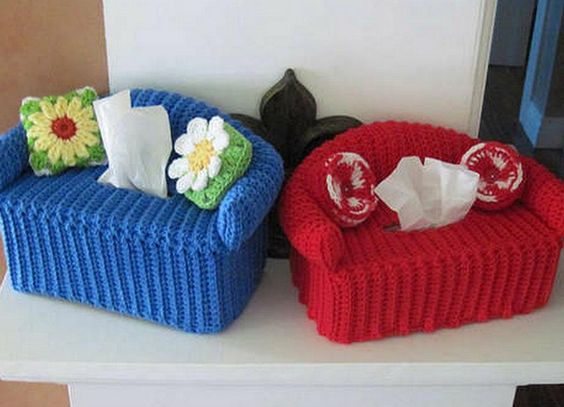
From: grazielaleahknitsandcrochets.wordpress.com
Crochet Ideas for Tissue Box Covers
1. Simple Single Color Cover
A basic single-color cover is minimalistic and elegant, making it suitable for any room or style.
Steps for a Simple Cover
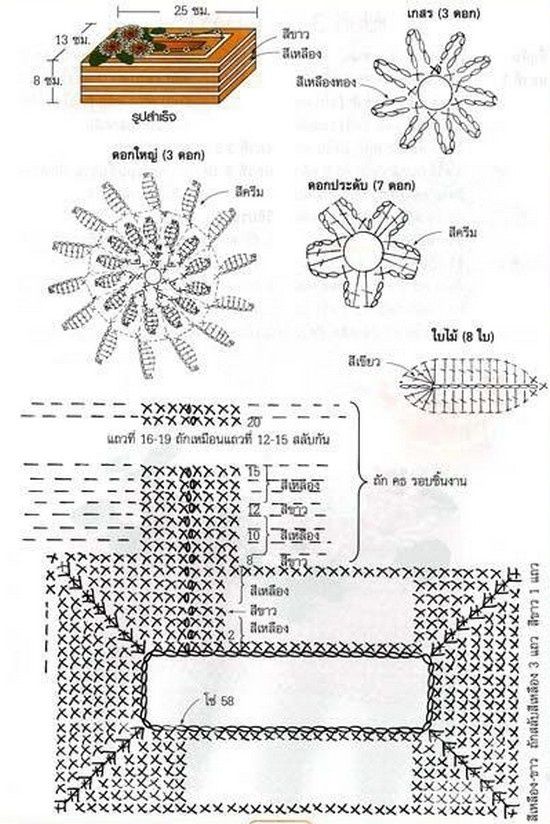
- Base: Chain enough stitches to fit the width of the tissue box, then single crochet in rows to cover the base.
- Sides: Work in the round or join new pieces for each side, attaching to the base as you go.
- Top: Crochet a top panel with a center opening for tissue access.
Styling Tip: Use neutral tones for a classic, sophisticated look.
2. Granny Square Tissue Box Cover
This design adds a nostalgic, colorful touch to your space and allows for endless color combinations.
Steps for a Granny Square Cover
- Make Granny Squares: Crochet individual granny squares in various colors.
- Join the Squares: Sew or crochet the squares together to form a cube shape, covering the box.
- Top and Opening: Crochet a larger square for the top with an opening for the tissues.
This colorful pattern adds a cozy, vintage feel to any room.
3. Floral Crochet Tissue Box Cover
Add a touch of spring with floral appliqués or flower-like patterns.
Steps for a Floral Cover
- Create Base and Sides: Work in your chosen stitch pattern to cover the box base and sides.
- Add Flower Appliqués: Crochet small flowers and attach them around the cover.
- Finish with Leaves: Add crochet leaves for a natural, blooming effect.
4. Holiday-Themed Tissue Box Covers
Celebrate the seasons with holiday-inspired designs. Think red and green for Christmas, pastels for Easter, or orange and black for Halloween.
Ideas for Holiday Covers
- Christmas: Use red and green with white snowflake appliqués.
- Halloween: Choose black and orange with mini pumpkin or bat motifs.
- Easter: Soft pastels with bunny or egg-shaped embellishments.
Switch up your decor easily by swapping out tissue box covers for each season.
5. Textured Stitch Tissue Box Cover
Add dimension with textured stitches like bobbles, puff stitches, or cables for a luxurious feel.
Steps for a Textured Cover
- Choose a Textured Stitch: Use bobbles, cables, or popcorn stitches for added texture.
- Cover Each Side: Crochet each side with the chosen stitch pattern and attach them together.
- Finish with a Top Panel: Make a top panel that complements the texture and includes a tissue opening.
6. Cute Animal-Themed Tissue Box Covers
These covers are perfect for kids’ rooms, bathrooms, or as a fun gift.
Popular Animal Ideas
- Bear Cover: Brown yarn with ears and a simple bear face on the front.
- Cat Cover: Grey or black yarn with pointy ears, whiskers, and button eyes.
- Bunny Cover: Soft pastel yarn with long ears and a pom-pom tail.
Add a playful element to any room with a cute animal design.
Step-by-Step Guide to Making a Basic Tissue Box Cover
- Measure Your Box: Measure the dimensions of your tissue box to ensure a snug fit.
- Crochet the Base: Start by crocheting a rectangle that matches the box’s bottom.
- Create the Sides: Work around the base in rounds to build the sides, or crochet each side panel separately.
- Make the Top with an Opening: Crochet a top piece with a hole in the center for tissue access.
- Assemble and Attach: Sew or crochet the pieces together for a seamless look.
CHECK MORE CROCHET PATTERNS