Crochet Christmas Bobble tree Tutorial
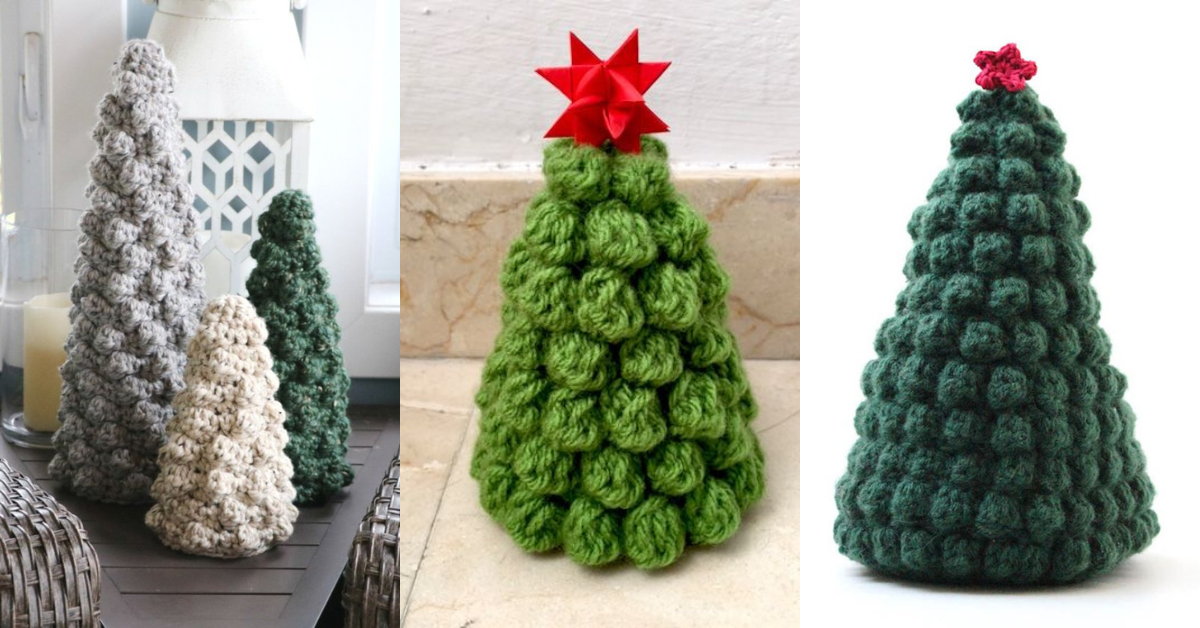
Crochet Christmas trees are beautiful and perfect. They can be used in many ways and made in different sizes and with different stitches.
Today we bring you a beautiful idea that works very well, they are crochet Christmas trees made with bubble stitch.
An inspiration to decorate your home or to offer or sell. Check out the video tutorial and even some ideas.
Table
Crochet Christmas Bobble tree
Create a beautiful Crochet Christmas Bobble Tree for the holiday season with this detailed tutorial! This festive decoration, characterized by its textured bobble stitches and customizable design, makes a delightful addition to any Christmas setting

Bobble Stitch Christmas Tree
- 1. Festive and Unique Design
- The bobble stitch adds a playful texture, making it stand out as a unique decor piece.
- 2. Easy to Customize
- Choose from various yarn colors, add tiny embellishments, and even adjust the tree’s size to suit your space.
- 3. Fun for All Ages
- This crochet project is family-friendly and suitable for beginners with basic crochet skills, making it perfect for a cozy craft night.
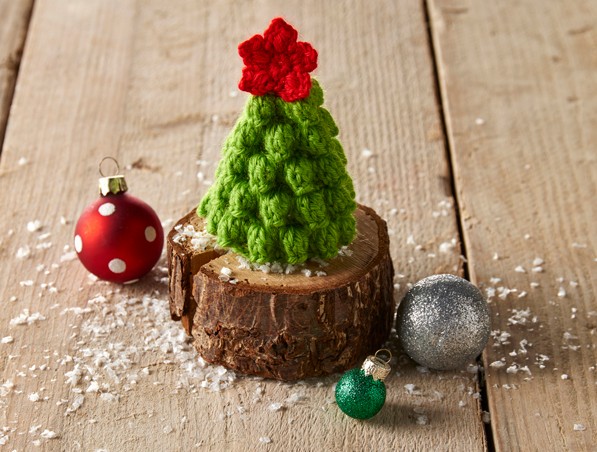
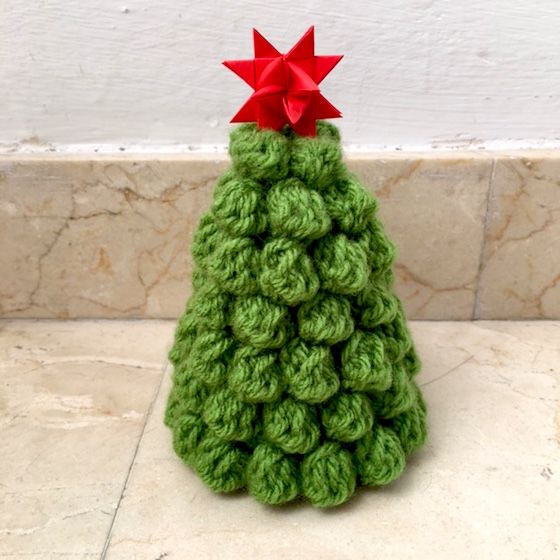
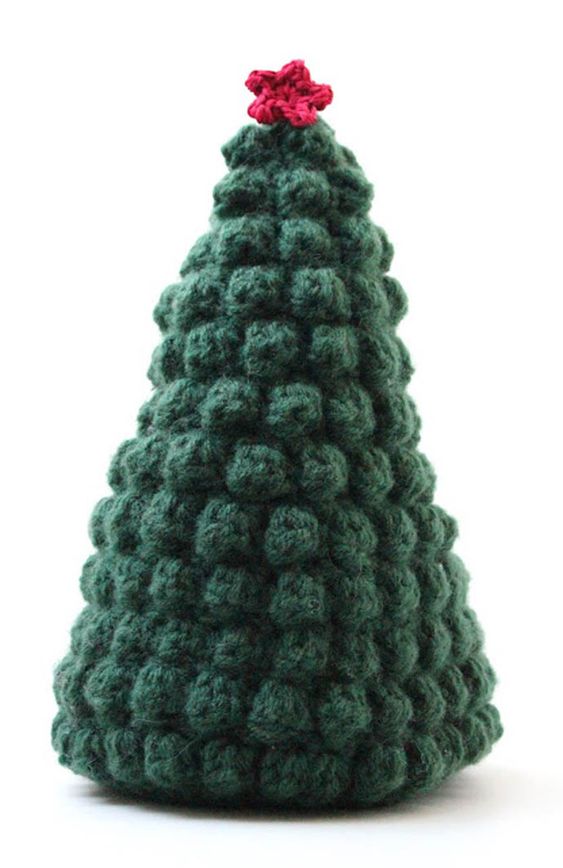
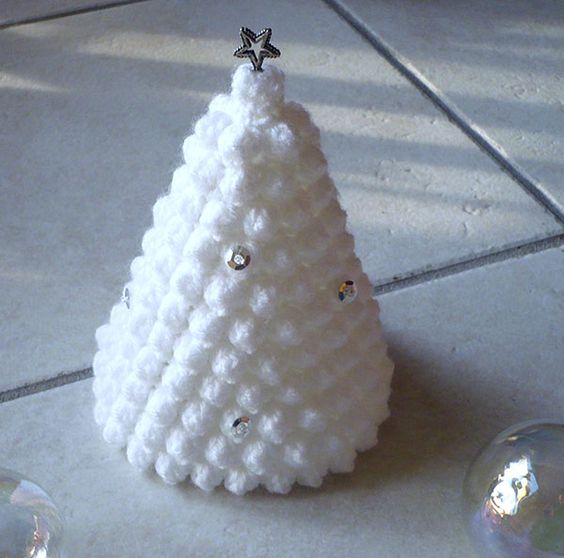
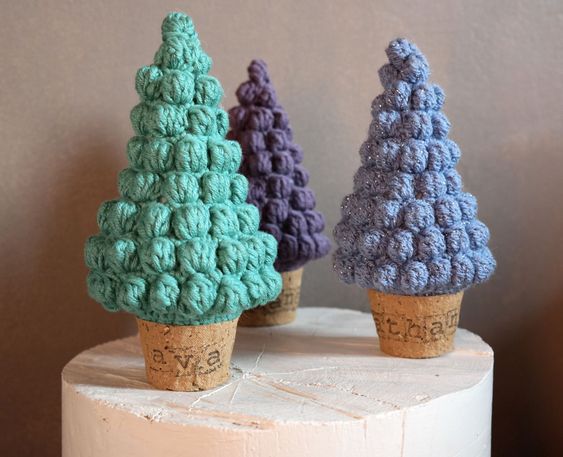
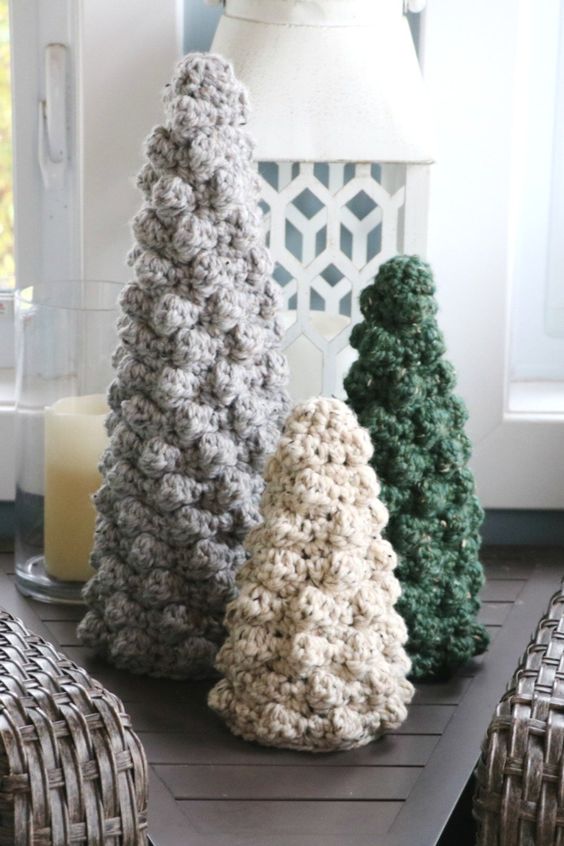
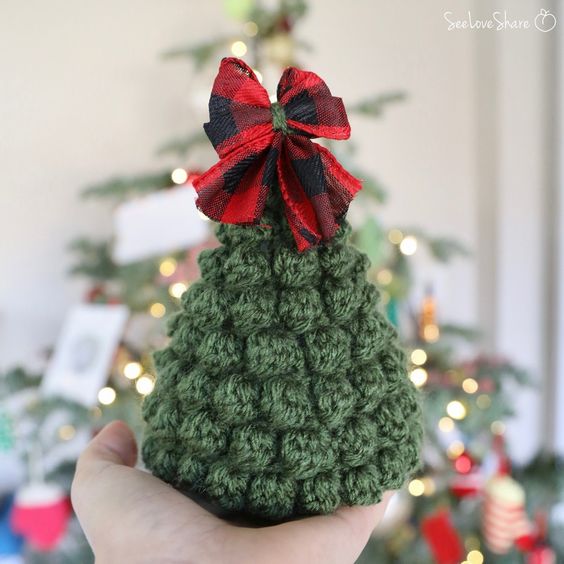
Step-by-Step Crochet Christmas Bobble Tree Tutorial
Step 1: Start with the Tree Base
- Magic Ring: Begin with a magic ring and work 6 single crochets (sc) into the ring.
- Round 1: Work 2 sc in each stitch around. (12 stitches)
- Round 2: Sc in next stitch, inc in the next. Repeat around. (18 stitches)
- Continue Increasing: Keep adding stitches until you have a flat base approximately 4 inches in diameter (or your desired size).
Step 2: Begin Shaping the Tree
- First Round of Bobbles:
- Work a row of bobble stitches around the edge of the tree base. This will create a bumpy, decorative row that adds texture and dimension.
- Next Rounds:
- Alternate between rounds of single crochet and bobble stitches as you build the height of the tree.
- Decrease Gradually:
- After a few rounds, begin decreasing by skipping a stitch every few stitches. This will taper the tree as it grows taller.
Pro Tip: Add a stitch marker at the beginning of each round to keep track of your decreases.
Step 3: Add Bobbles for Decoration
- Strategic Bobble Placement:
- As you work up the tree, place bobbles at regular intervals to resemble Christmas ornaments.
- Alternate Colors (optional): If desired, switch to red, gold, or white yarn for some of the bobbles to make them look like colorful ornaments.
Adding Optional Decorations
1. Beads and Small Bells
- Attach tiny beads, bells, or buttons to some bobble stitches for an extra festive look.
2. Star Topper
- Crochet a small star for the top of the tree or use a pre-made star embellishment.
3. Garland Effect
- Chain a long piece and wrap it around the tree to create a garland. Attach with small stitches as you go.
CHECK MORE CROCHET PATTERNS