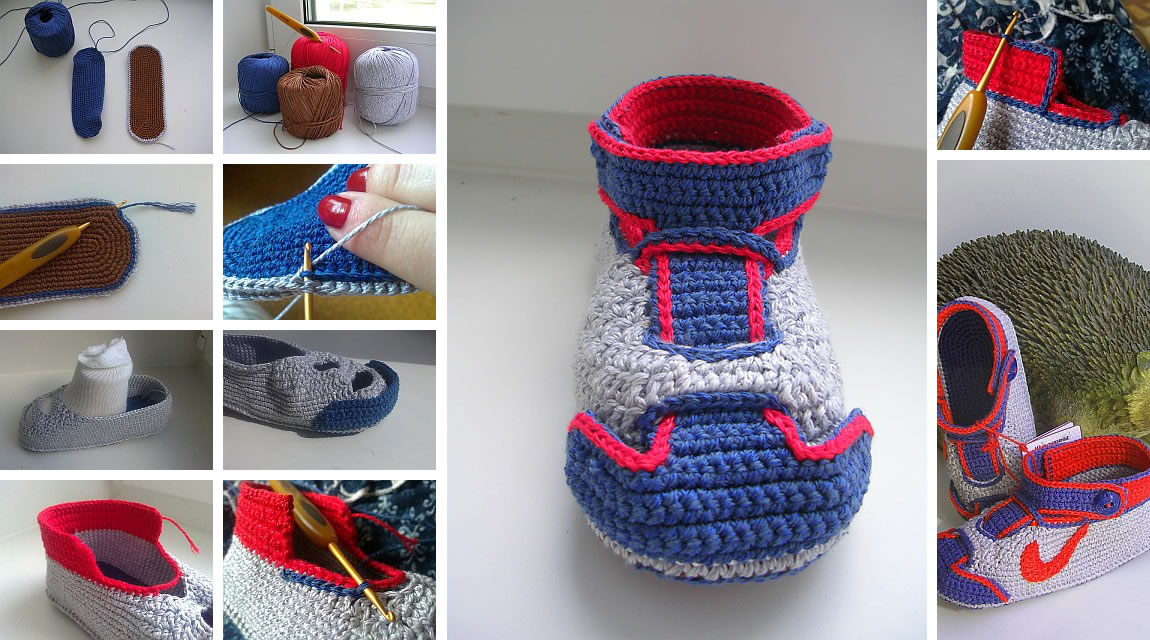
How to Crochet Nike Inspired Baby Booties: A Trendy Craft for Little Feet

Looking to add a stylish touch to your baby's wardrobe? Crocheting Nike-inspired baby booties is a fantastic way to create adorable footwear that combines comfort and flair.
These trendy booties not only keep tiny feet warm but also showcase your creativity and crafting skills.
In this guide, you'll learn how to crochet these fashionable booties step by step, along with tips and ideas for customization.
How to Crochet Nike Inspired Baby Booties
Crochet your way to some cute pair of shoes that resemble an original petite piece of Nike or Converse. If this experience has encouraged you to do more, why not try and make a matching crochet hat. It’s entirely up to you.
The way we see it, these crochet cuties are so much better than the real deal in so many ways. First of all, there’s the fact that they cost so much less to make than a real pair of Nikes would retail for.
CHECK THE VIDEO BELOW

Once you’ve picked up the basics you can let your imagination go to town – just be sure to share your ideas and success stories with the rest of our readers in the comments section below.

Materials Needed
Before you start, gather the following materials:
- Yarn: Choose a soft, durable yarn in the colors of your choice (white, black, and any accent colors).
- Crochet hook: A size suitable for your yarn (commonly size G/6 or H/8).
- Scissors
- Tapestry needle: For weaving in ends.
- Stitch markers: Optional, for tracking rounds.
Customization Ideas for Your Crochet Nike Baby Booties
Want to give your crochet baby booties a personal twist? Here are some ideas to make them stand out:
- Add laces: Create faux crochet laces or use real tiny shoelaces for a sneaker-style look.
- Experiment with colors: Go beyond traditional Nike colors and use bright, neon yarn or pastels.
- Personalize with initials: Embroider the baby’s initials or name on the heel.
- Create a matching hat: Crochet a matching sporty baby beanie to complete the look.
As you can see in the images here, there sky’s the limit when it comes to creativity and the kinds of unique designs you can come up with.
Good luck on making the cutest DIY crochet shoes!
CHECK MORE CROCHET PATTERNS