DIY Crochet Snail Amigurumi Free Pattern
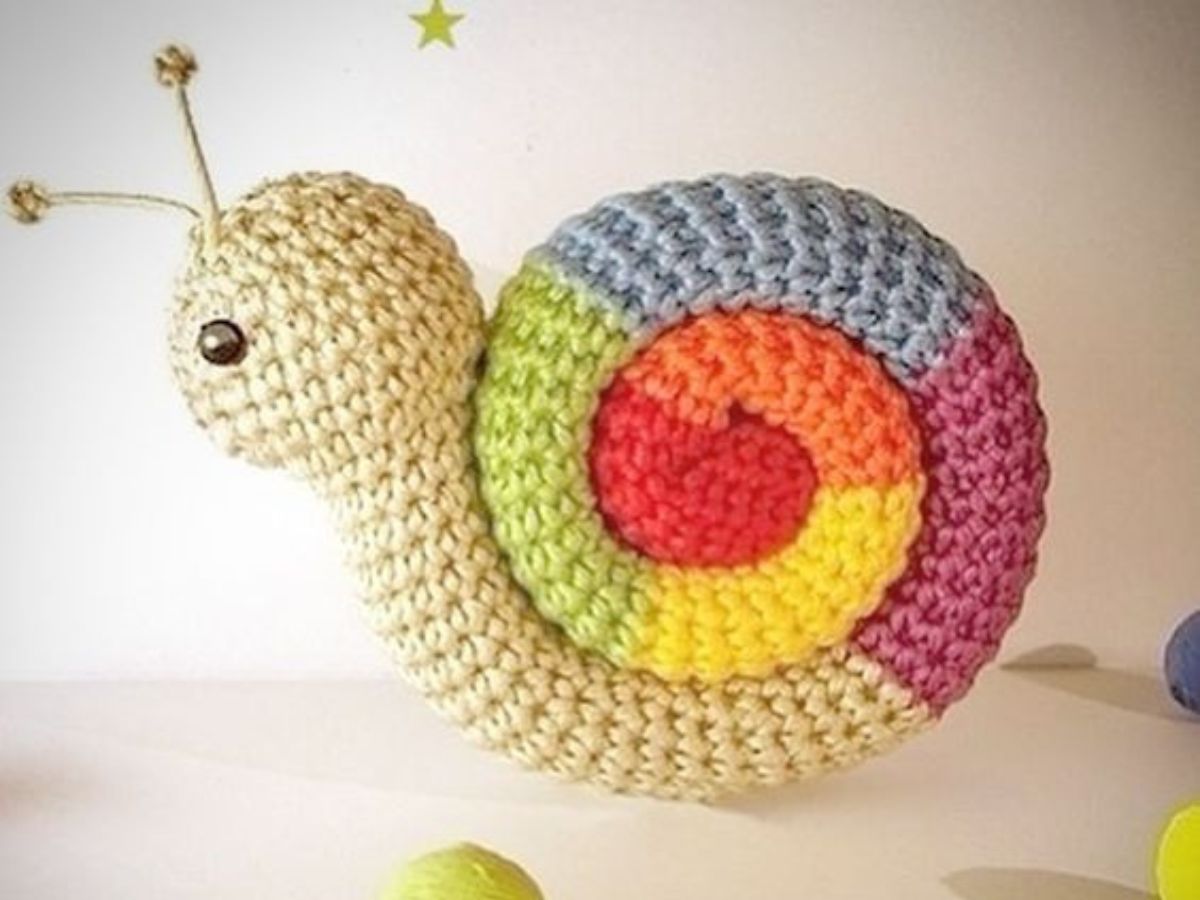
The snail is one of the strangest but also the cutest animals in Nature. With its shell, the turtle is a character often used in animation stories, always with a beautiful figure.
The snail is also widely used in decoration, it is very common to see this nice figure in the decoration of children's rooms.
Today we bring Crochet Snail Amigurumi Free Pattern. We leave even more ideas and inspirations.
Table
Crochet Snail Amigurumi Free Pattern
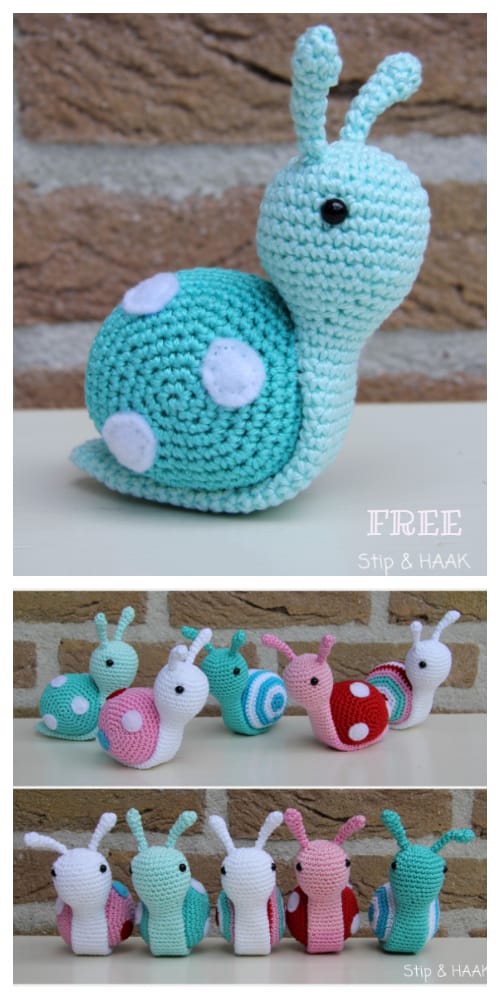
Check it out here: https://stipenhaak.blogspot.com/2014/08/slakje-sofie.html
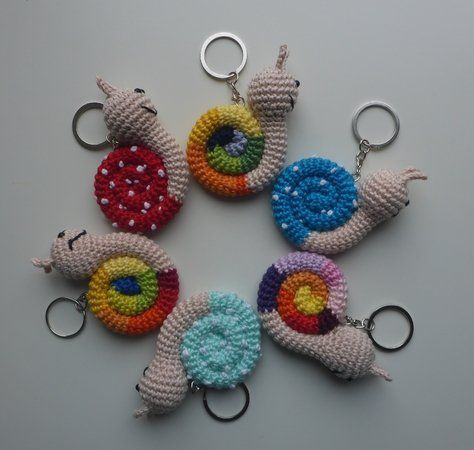
Crochet Snail Ideas
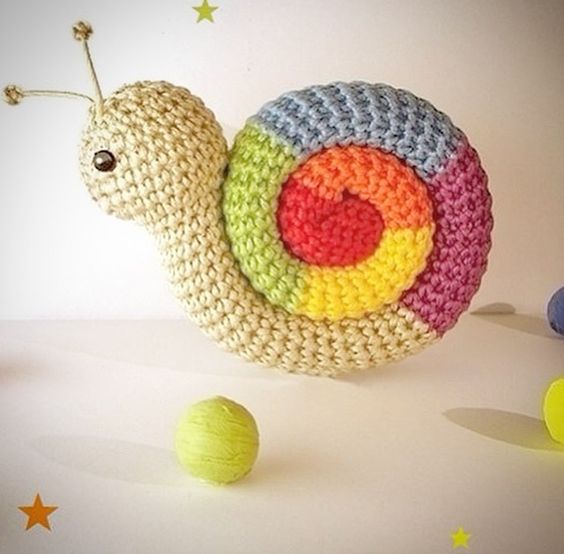
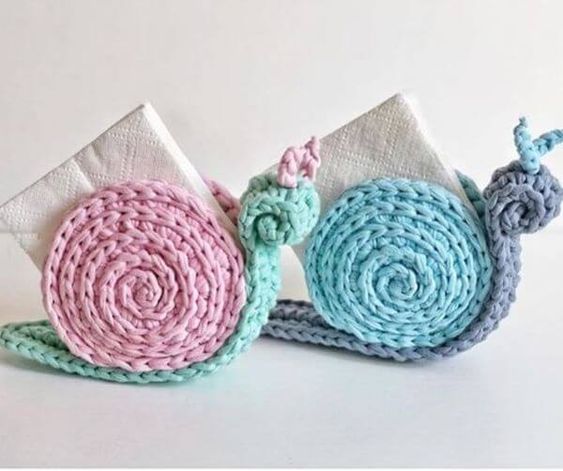
Via: @gallery_paniiiz
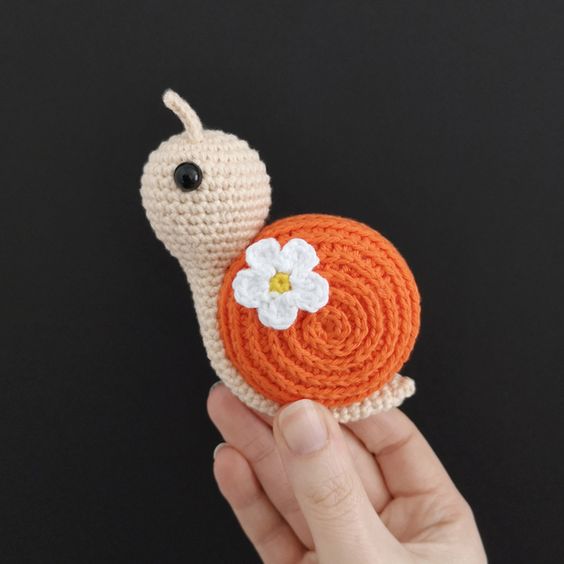

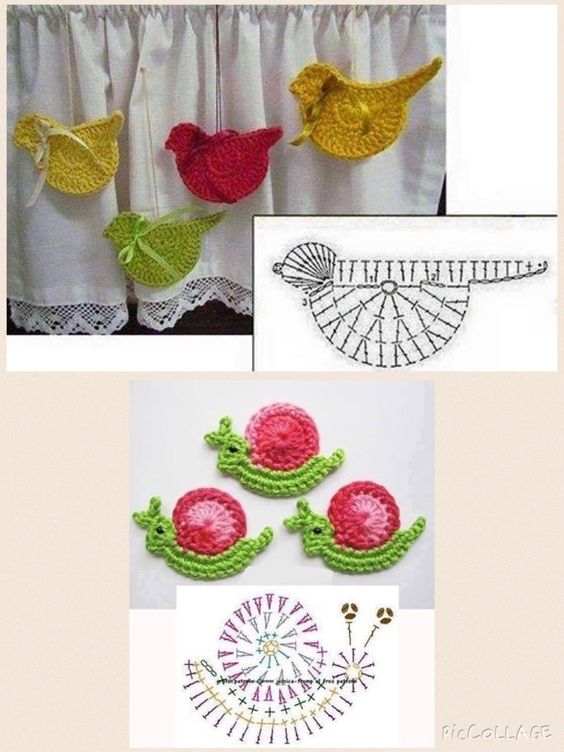
via: www.marietta.ru
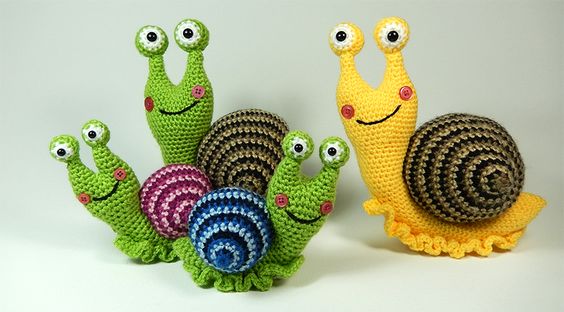
Step-by-Step Instructions for DIY Crochet Snail Amigurumi
Step 1: Start with the Snail’s Body
- Create a Magic Ring:
- Start by creating a magic ring. This will be the foundation of your snail’s body.
Magic Ring Instructions: - Wrap the yarn around your fingers to create a loop. - Insert your hook into the ring, yarn over, and pull up a loop. - Round 1:
- Work 6 sc into the magic ring. Pull the ring tight and join with a sl st to the first sc.
- Round 2:
- Ch 1, then 2 sc in each stitch around. You should have 12 sc at the end of this round.
- Round 3:
- Ch 1, sc in the first stitch, 2 sc in the next stitch. Repeat around. You should have 18 sc.
- Rounds 4-6:
- Continue increasing as follows:
- Round 4: sc in the first 2 stitches, 2 sc in the next stitch (24 sc).
- Round 5: sc in the first 3 stitches, 2 sc in the next stitch (30 sc).
- Round 6: Work in sc until the piece measures approximately 4-5 inches from the start.
- Continue increasing as follows:
Step 2: Create the Snail’s Shell
- Start the Shell:
- Change to your chosen shell color. Attach the new yarn with a slip stitch in any stitch.
- Shell Rounds:
- Work in the round using the following pattern to create a spiral shell:
- Round 1: ch 3 (counts as dc), dc in the next stitch, ch 1, skip the next stitch and repeat around.
- Round 2: Continue in this manner, increasing the number of dc as desired to form the spiral shape.
- Work in the round using the following pattern to create a spiral shell:
- Finishing the Shell:
- Work until your shell reaches your desired size, then fasten off, leaving a long tail for sewing.
Step 3: Assemble the Snail
- Shape the Body:
- If you prefer, add fiberfill stuffing to the body for shape and volume.
- Attach the Shell:
- Sew the shell to the body using the long tail left from the shell. Position it at the back of the snail to create a realistic look.
Step 4: Add Eyes and Details
- Eyes:
- If you’re using safety eyes, insert them before sealing the head. If not, you can stitch small black beads or yarn for a simple eye design.
- Face:
- Embroider a smile or any other facial features using contrasting yarn.
Step 5: Final Touches
- Weave in Ends:
- Use a yarn needle to weave in any loose ends for a neat finish.
- Block (Optional):
- If you want your snail to hold its shape better, you can lightly steam block it to smooth out any uneven stitches.
Creative Variations on Your Crochet Snail
1. Colorful Shells
- Instructions: Use a variety of colors for the shell, creating a rainbow effect or even stripes for a fun look.
2. Accessory Additions
- Instructions: Add small crochet flowers, hats, or bows to your snail to give it more character.
3. Different Sizes
- Instructions: Experiment with the size of your crochet snail by using different yarn weights or adjusting the number of stitches.
4. Family of Snails
- Instructions: Make multiple snails in various colors and sizes to create a charming family or collection.
CHECK MORE CROCHET PATTERNS