How to Crochet a Hairpin Lace Infinity Scarf
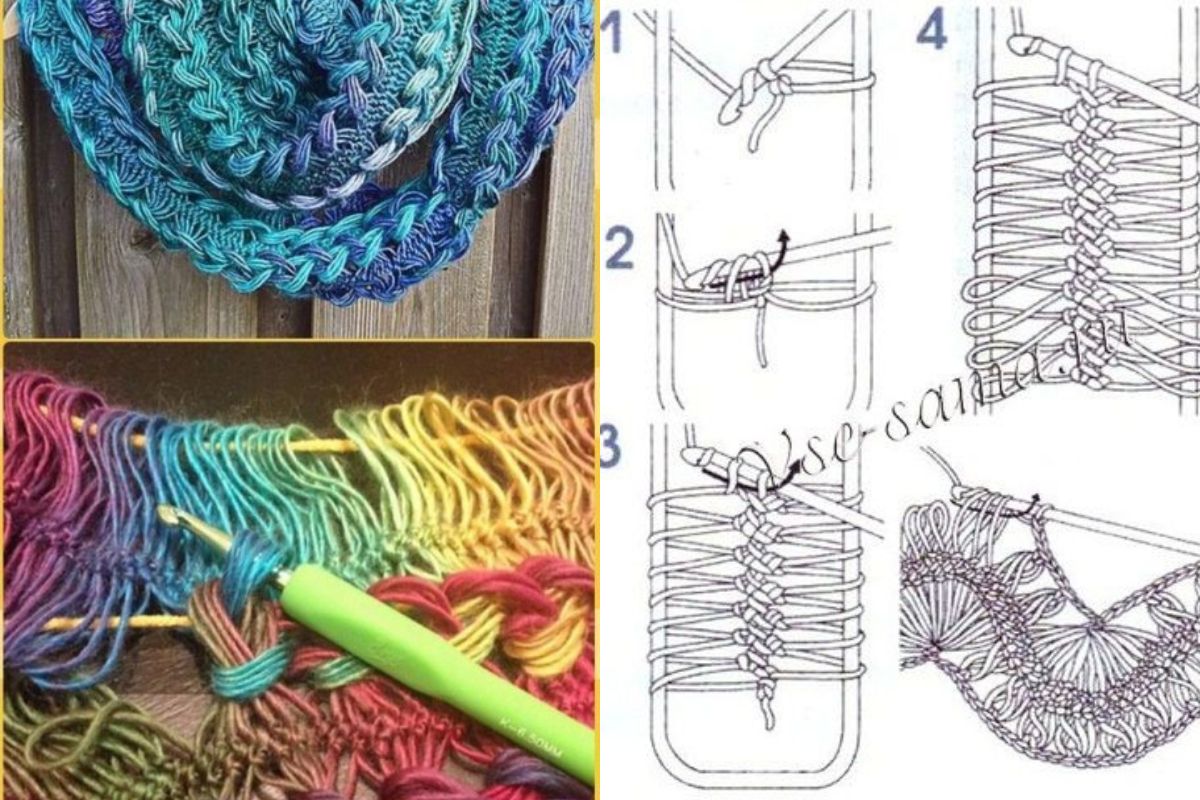
For those who like crochet and scarves, today we bring you a wonderful and beautiful idea that promises to be a hit.
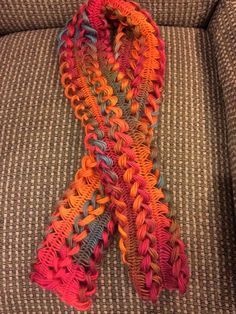
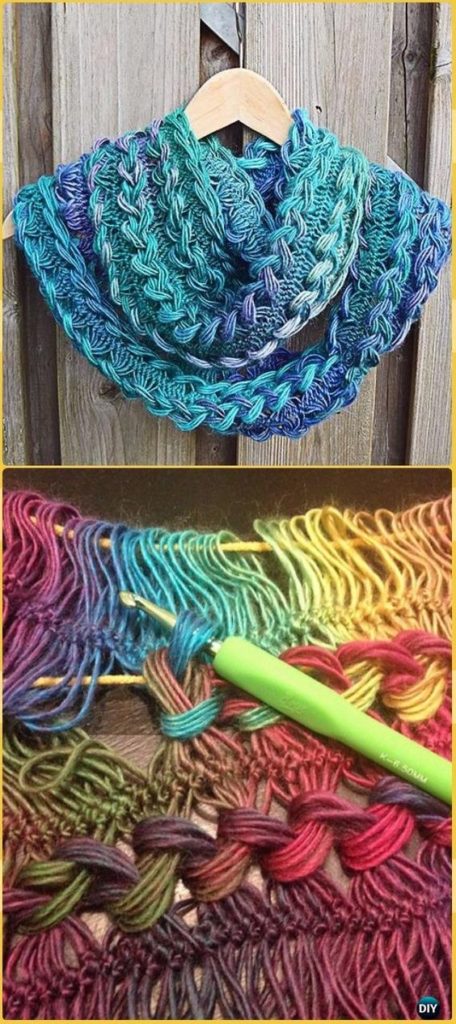
Today we bring you the video tutorial to make a crochet hairpin lace infinity scarf A beautiful idea.
Check out the step-by-step and even some ideas to use as inspiration.
How to Crochet a Hairpin Lace Infinity Scarf
An irresistible idea that you will want for yourself and to offer.

Crochet Hairpin Lace Infinity Scarf ideas
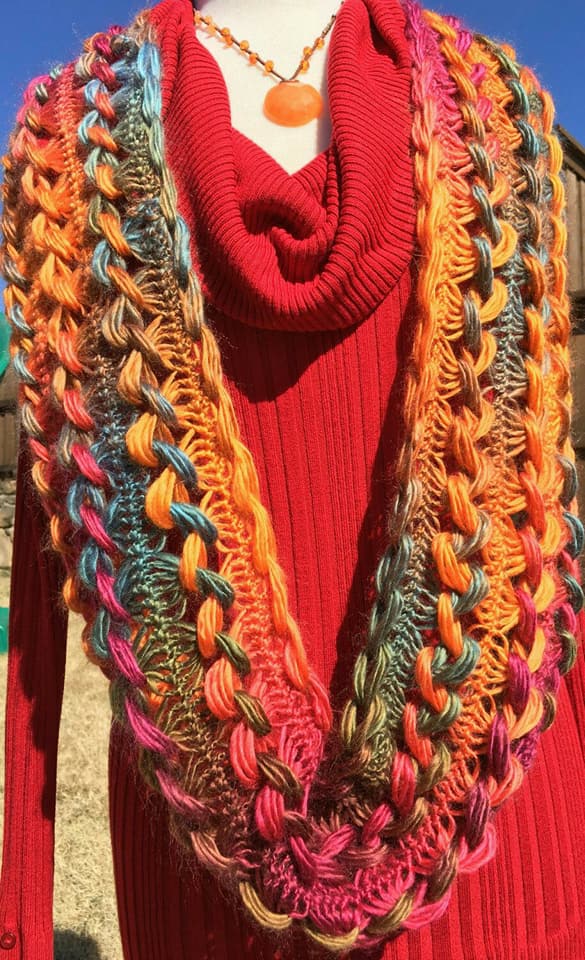
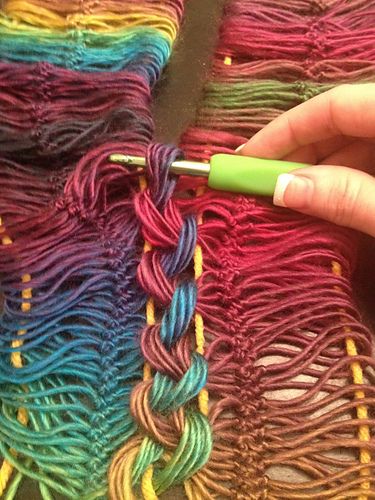
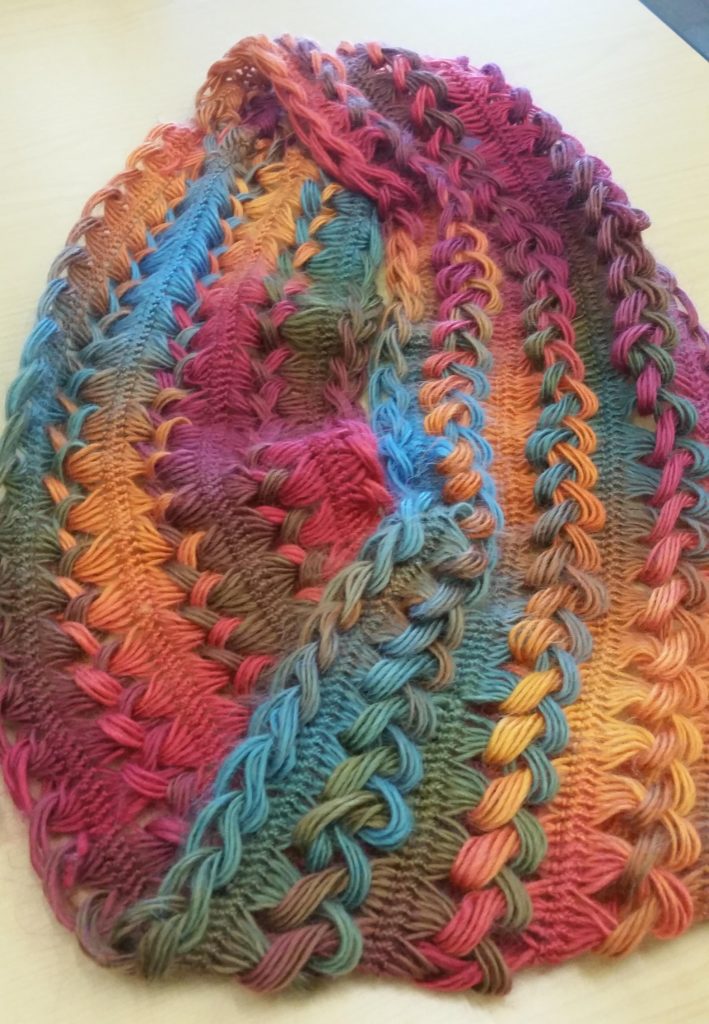
Via: imgur.com

Step-by-Step Guide: How to Crochet a Hairpin Lace Infinity Scarf
Step 1: Set Up Your Hairpin Lace Loom
- Adjust the Loom Width:
- Set the hairpin lace loom to your desired width. For a standard infinity scarf, a 2- to 3-inch width is typical.
- Secure Your Yarn:
- Tie your yarn around one of the loom prongs, leaving a small tail.
Adjusting the width of your loom allows you to control the overall width of the lace strip, affecting the scarf’s appearance and drape.
Step 2: Begin Crocheting on the Loom
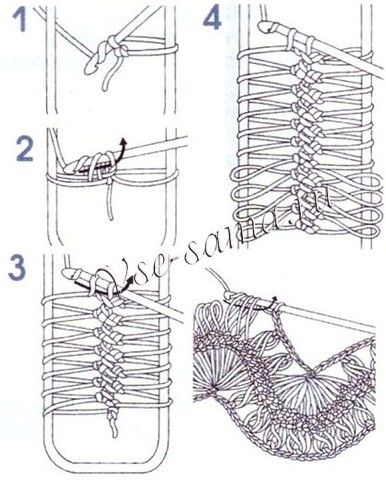
- Create a Slip Knot and Chain:
- Make a slip knot on your crochet hook and chain one to anchor your yarn.
- Wrap and Crochet:
- Wrap the yarn around the opposite prong of the loom, then crochet a single stitch in the middle to hold the loop in place.
- Repeat the Process:
- Continue wrapping the yarn around each prong, securing it with a single crochet stitch in the center each time. This forms a series of loops on either side of the loom.
**Pro Tip**: Consistency is key—try to maintain even tension as you wrap the yarn around the loom to keep the loops uniform.
Step 3: Create the Length of the Lace Strips
- Determine the Desired Length:
- Measure the length of the scarf as you work. For an infinity scarf, you may want each strip to be 4–5 feet long, depending on how you plan to join them.
- Remove the Lace Strip from the Loom:
- Once you reach the desired length, carefully slide the loops off the loom prongs. Keep them neat and organized.
Creating longer strips allows you to loop the scarf multiple times, giving it volume and enhancing its elegant drape.
Step 4: Join Lace Strips to Form the Scarf
- Align the Loops for Joining:
- Lay the strips flat and align the loops on both sides to prepare for joining.
- Slip Stitch the Loops Together:
- Use slip stitches to join the loops from one strip to the loops on the adjacent strip. You can also experiment with joining patterns, such as crisscrossing or twisting loops.
- Repeat for Additional Strips:
- Continue joining the strips until you reach your desired width and length for the infinity scarf.
**Tip**: Joining the loops in different ways creates unique textures, so feel free to experiment with various joining techniques.
Step 5: Finish and Secure the Scarf
- Fasten Off:
- Once you’ve joined all the strips, fasten off the yarn and weave in any loose ends using the tapestry needle.
- Add a Border (Optional):
- For a polished look, add a single crochet or picot edge around the entire scarf.
A neat finish is essential for giving your infinity scarf a professional look. Weaving in ends securely helps the scarf hold up over time.
Creative Ideas for Customizing Your Hairpin Lace Infinity Scarf
1. Color-Block Strips
Create a colorful scarf by working each lace strip in a different color. This technique adds a modern, vibrant twist to your scarf.
- How to Create It:
- Use different colors for each strip and join them in the same sequence.
- Tips:
- Use complementary colors or a gradient for a stylish effect.
"A color-blocked hairpin lace scarf makes a statement, adding a pop of color to any outfit."
2. Add Beaded Fringe
Add a touch of elegance with a beaded fringe at the ends of the scarf.
- How to Create It:
- After joining the strips, string beads onto yarn and attach them to each loop at the scarf’s edge.
- Tips:
- Choose beads that match the color of your yarn for a subtle look, or go for contrasting beads to make them stand out.
Customizing your infinity scarf with different colors, textures, and borders makes it unique, adding a personal touch to your accessory.
CHECK MORE CROCHET PATTERNS