Crochet fairy houses- Ideas and video tutorial
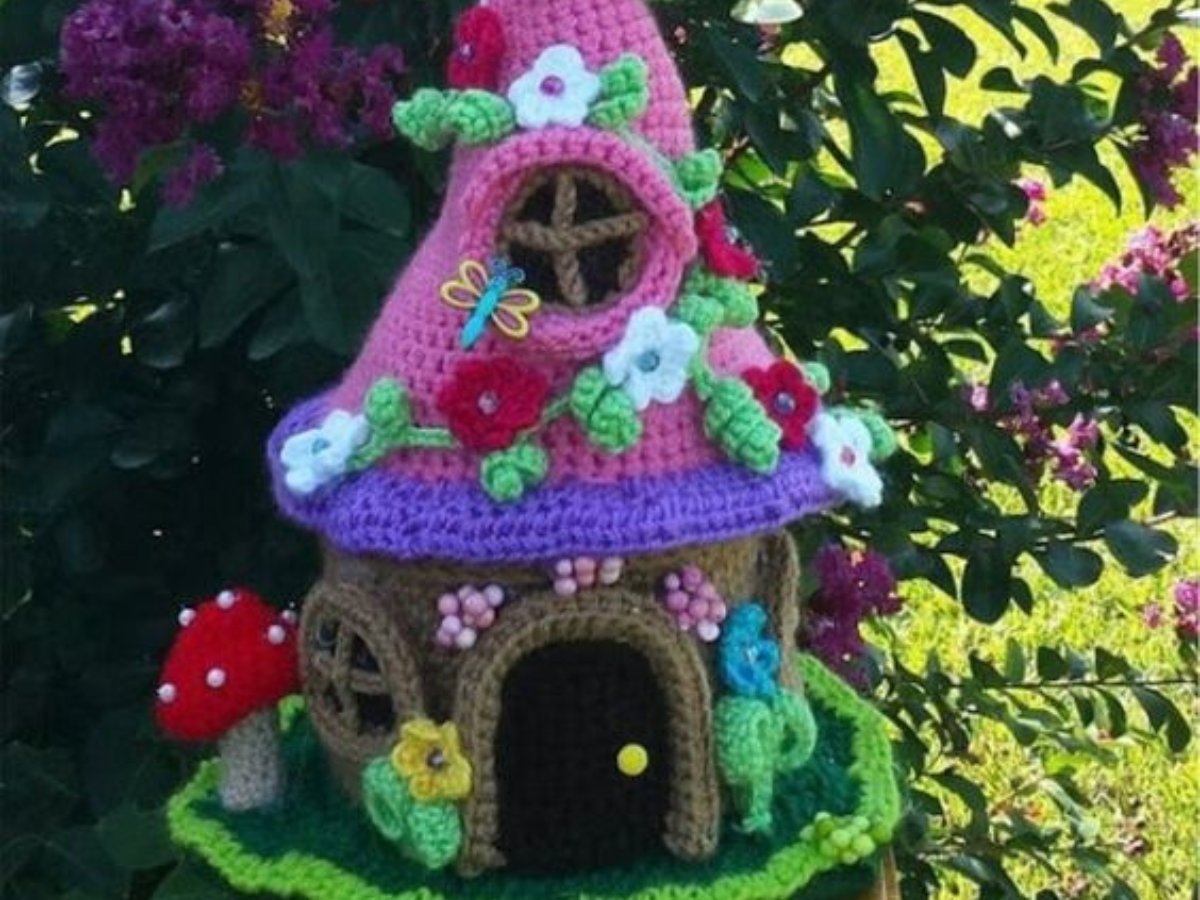
Fairy houses are simply a dream, the truth is that fairies are part of our imagination. There are beautiful and wonderful ideas of crochet fairy houses. Beautiful and different options that you can use in your home decor.
The base can have different formats, then the details give all the charm. You can use mushrooms, fairies, flowers, the options are many and it depends a lot on each person's personal taste.
Today we bring you a tutorial video with a beautiful idea and also some ideas to use as inspiration.
How to crochet fairy house tea cozy


Crochet fairy houses Ideas
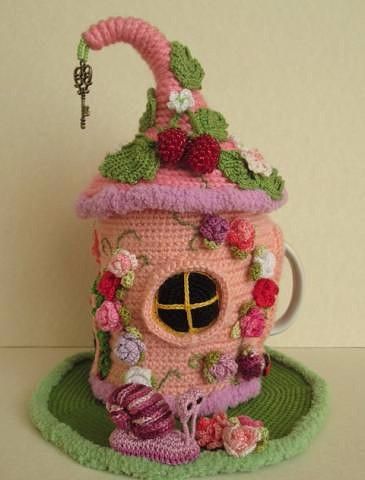
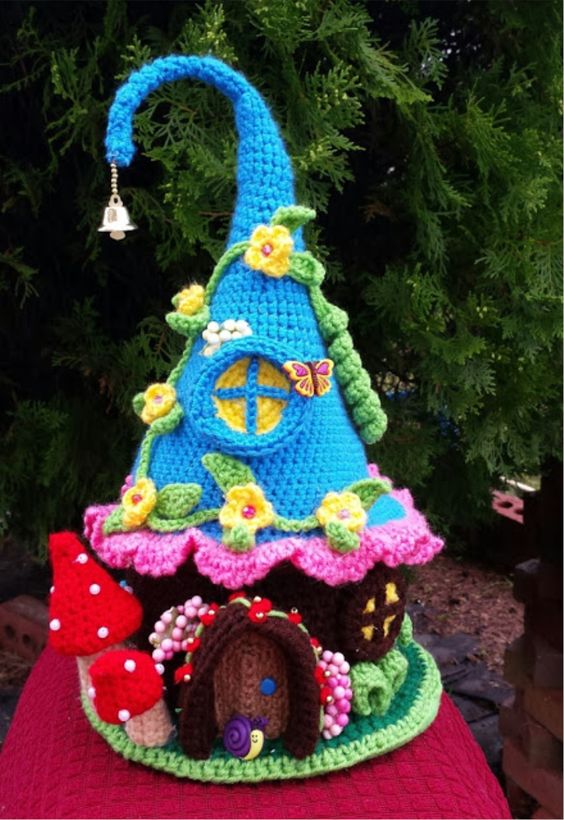
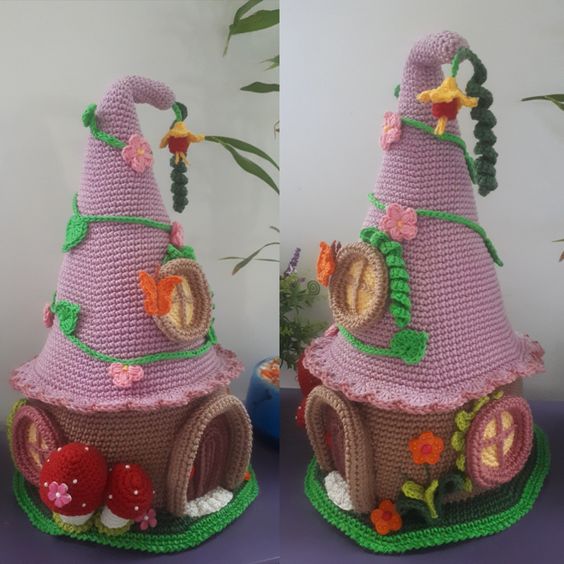
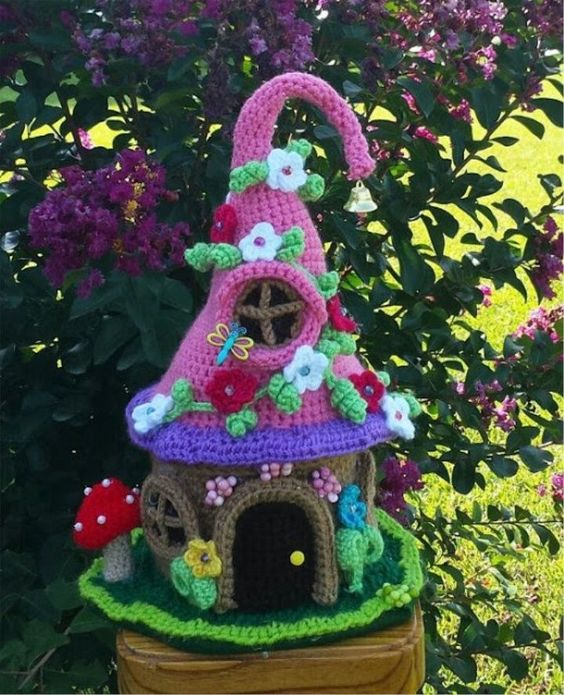
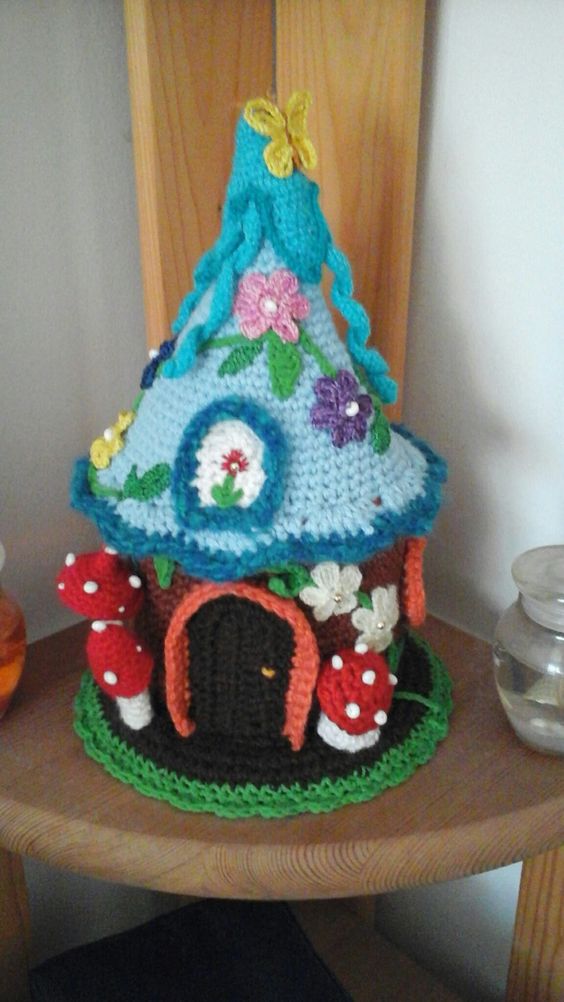
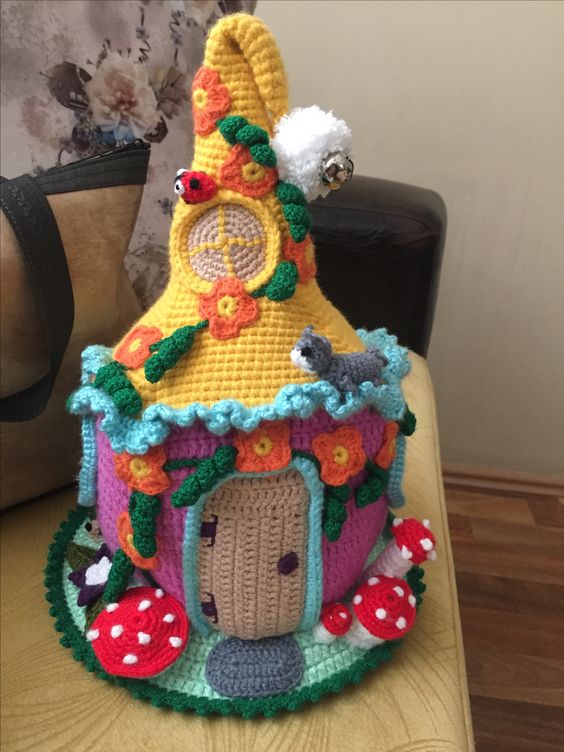
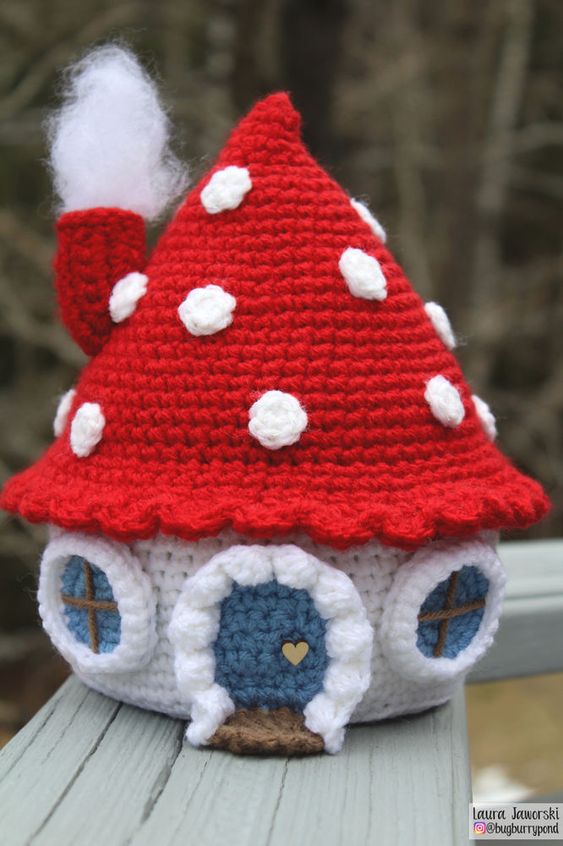
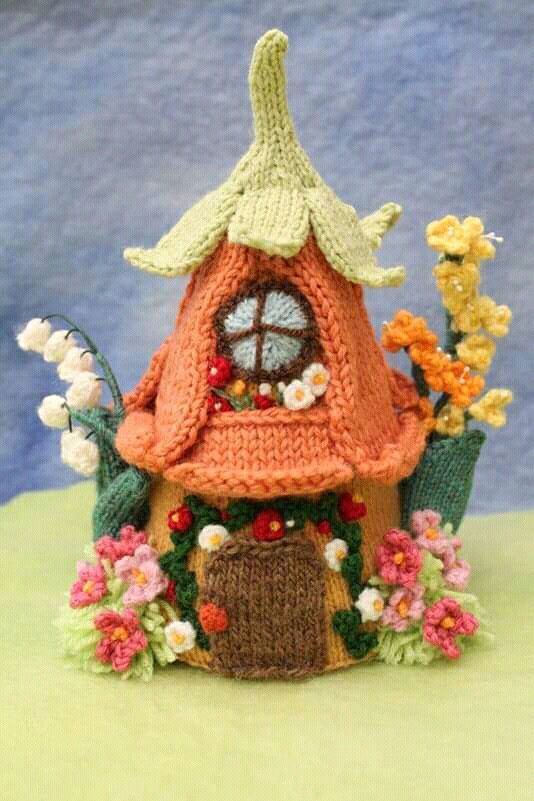
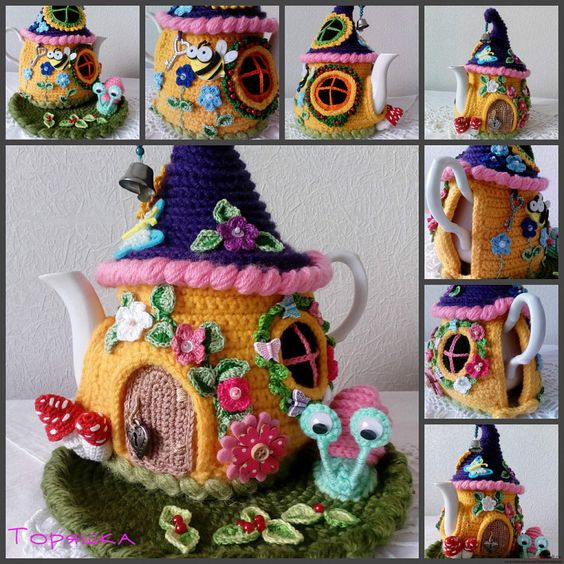
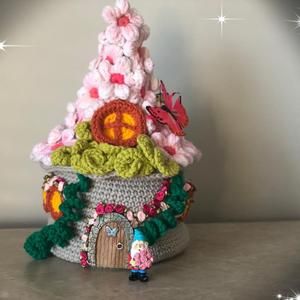
Images from pinterest.
Crochet Fairy House Ideas for Inspiration
1. Mushroom Fairy House
Nothing says “fairy magic” like a mushroom fairy house! With a wide, red roof and white spots, it’s the perfect whimsical addition to any fairy scene.
- Skill Level: Intermediate
- Pattern Highlights:
- Start with a base in brown or green for the house.
- Crochet a round, red mushroom cap with white spots to create the roof.
- Add details like a small door, windows, and vines using embroidery thread.
2. Tree Stump Fairy House
For a more natural, rustic look, crochet a fairy house that resembles a tree stump. With earthy colors and leafy accents, it feels like a house hidden in the woods.
- Skill Level: Beginner to Intermediate
- Pattern Highlights:
- Crochet a cylindrical base in brown for the stump.
- Add a rounded roof in green and brown for a leafy, forest effect.
- Use different shades of green to create moss, leaves, or tiny branches.
3. Fantasy Tower Fairy House
Create a fairytale tower fit for a fairy queen! This tall, spiraling design brings a touch of grandeur to your crochet collection.
- Skill Level: Advanced
- Pattern Highlights:
- Start with a narrow, tall base in a light color.
- Add round windows at different heights and a pointy roof.
- Decorate with small flowers, vines, and even a miniature crochet flag.
4. Cottage-Style Fairy House
For a classic fairy house, try a cozy cottage style with a sloped roof and tiny windows.
- Skill Level: Intermediate
- Pattern Highlights:
- Crochet a square or rectangular base in neutral colors for the walls.
- Create a sloped roof in red, brown, or green.
- Use embroidery thread for windowpanes and door details.
Steps to Crochet a Simple Fairy House
Ready to create your first fairy house? Here’s a step-by-step guide for a basic mushroom fairy house:
- Start the Base:
- Using brown yarn, make a magic ring and work in single crochet rounds, increasing as needed.
- Continue until you have a flat circle, then stop increasing to build up the sides of the house.
- Shape the Roof:
- Use red yarn to crochet a smaller magic ring and increase in rounds.
- After reaching the desired size, add white crochet spots or embroider them on the roof.
- Attach Roof to Base:
- Once the roof and base are complete, use a tapestry needle to stitch the roof onto the top of the house.
- Be sure to stuff the roof with polyfill for a full, mushroom-like shape.
- Add Details:
- Embroider windows, a door, and vines around the house.
- For extra character, add a tiny crochet flower or two along the sides.
Ideas for Decorating and Displaying Crochet Fairy Houses
Once your fairy house is complete, display it in creative ways to enhance its charm:
- Create a Fairy Garden: Arrange several crochet fairy houses together with small plants, pebbles, and fairy figurines.
- Add String Lights: Weave tiny lights around the fairy house for a magical nighttime effect.
- Place on a Bookshelf: Fairy houses make whimsical additions to bookshelves or kids’ rooms.
- Use as Seasonal Decor: Crochet houses in holiday colors for a seasonal fairy village!
CHECK MORE CROCHET PATTERNS