DIY Crochet Hydrangea: A Beautiful Floral Crochet Project for All Skill Levels
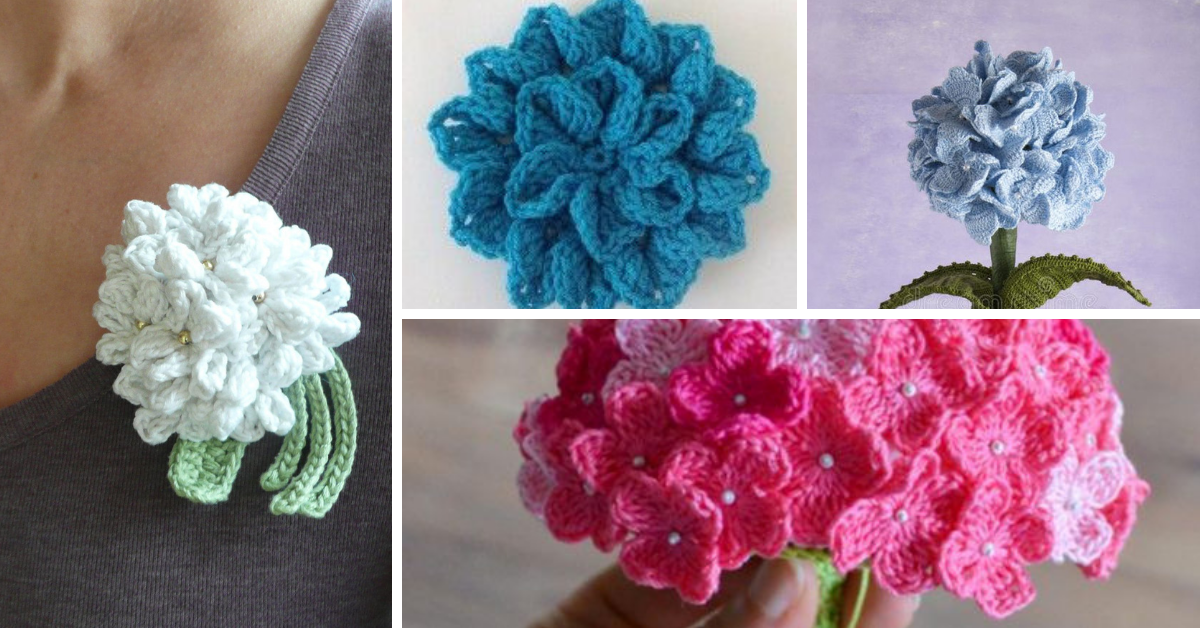
Crochet flowers are a beautiful way to bring nature into your crafting, and the DIY Crochet Hydrangea is no exception.
With its delicate, clustered blooms, this crochet project captures the elegance of real hydrangeas and turns them into a stunning decoration that will last forever.
Whether you’re looking to create a floral bouquet, home décor, or a handmade gift, crocheting hydrangeas offers endless possibilities for creativity and
DIY Crochet Hydrangea
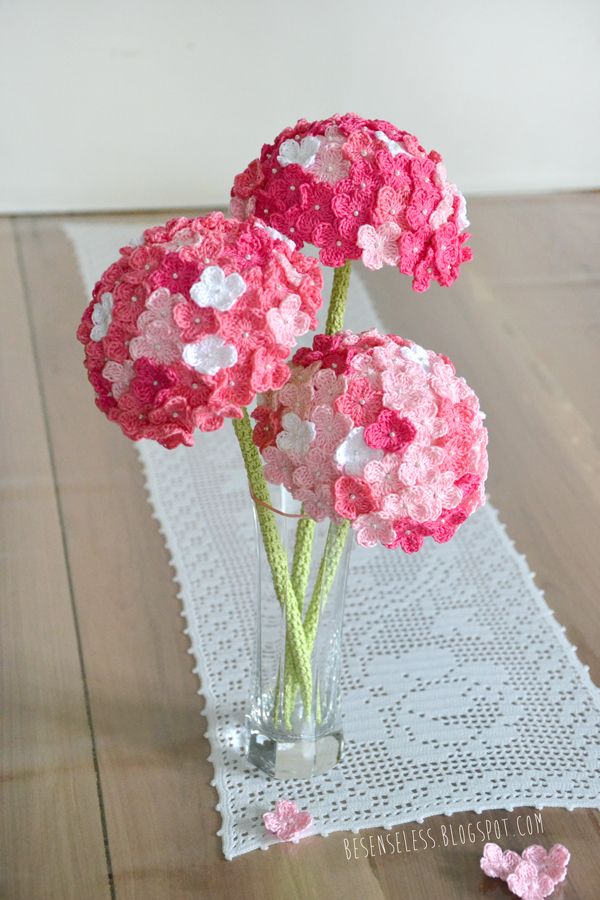
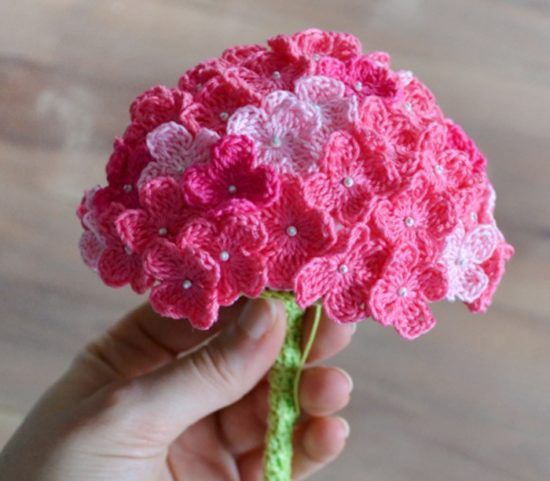
Here’s a perfectly pretty project you might like to try your hand at this weekend – an elegant and surprisingly simple crochet hydrangea.
What caught our eye about these lovely hydrangeas is the way in which each individual flower is so simple and delicate, yet when combined together with others produces and absolutely outstanding result.
Crochet a Pretty Hydrangea Flower

Fabric flowers are all the rage these days as an eco-friendly and longer-lasting alternative to fresh flowers.
But the way we see it, why shell out for generic store-bought fabric flowers when making them at home is not only fun, but also means so much more than purchased flowers ever could?
These hydrangeas really are the essence of springtime – perfect for adding a splash of color and life to the home at any time of year.
Pretty Hydrangea Flower Ideas
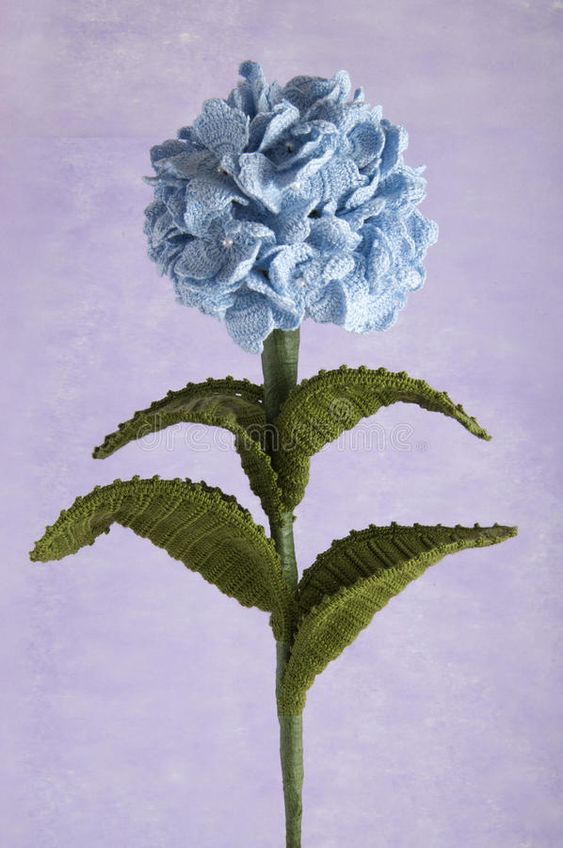
From: dreamstime
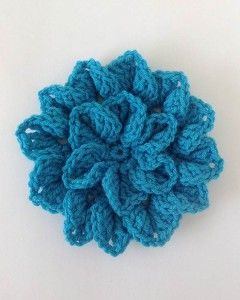
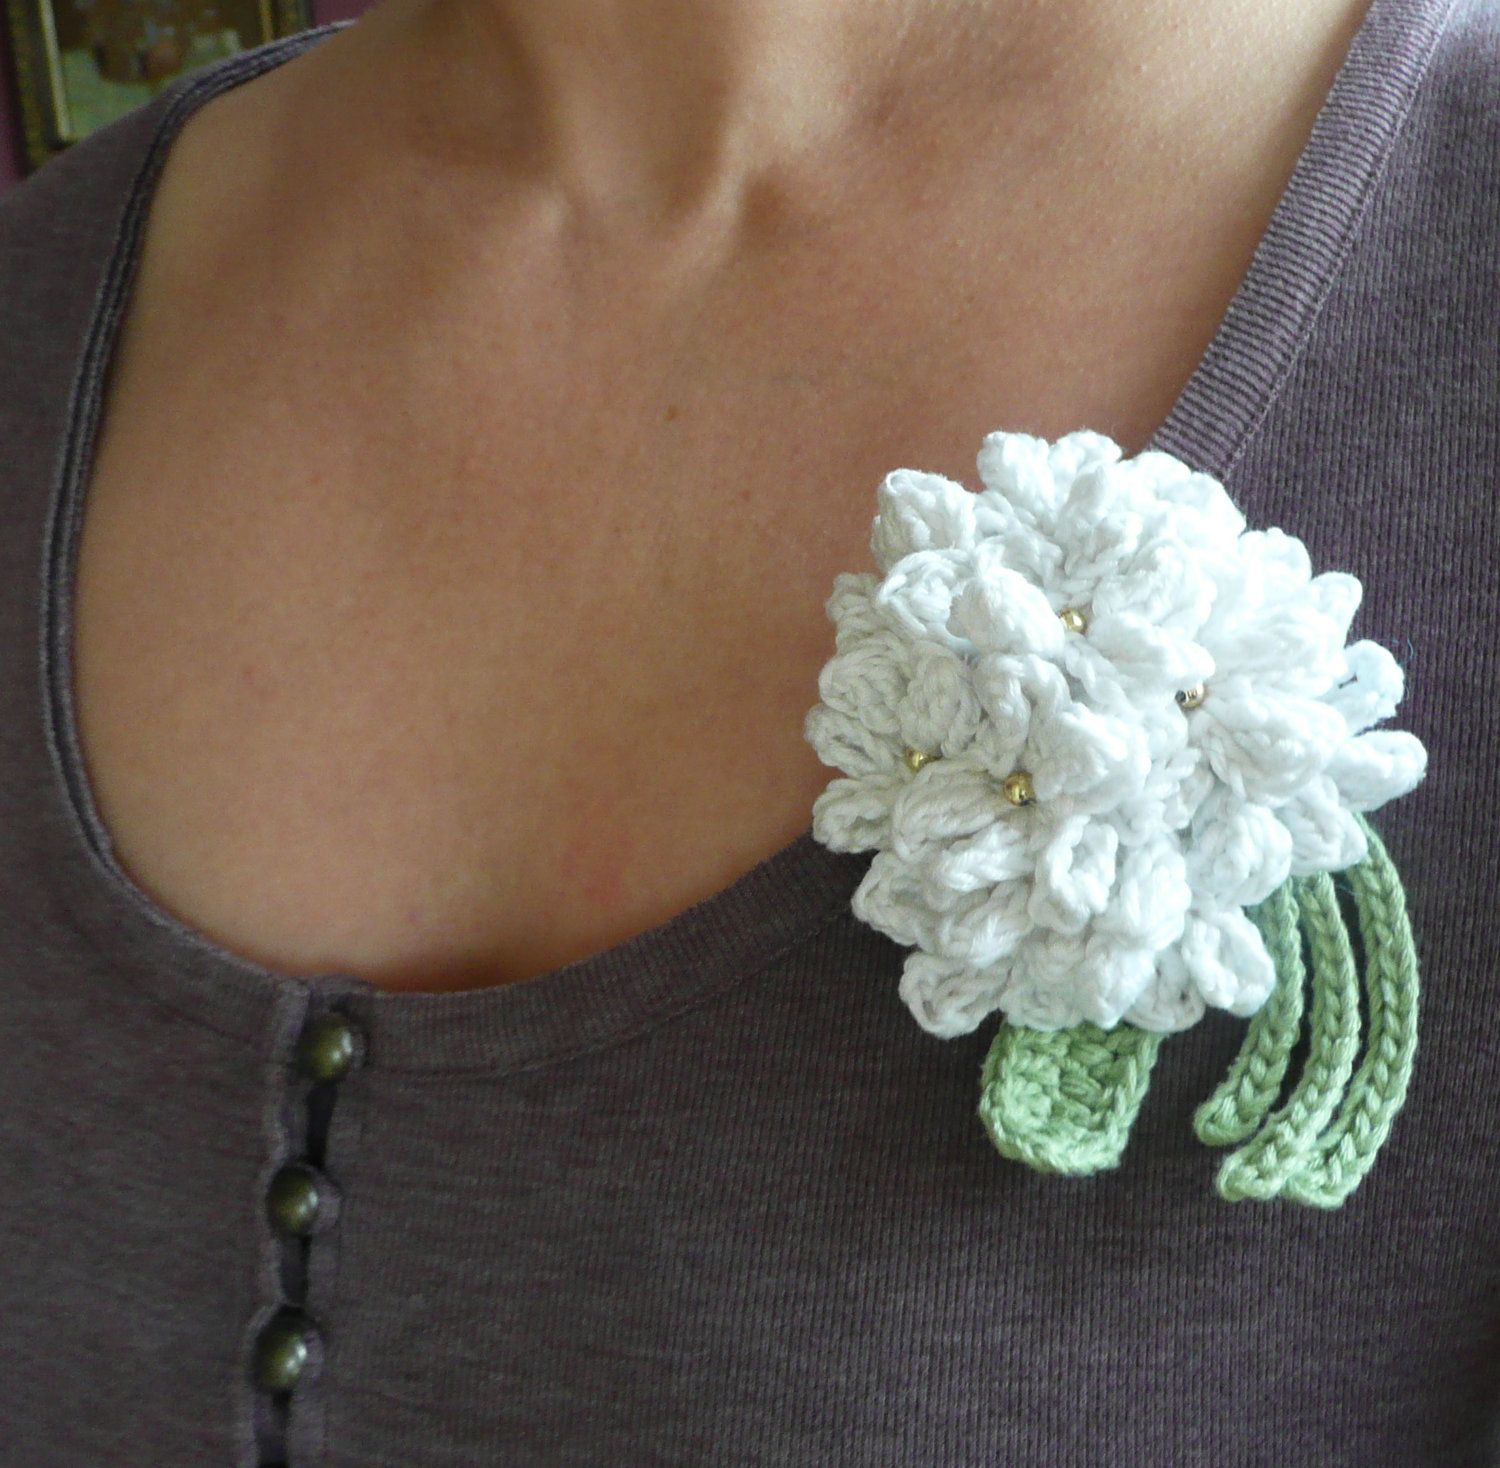
From Pinterest.
Materials:
Before starting your crochet hydrangea, gather these essential materials:
- Yarn: Use lightweight cotton or acrylic yarn in your choice of colors. Soft pastels like blue, pink, purple, and white work well to mimic real hydrangeas.
- Crochet Hook: A 2.5mm to 3.5mm crochet hook is ideal for achieving tight, defined stitches that will help the petals hold their shape.
- Yarn Needle: For sewing the petals together and weaving in ends.
- Floral Wire: To give the stems a realistic, sturdy structure.
- Green Yarn: For crocheting leaves and covering the floral wire stems.
- Scissors: To trim the yarn and floral wire.
Step-by-Step Guide: How to Crochet a DIY Hydrangea
1. Crochet the Individual Petals
Hydrangeas are made up of clusters of small flowers, so to start, you’ll need to crochet individual petals that will later be assembled into full blooms.
- Start with a Magic Ring: Begin by making a magic ring with your chosen petal color. Crochet 6 single crochets (SC) into the ring and pull tight to close. Slip stitch into the first SC to secure the ring.
- Create the First Petal: Chain 4, then work 3 double crochets (DC) into the same stitch. Chain 4 again and slip stitch into the next stitch to form the first petal.
- Repeat for All Petals: Continue crocheting around the ring, creating a total of 4 petals. Slip stitch into the first stitch to close the round and finish the flower.
- Fasten Off: Once the flower is complete, fasten off and weave in the ends.
2. Assemble the Hydrangea Flower
- Create Multiple Flowers: Crochet multiple small flowers using the same pattern. You’ll need around 12-20 flowers depending on the size of your hydrangea bloom.
- Sew the Flowers Together: Use a yarn needle to sew the individual flowers together into a circular or spherical shape. Make sure the petals overlap slightly to create a natural, full look.
3. Crochet the Leaves
- Start with a Chain: For the leaves, chain 10 stitches with green yarn.
- Work Back Across: In the second chain from the hook, work 1 single crochet (SC), followed by 1 half-double crochet (HDC) in the next stitch, and 1 double crochet (DC) in the next. Continue increasing the height of the stitches in the center, then mirror the pattern on the opposite side of the chain.
- Create the Leaf Shape: To finish the leaf, work 2 double crochets (DC) in the last stitch for a rounded edge, then continue down the opposite side of the chain, decreasing the stitch height as you go (DC, HDC, SC).
- Fasten Off: Once the leaf is complete, fasten off and weave in the ends.
- Make Multiple Leaves: Crochet 3-5 leaves for each hydrangea bloom to give it a natural, lifelike appearance.
4. Assemble the Flower Stems
- Use Floral Wire for the Stem: Cut a piece of floral wire to your desired stem length. Bend the top of the wire into a loop to secure the flowers.
- Attach the Flowers to the Stem: Sew or glue the assembled flower cluster to the looped top of the floral wire. Use green yarn to cover the wire by wrapping it tightly around the stem.
- Attach the Leaves: Sew the crocheted leaves onto the stem, just below the flower cluster, using the same green yarn.
"Using floral wire for the stems ensures that your crocheted hydrangea stands upright and looks as lifelike as possible."
5. Final Touches
- Shape the Blooms: Arrange the petals and leaves by gently shaping them with your fingers. Block the flowers if needed to help them hold their shape.
- Create a Bouquet: Make several hydrangea stems and arrange them in a vase for a stunning crochet flower arrangement, or use them as standalone decorations around your home.
CHECK MORE CROCHET PATTERNS