DIY Crochet Adorable Baby Bluebell Hats (FREE PATTERNS)
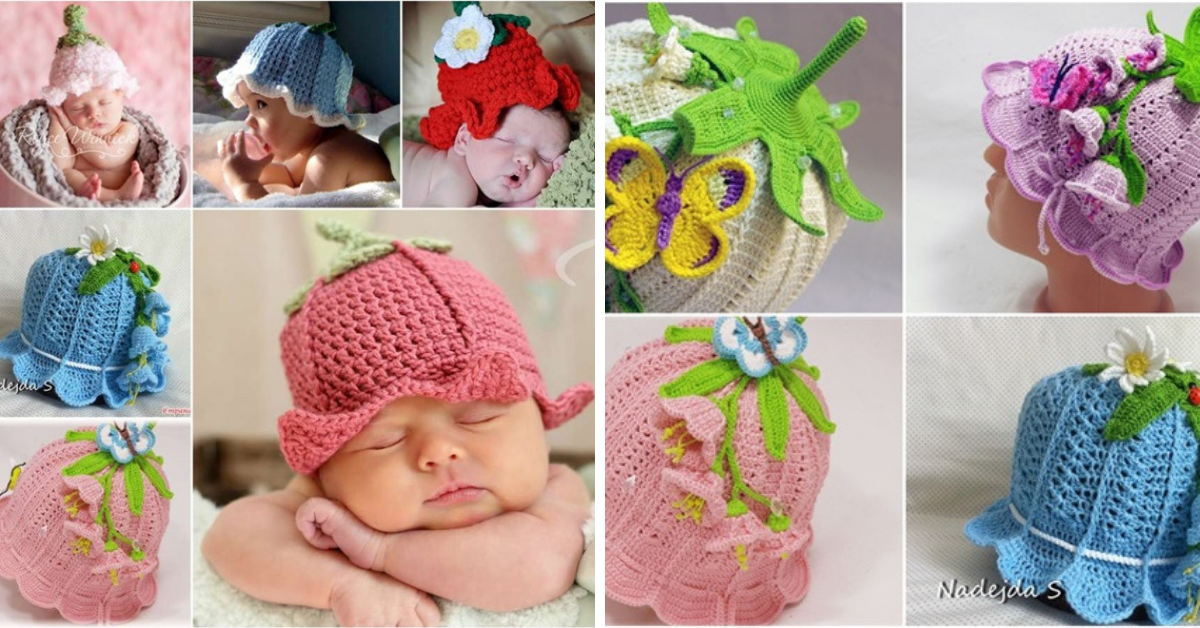
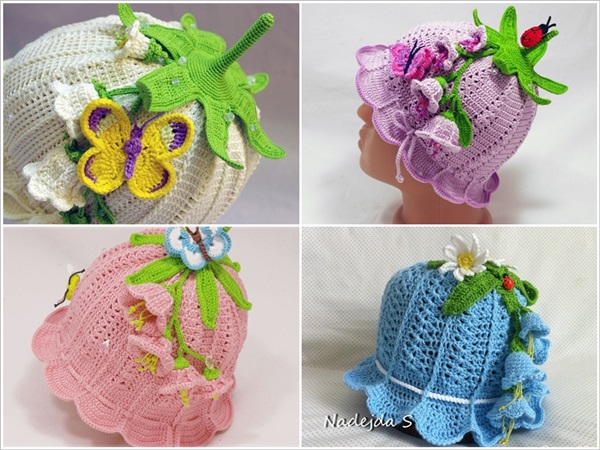
rocheting baby hats is one of the most delightful projects for any crocheter, and a baby bluebell hat is both adorable and practical.
Its charming bell shape and delicate petal-like edging make it the perfect gift for newborns or toddlers.
We’ll walk you through how to crochet an adorable baby bluebell hat, explore design variations, and provide tips for customizing it to fit any baby.
Crochet Adorable Baby Bluebell Hats
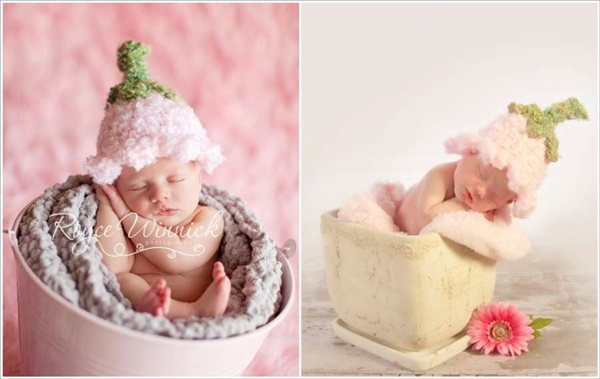
These baby hats are just adorable. I wish I had seen this before my kids were born. I would definitely would have bought those hats for them.
I shared some links how to crochet them. Do you want to try?
- Cute and Functional: The bell shape of the hat is not only stylish but also practical, keeping the baby’s head warm and snug.
- Perfect for Beginners: This pattern uses simple stitches and is easy to follow, making it a great project for both beginners and experienced crocheters.
- Customizable: You can modify the size, color, and embellishments to suit any baby or special occasion.
- Great for Gifts: Handmade baby hats make thoughtful and cherished gifts for baby showers, birthdays, or holidays.
Sizing Guide for Baby Hats
To ensure the hat fits perfectly, here’s a general sizing guide for baby hats:
- Newborn (0-3 months): Crown diameter ~4-5 inches, Hat length ~5 inches
- 3-6 months: Crown diameter ~5.5 inches, Hat length ~6 inches
- 6-12 months: Crown diameter ~6 inches, Hat length ~6.5 inches
Keep in mind that babies come in all sizes, so it’s always a good idea to measure the baby’s head if possible.
| CLICK HERE FOR FREE PATTERN |
| CLICK HERE FOR FREE PATTERN |
| CLICK HERE FOR FREE PATTERN |
| CLICK HERE FOR FREE PATTERN |
| CLICK HERE FOR FREE PATTERN |
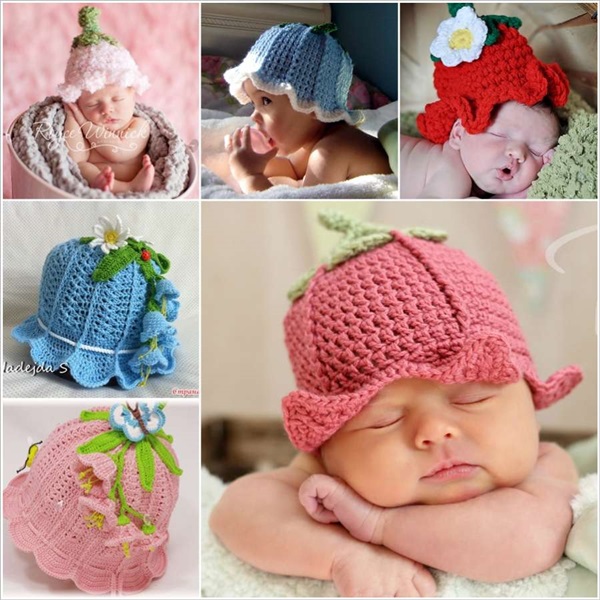
Pinterest.
Materials Needed for the Baby Bluebell Hat
Before getting started, gather the following materials:
- Yarn: Choose soft, baby-friendly yarn like cotton or acrylic. Baby-weight yarn (lightweight or DK) works best for delicate baby hats.
- Crochet Hook: Use a hook size appropriate for your yarn, typically 3.5mm (E-4) to 4mm (G-6).
- Tapestry Needle: For weaving in ends.
- Scissors: For cutting yarn.
- Stitch Markers: Optional, but useful for keeping track of your rounds.
Step-by-Step Guide to Crochet a Baby Bluebell Hat
Step 1: Start with the Magic Circle
- Magic Circle: Begin by making a magic circle, which will be the top center of your bluebell hat. If you're not familiar with the magic circle, you can chain 4 and join with a slip stitch to form a ring.
- Round 1: Chain 2, work 8 double crochets (dc) into the magic circle. Pull the tail of the yarn to close the circle and slip stitch to the first dc to join the round.
Step 2: Build the Crown of the Hat
- Round 2: Chain 2, and work 2 double crochets in each stitch around (this is called increasing). By the end of this round, you should have 16 stitches.
- Round 3: Chain 2, 1 double crochet in the first stitch, 2 double crochets in the next stitch—repeat this pattern around. You should now have 24 stitches.
- Round 4: Chain 2, 1 double crochet in the next 2 stitches, 2 double crochets in the third stitch—continue this pattern for the round. This will increase the size of the crown as the hat takes shape.
Continue increasing in this manner (adding one more stitch between each increase) until the crown reaches the appropriate diameter for your baby’s head size. For a newborn, the crown should be around 4-5 inches in diameter.
Step 3: Create the Body of the Hat
- Rounds 5-10 (or until desired length): Chain 2, work one double crochet in each stitch around. At this point, you're no longer increasing but working evenly to form the body of the hat.
- Check the Fit: Continue working rounds of double crochet until the hat measures about 5-6 inches from the top of the crown to the bottom edge (depending on the size of the baby).
Step 4: Crochet the Bluebell Petal Edging
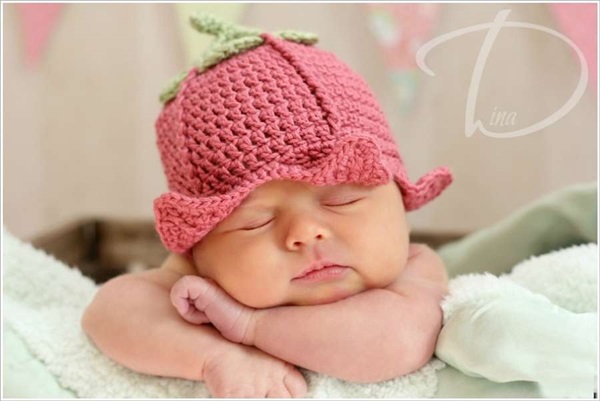
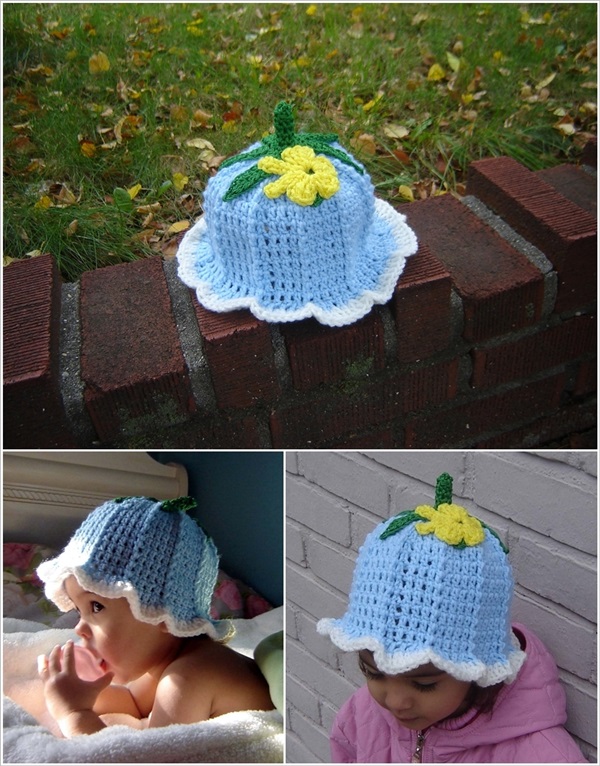
The distinctive feature of the bluebell hat is its delicate petal-like edging that flares slightly at the brim.
- Petal Round: For the first round of petals, chain 1 and work 5 double crochets in the first stitch, then slip stitch into the next stitch. Continue this pattern around the edge: 5 double crochets in the next stitch, slip stitch in the following stitch.
- Finishing the Petals: When you’ve finished the last petal, slip stitch to join, fasten off the yarn, and weave in any loose ends.
"The delicate petal edging of the bluebell hat adds a whimsical, flower-like look that makes this baby hat truly special."
Customizing Your Baby Bluebell Hat
Here are some ideas to make your baby bluebell hat even more special:
- Color Choices: Use traditional soft pastels like blue, pink, or yellow for a classic baby look, or opt for bold colors to make a statement.
- Stripes and Patterns: Incorporate stripes by changing yarn colors every few rows or use a self-striping yarn for a fun, multicolored effect.
- Embellishments: Add small crochet flowers, leaves, or bows to the brim of the hat for extra charm.
- Ribbons: Weave a soft satin ribbon through the stitches at the base of the hat and tie a bow for a cute finishing touch.

CHECK MORE CROCHET PATTERNS