Crochet Top with Beautiful Flowers Step by Step
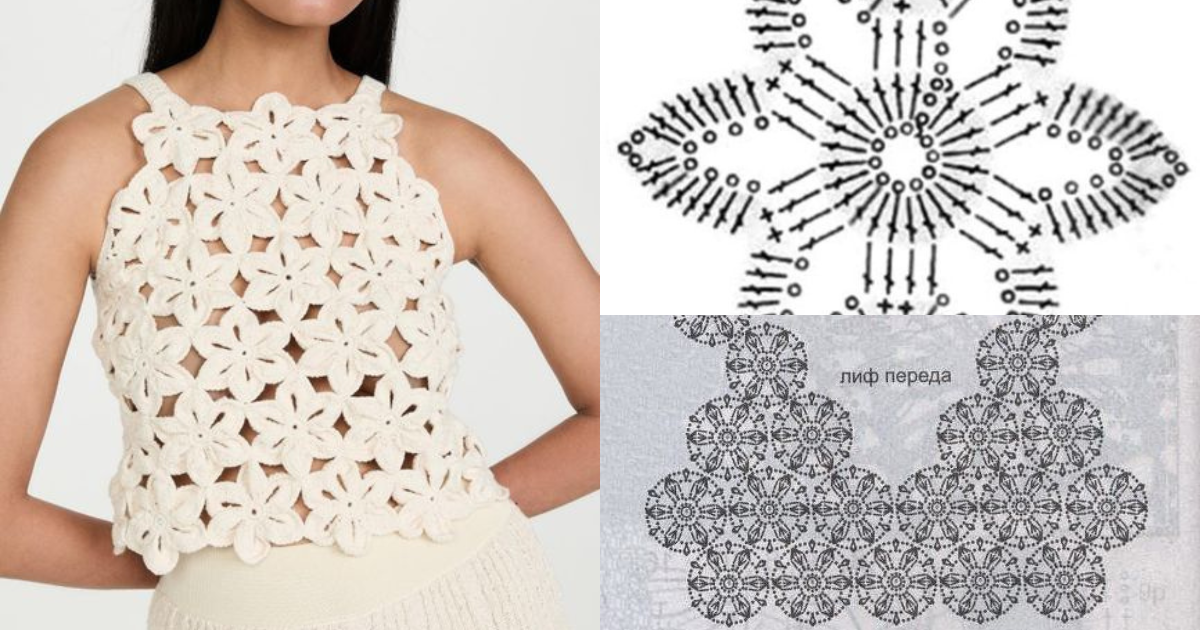
Crocheting is a versatile and rewarding craft that allows you to create unique and stylish pieces of clothing.
In this article, we'll guide you through the process of crafting a crochet top embellished with beautiful flowers.
Whether you're a seasoned crocheter or a beginner, our step-by-step instructions and creative tips will help you fashion a stunning garment that showcases your personal style. Let's get started!
Crochet Top with Beautiful Flowers
Materials:
Crochet hook (appropriate size for your yarn)
Yarn (choose your favorite color)
Scissors
Tapestry needle
Stitch markers
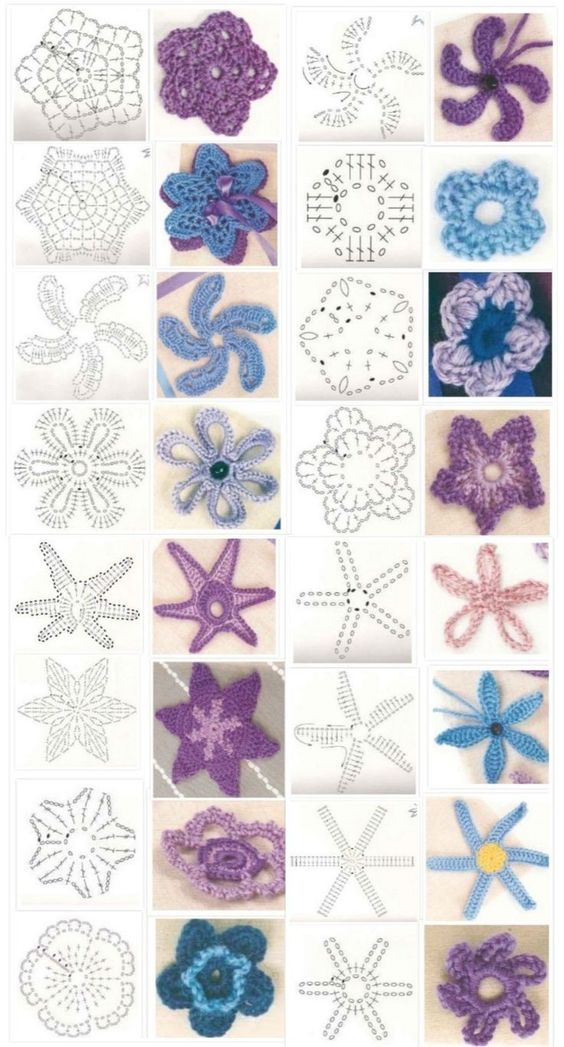
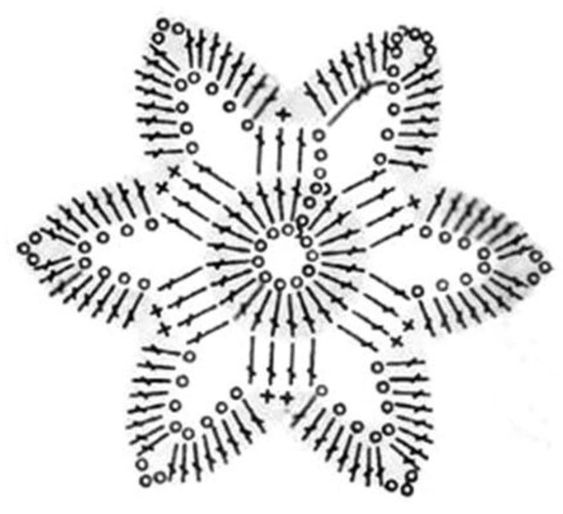
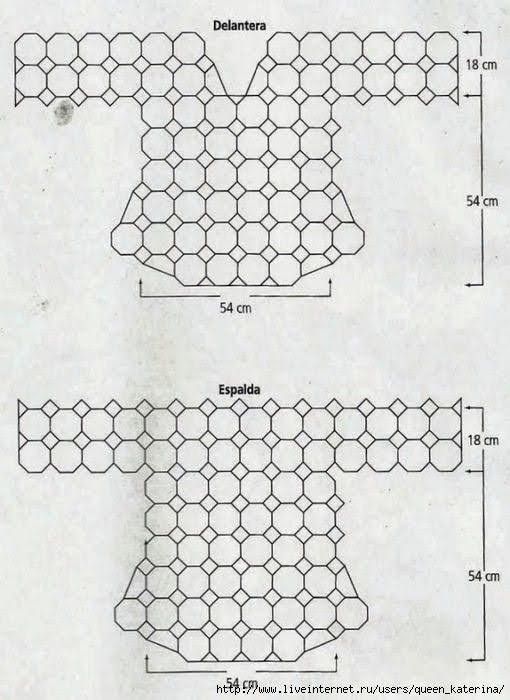
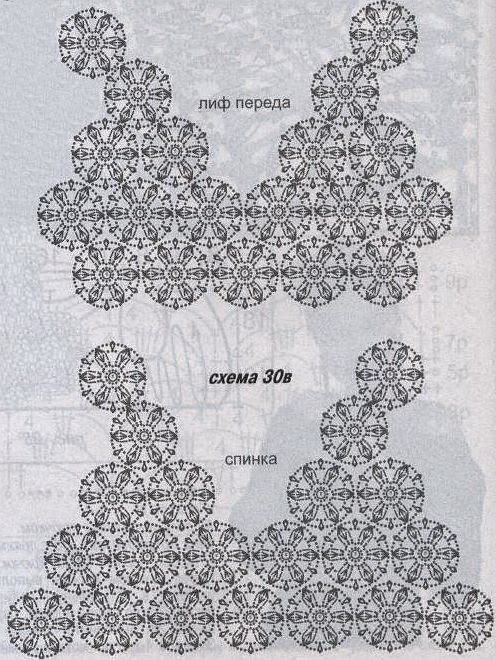
The first step in creating your crochet top is selecting the right yarn. Opt for a soft and comfortable yarn that complements your style and color preferences. This will ensure your finished top feels cozy and looks fantastic.
Give your crochet top a polished finish by weaving in any loose ends and blocking it to ensure the stitches lay flat and the flowers pop.
You've crafted a stunning crochet top adorned with beautiful flowers. Flaunt your creation with pride and revel in the admiration it receives.
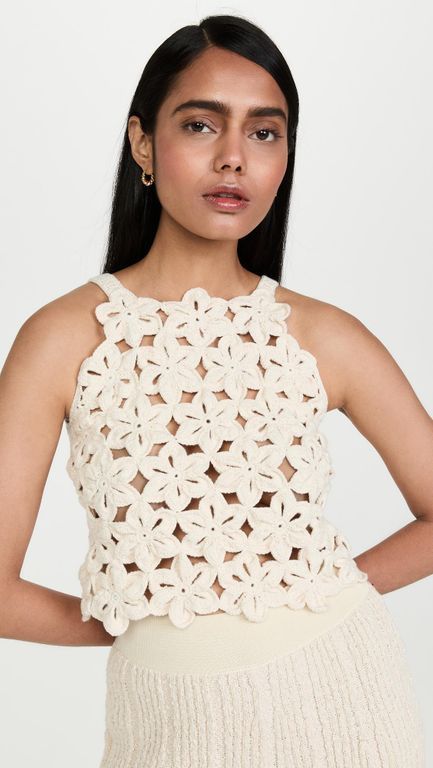
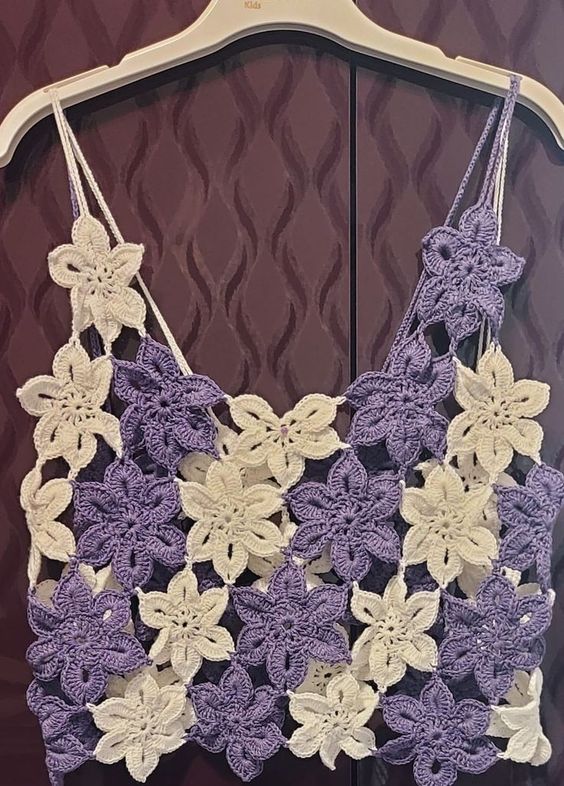
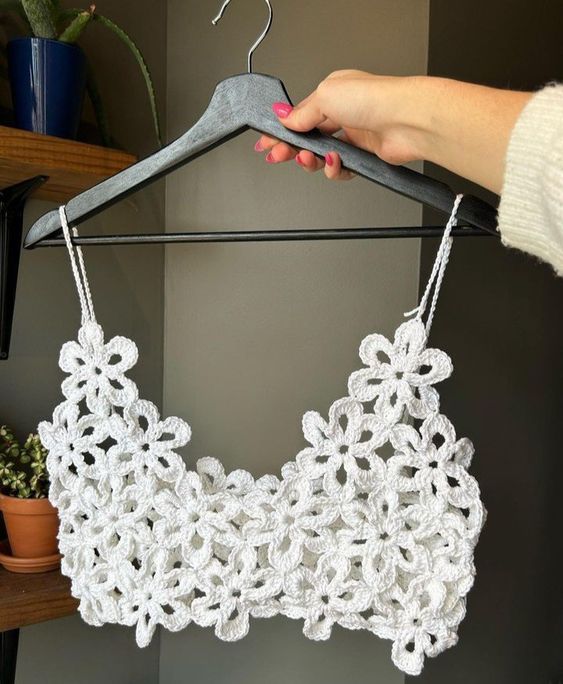
Step-by-Step Instructions for Creating a Crochet Top with Flowers
Step 1: Measure and Create the Base
- Take Your Measurements:
- Measure your bust, waist, and desired length of the top. This will help you create a well-fitting garment.
- Foundation Chain:
- Start with a slip knot and chain the desired width based on your measurements. For example, a common starting point is around 100 chains for a medium-sized top.
- First Row:
- Work single crochets (sc) or double crochets (dc) across the foundation chain. The choice of stitch will depend on the desired texture of your top.
Step 2: Create the Body of the Top
- Subsequent Rows:
- For the next rows, continue working in the stitch pattern you choose. You may want to create a ribbed effect by alternating between sc and dc.
- Creating Armholes:
- Leave spaces for armholes by skipping a certain number of stitches in the next few rows. This will create a sleeveless design.
Step 3: Adding Floral Embellishments
- Creating Flowers:
- Choose your favorite flower pattern. You can make several flowers in different colors to add a fun and colorful touch to your top.
Basic Flower Pattern:
- Start with a magic ring and work 6 sc into the ring. Pull tight and join with a slip stitch. Work petals by chaining 3 and then working 2 dc in the same stitch.
- Attaching Flowers:
- Once you have your flowers, use a yarn needle to sew them onto the crochet top. You can position them around the neckline, hem, or wherever you feel they enhance the design.
Step 4: Finishing the Top
- Edging:
- Add a decorative border around the neckline, armholes, and hem using single crochet or shell stitches for a polished finish.
- Fastening Off:
- Cut the yarn and pull it through the last stitch to secure. Weave in any loose ends with a yarn needle.
- Blocking:
- Lightly steam block your crochet top to help it hold its shape and enhance the flower designs. This step is essential for ensuring your work looks polished.
Creative Ways to Use Your Crochet Top with Flowers
1. Everyday Wear
- Instructions: Pair your crochet floral top with jeans, shorts, or a skirt for a casual yet stylish outfit perfect for everyday outings.
2. Dress Up for Special Occasions
- Instructions: Add accessories like statement jewelry or a belt to elevate your crochet top for special events or gatherings.
3. Layering Piece
- Instructions: Wear your crochet top over a fitted long-sleeve shirt or turtleneck during cooler weather for a trendy layered look.
4. Seasonal Styles
- Instructions: Create seasonal versions of your top with different yarn colors and floral designs to keep your wardrobe fresh.
5. Photography Props
- Instructions: Use your crochet top as a prop in fashion photography or styled shoots, showcasing your handmade creation.
CHECK MORE CROCHET PATTERNS