Adorable Knitted Monster Pants Pattern
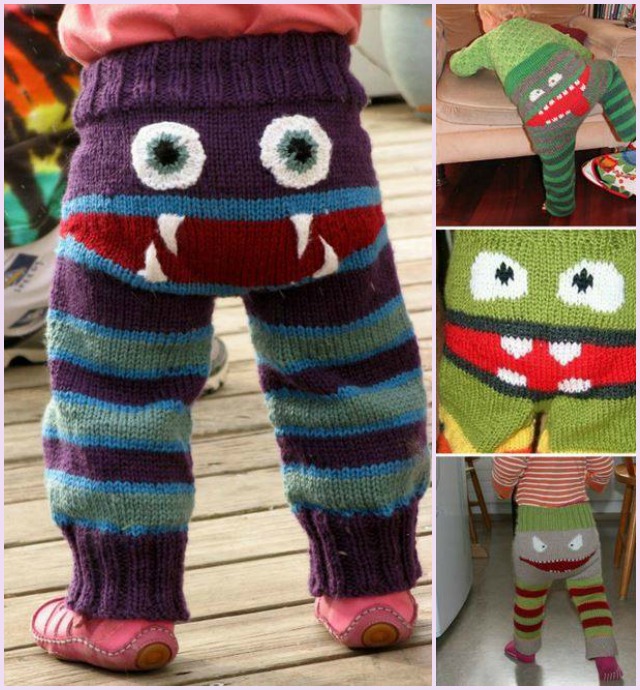
These whimsical and cozy pants are a fantastic project for little ones, adding a dash of fun to their wardrobe.
With their bright colors and monster-themed designs, these pants are sure to be a hit with both kids and parents alike.
Whether you're a seasoned knitter or just starting out, this pattern offers the perfect combination of creativity and comfort.
Adorable Knitted Monster Pants Pattern
Knitting is much easier for me, and these adorable knitted monster pants are a must try in the cold days for kids. These monster face butt longies are so cute for little ones to play with, and are inspirational enough for us to mix and match the colors and make other characters.
Knit the eyes may be a bit challenging, yet maybe we can knit or crochet a circle motif and add onto the butt to make the whole work easier. Let’s see the different version of pants below:
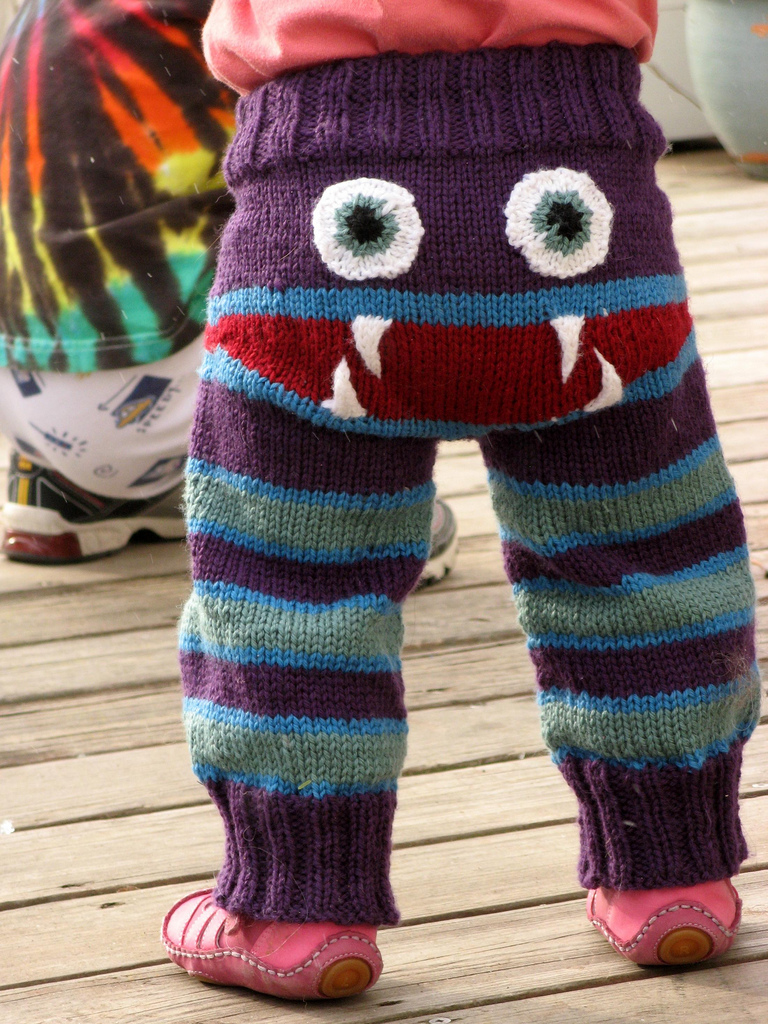
Free Pattern via: The Wandering Lady
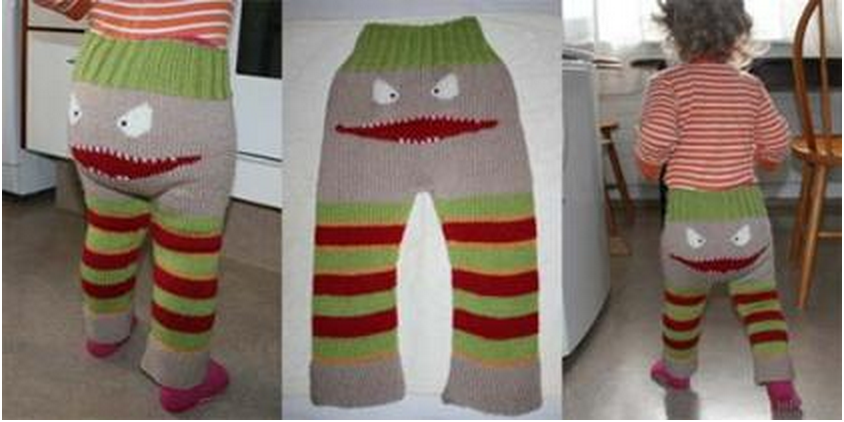
FREE Pattern via: Das Monster
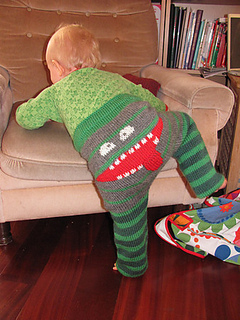
FREE Pattern via: Ravelry
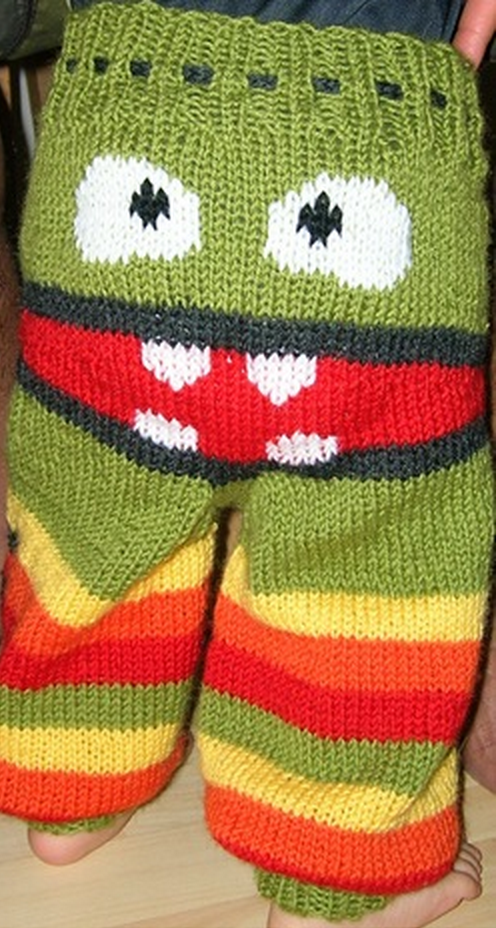
FREE Pattern via: The Wandering Lady
Materials Needed for Knitted Monster Pants
Before you start knitting your monster pants, gather the following materials:
- Yarn: Choose a soft, washable yarn like acrylic or wool blends. Bright, bold colors work well for the monster design, while neutral shades can be used for the main body of the pants.
- Knitting Needles: Use circular needles or double-pointed needles, depending on the size of the pants and your preferred knitting method.
- Stitch Markers: Helpful for keeping track of pattern repeats and shaping.
- Tapestry Needle: For sewing in the ends and stitching the monster face details.
- Scissors: To trim yarn.
Step-by-Step Guide to Knitting Monster Pants
Step 1: Start with the Waistband
- Cast On: Begin by casting on the number of stitches required for the waistband based on the size you're knitting (measurements for newborn, toddler, or child).
- Rib Stitch: Work in a 1x1 or 2x2 rib stitch for several rounds to create a stretchy waistband. This will ensure that the pants stay comfortably in place.
- Add Elastic (Optional): If you want a snugger fit, you can thread elastic through the waistband after finishing the pants.
Step 2: Knit the Body of the Pants
- Work in the Round: Once the waistband is complete, switch to stockinette stitch (knit all stitches in the round) to form the body of the pants. Use bright colors for the main body, keeping in mind that the monster face will be added later.
- Create Leg Openings: As you reach the point where the legs will split, divide your stitches evenly for the two legs. You can either knit each leg separately using double-pointed needles or continue with circular needles if preferred.
- Knit Each Leg: Work each leg individually, continuing in stockinette stitch until they reach the desired length. You can add ribbing at the bottom of each leg for a snug fit around the ankles.
Step 3: Add the Monster Face
- Design the Face: Once the pants are fully knitted, use a contrasting yarn color to embroider or knit the monster face on the back of the pants. Common features include big eyes, a wide grin, and maybe even fangs!
- Embroider Details: Use duplicate stitch, intarsia, or simple embroidery to add the eyes, mouth, and other facial details. You can get creative with the expression—make it funny, friendly, or even a little mischievous.
- Optional Embellishments: Add extras like tiny horns, fuzzy hair, or a tail for an added monster effect. These embellishments can be knitted separately and sewn onto the pants.
"The monster face on the back is what makes these pants so special—kids love the playful character and parents appreciate the handmade charm."
Step 4: Finish and Block the Pants
- Weave in Ends: After the knitting is complete, weave in all the loose ends with a tapestry needle.
- Block the Pants: Wet block or steam block the pants to ensure they hold their shape and the stitches are even. Blocking will also help the pants look polished and professional.
Customizing Your Monster Pants
Here are a few ways to personalize your knitted monster pants:
- Change the Expression: Experiment with different facial expressions for the monster—happy, goofy, or even sleepy.
- Use Color Patterns: Instead of solid colors, try using stripes, polka dots, or zig-zag patterns for the body of the pants.
- Add Accessories: Sew on little extras like a tail, ears, or horns to make the monster character come to life.
- Matching Sets: Knit a matching monster hat or booties to create a full monster-themed outfit.
Learn how to knit adorable monster pants for kids with this fun and creative pattern. Perfect for cozy, playful outfits. Includes customization ideas and styling tips!
CHECK MORE CROCHET PATTERNS