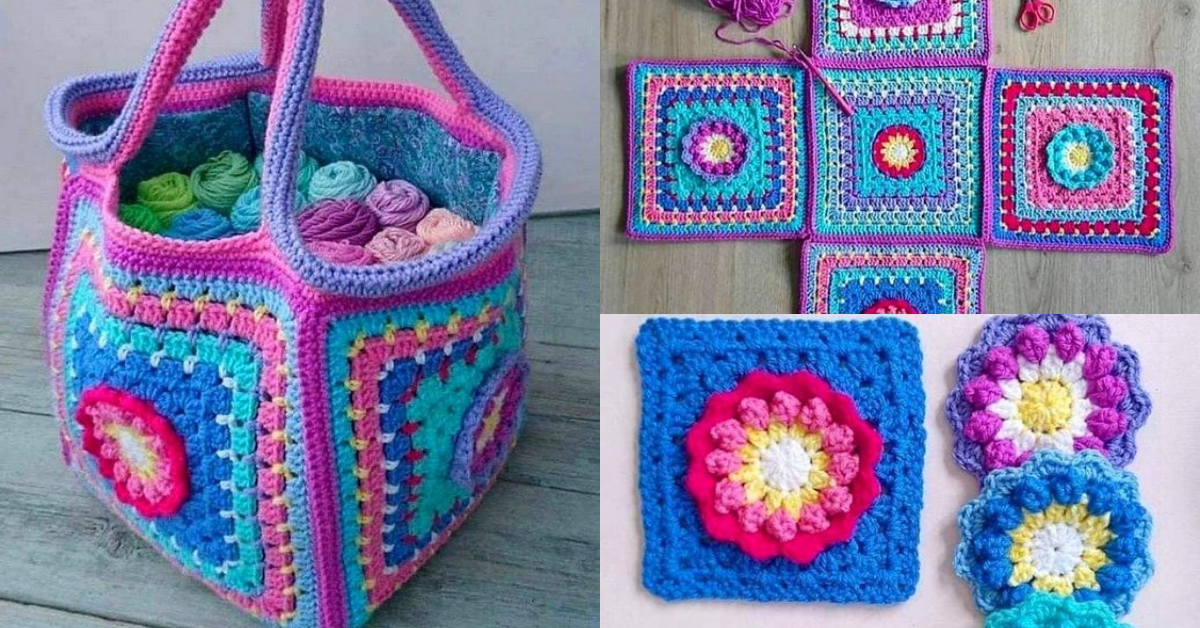
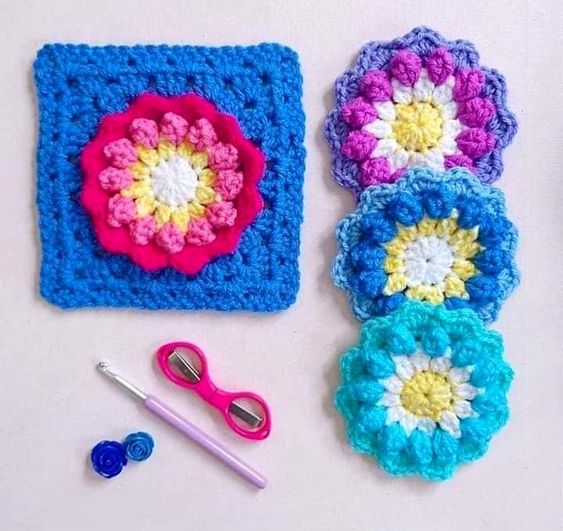
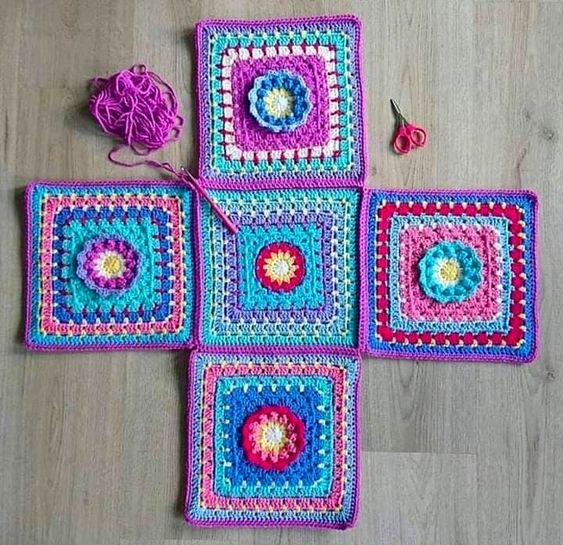
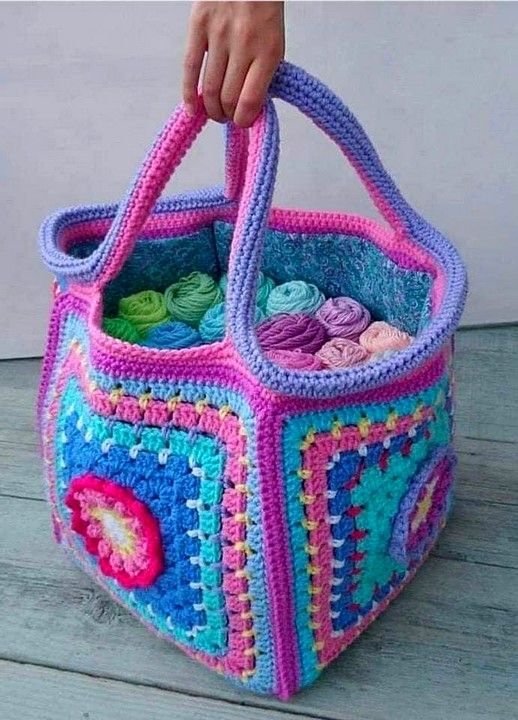
Bag made with squares of crochet flowers

Bags are an accessory used by most women.
They have the function of storing necessary items such as documents, money, keys, makeup. In addition to this function, the bag is also a way to reflect your style.
Our suggestion today is a bag made up of squares with crochet flowers.
Table
Bag made with squares of crochet flowers step by step
The idea is very simple, using crochet squares you assemble your bag.
We leave here a suggestion, but you can change colors and patterns.
Use your creativity and personal taste.


Materials Needed
To begin your crochet flower square bag, gather these materials:
- Yarn: Choose colors for the flowers and background. Worsted-weight yarn in multiple colors works well.
- Hook Size: Use a 4mm or 5mm crochet hook, depending on yarn weight.
- Scissors
- Yarn Needle: For weaving in ends and sewing the squares together.
- Bag Lining (optional): Fabric lining to strengthen the bag.
- Handles (optional): Leather or wooden handles to attach, or you can crochet your own strap.
Crochet Flower Square Bag Ideas
A bag made from crochet flower squares is a timeless project that blends vintage charm with vibrant, modern creativity. Each square becomes a canvas for expression, making this a highly customizable and satisfying make.
Popular Flower Square Styles
- Sunburst Granny Squares – textured centers with petal-like edges
- Daisy Squares – white petals with colorful centers, very 70s inspired
- 3D Flower Squares – raised floral motifs for added texture
- African Flower Hexagons – hexagon-shaped and very versatile
Types of Bags to Make
1. Tote Bag
- 12–20 squares depending on size
- Seam them together in a rectangle
- Add straps and optional lining
2. Drawstring Pouch
- Arrange squares in a tube
- Add a crocheted base and drawstring closure
3. Shoulder Bag
- Seam squares into a U-shape
- Add a long strap or use a belt as a handle
4. Mini Clutch
- Use 4–6 squares
- Fold and sew together with a zip or button closure
5. Backpack
- Make the body from flower squares
- Add canvas lining, zipper, and adjustable straps
Design Tips
- Mix bold and pastel tones for a modern-retro look
- Use contrasting borders (like black or white) around each square
- Add wooden or leather handles for a rustic or polished finish
- Line your bag with cotton or linen for durability
- Attach magnetic clasps or zippers to secure contents
Recommended Yarns
- 100% cotton yarn – durable and holds shape
- DK or worsted weight for structure
- Acrylic blends for a lighter feel
CHECK MORE CROCHET PATTERNS