Bobble Stitch Chart Mickey Mouse (Free Pattern)
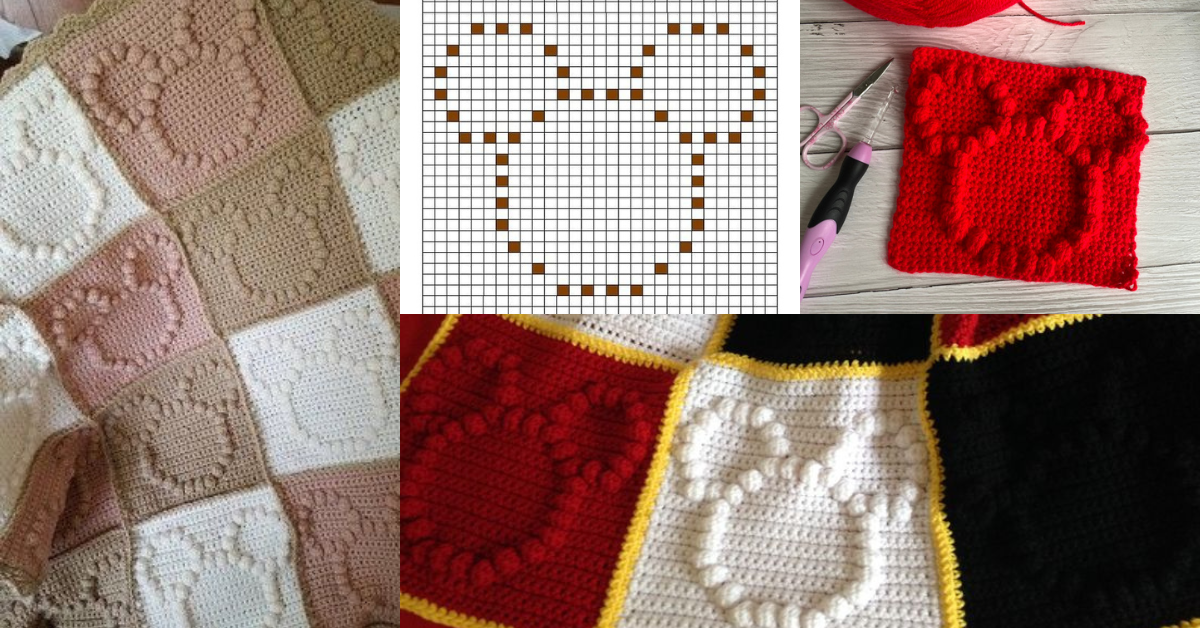
Mickey Mouse is one of children's favorite characters. This little mouse created by Disney has the perfect features to use in clothes, decoration and also in crochet.
Today we show you how to make a Mickey Mouse face bobble stitch, an idea that you can apply to different types of work.
Check out the step-by-step video here and some ideas to get inspired.
Bobble Stitch Chart Mickey Mouse - Video Pattern

Creating a Mickey Mouse Bobble Stitch Chart
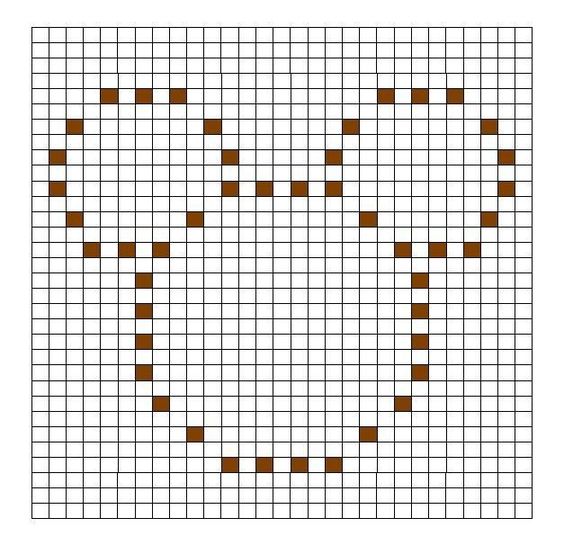
To make the Mickey Mouse design with a bobble stitch, you’ll need a pattern chart. Here’s how to set it up:
- Choose the Image: Select a simple, recognizable Mickey Mouse image with clean lines. Keep it simple, especially for beginners.
- Create a Grid: Use a grid overlay on the image to match each square to a bobble stitch. This will guide you on where to place each bobble.
- Translate to Bobble Stitch: Each filled square will correspond to a bobble stitch, while empty squares remain regular single crochets.
- Choose Your Colors: Opt for black, white, and red yarns (or customize as desired) for a classic Mickey Mouse look.
Many free chart generators online can help convert images into grid patterns for crochet.
Materials You’ll Need
To start your Mickey Mouse bobble stitch project, gather these essential materials:
- Yarn: Choose contrasting colors, typically black, white, and red for a classic Mickey design.
- Hook: A 4.5mm or 5mm crochet hook works well for bobble stitch projects, but check your yarn label for recommended sizes.
- Scissors: To cut yarn ends cleanly.
- Tapestry Needle: For weaving in ends neatly.
- Stitch Markers (optional): These can help keep your place on complex patterns.
Step-by-Step Instructions
- Prepare Your Foundation: Start with a row of single crochet stitches to match the width of your pattern chart.
- Set Up the Chart: Count your stitches and rows to match the chart’s width and height. Each square on the chart corresponds to one stitch.
- Work the Rows:
- For each bobble stitch square, yarn over, insert the hook, and repeat until you have five loops on the hook, then yarn over and pull through all five loops to complete the bobble.
- For regular stitches, use single crochets to keep the background flat.
- Change Colors as Needed: When the design requires color changes, use the yarn-over method to switch colors mid-stitch without knots.
- Follow the Chart: Work row by row, consulting the chart for bobble placements until the design is complete.
- Finish Off: When your Mickey Mouse design is complete, weave in the ends with a tapestry needle.
Tip: Keep the yarn not in use neatly tucked at the back to avoid tangling as you switch colors.
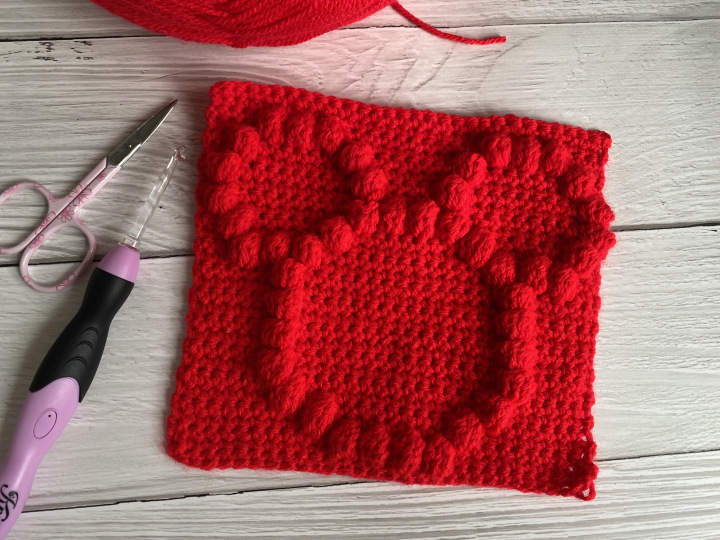
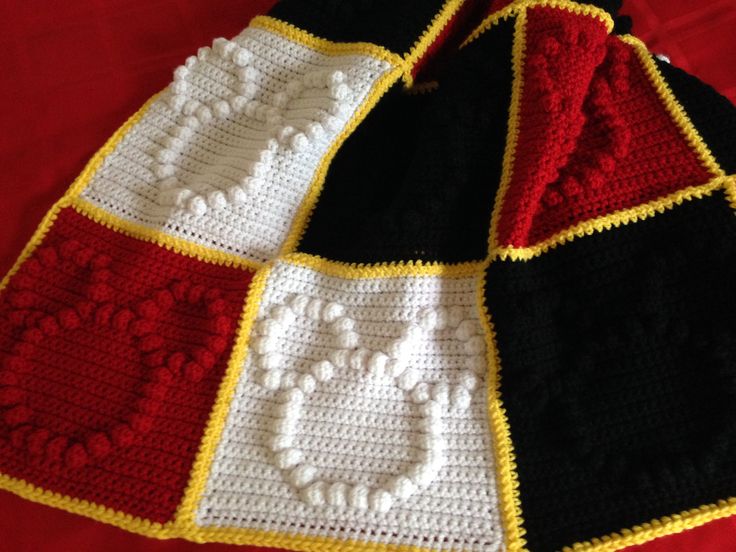
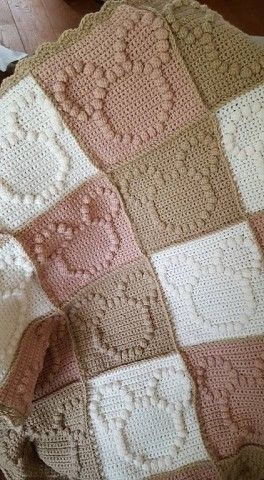
Via: www.otakulandia.es
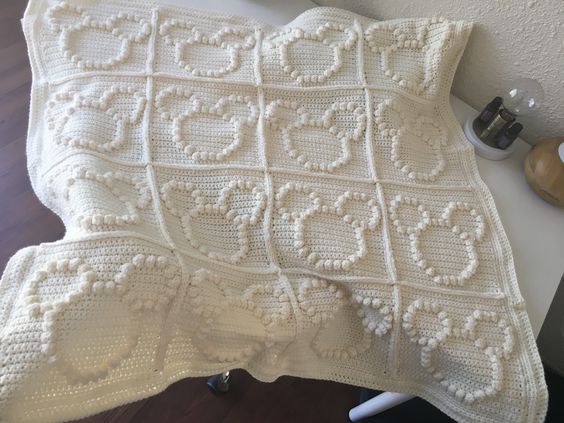
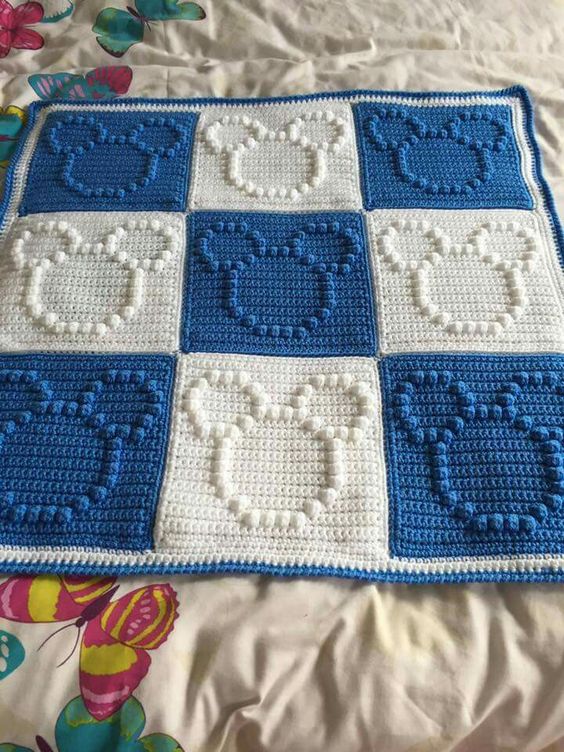
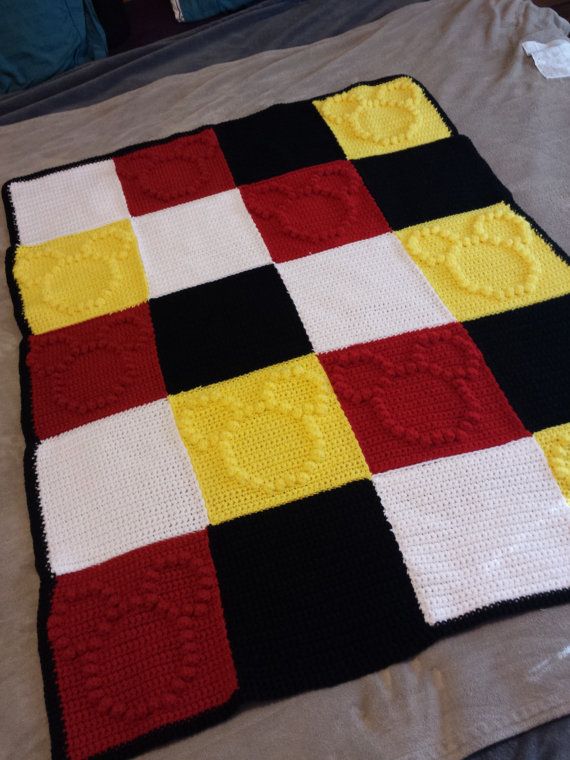
Pinterest.
You can customize the colors to suit your style. While black, red, and white are traditional, many people add personal flair with different color choices.
Learn how to crochet a Mickey Mouse design using a bobble stitch chart. Our guide provides tips, techniques, and step-by-step instructions for beginners and seasoned crocheters alike. Perfect for creating unique crochet projects!
Enjoy!
CHECK MORE CROCHET PATTERNS