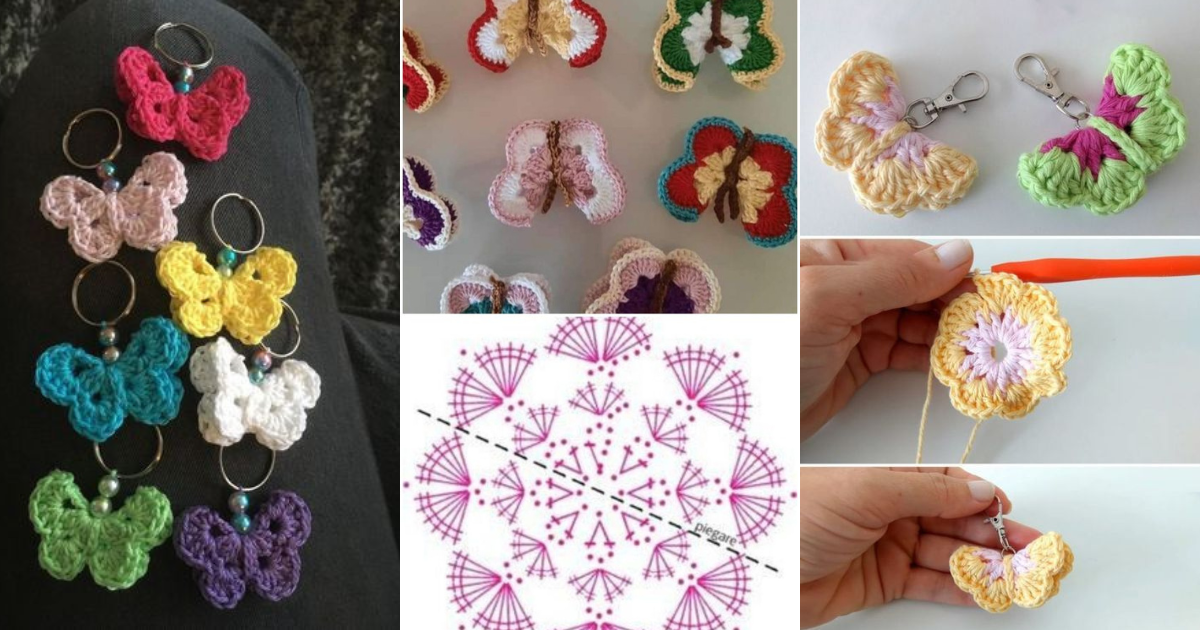
Unveiling the Art of Crafting a Stunning Crochet Butterfly Keychain
In the world of crafting, crochet remains an evergreen favorite. The intricate patterns and the endless possibilities it offers are simply mesmerizing.
If you're looking to embark on a delightful crochet project, why not start with something beautiful and whimsical?
In this article, we'll dive into the enchanting realm of crochet as we explore the steps to create a charming Crochet Butterfly Keychain.
Getting Started with Crochet
Before we embark on our creative journey, let's gather our materials. You'll need:
Materials:
- Yarn: Choose vibrant colors to bring your butterfly to life.
- Crochet Hook: Size G or H is ideal for this project.
- Scissors: For cutting the yarn.
- Keychain Ring: To attach your butterfly to.
- Safety Eyes: For that extra touch of cuteness (optional).
- Stuffing: To give your butterfly a 3D look.
Step 1: Creating the Butterfly Body
To kickstart our crochet adventure, we'll begin by crafting the body of our butterfly. Follow these simple steps:
1.1 Chain Stitch (CH)
- Start with a slipknot and make 10 CH stitches.
1.2 Single Crochet (SC)
- In the second CH from the hook, make 1 SC.
- Continue making 1 SC in each CH stitch across.
1.3 Increase Rows
- Work on increasing rows until you reach your desired body length.
- This will give your butterfly body a tapered shape.
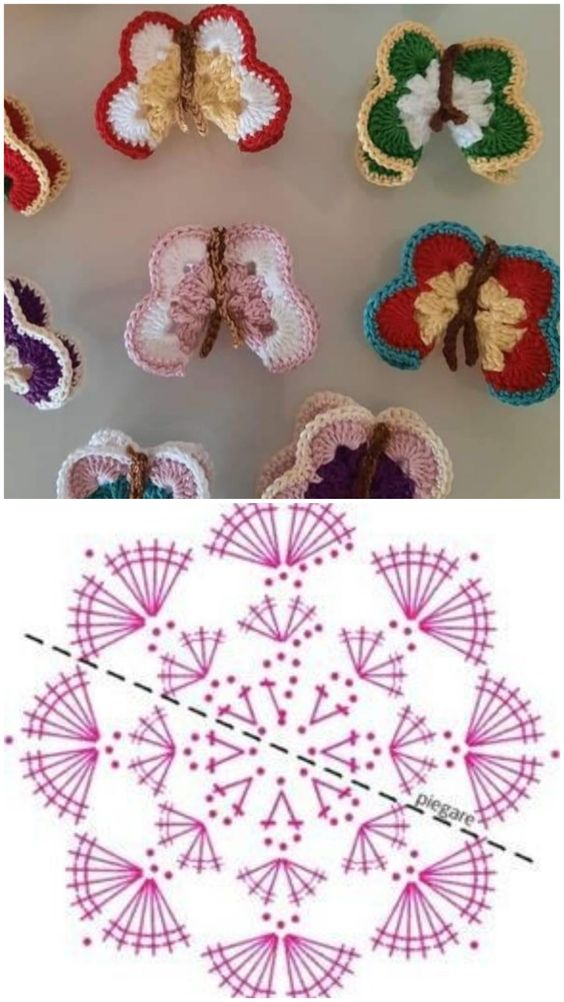
Step 2: Crafting the Butterfly Wings
Now, let's add some flair to our butterfly by creating its colorful wings.
2.1 Start with a Magic Ring
- Make a Magic Ring and CH 3 (acts as the first DC).
2.2 Double Crochet (DC)
- Make 2 DC into the ring.
- Chain 2.
- Repeat 3 DC, CH 2 three more times.
- Join with a slip stitch to the initial CH 3.
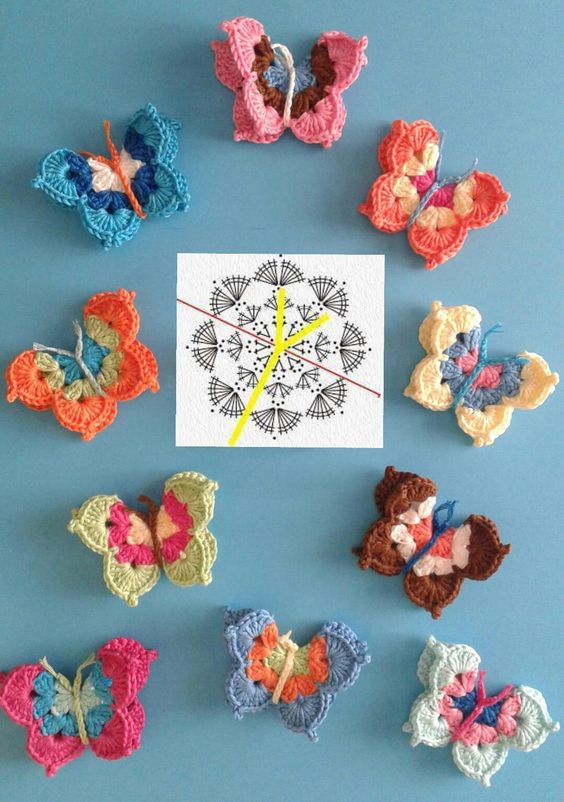
2.3 Adding More Layers
- Repeat the above round, making each wing layer slightly larger than the previous one.
- You can use different colors for each layer to make your butterfly more vibrant.
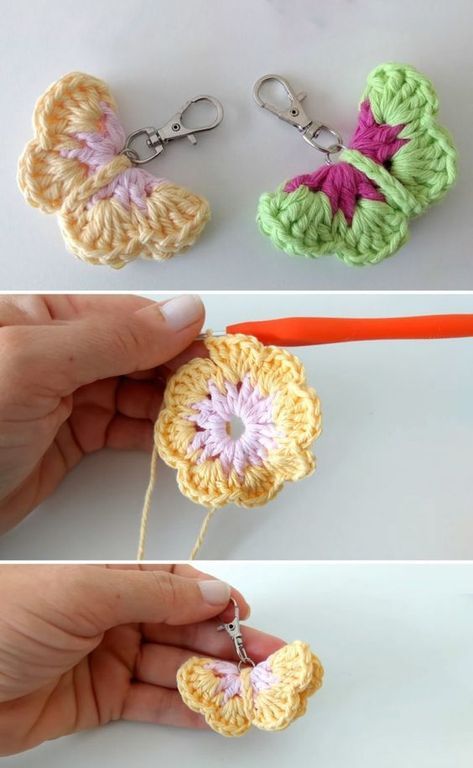
Step 3: Assembling Your Butterfly
With the body and wings ready, it's time to bring your crochet butterfly to life.
3.1 Attaching Wings
- Sew the wings onto the body, ensuring they are symmetrically placed.
- Leave room for the butterfly's head and antennae.
3.2 Adding Details
- Attach safety eyes or use embroidery thread to create the eyes.
- Craft small antennae using yarn and attach them to the head.
Step 4: Finishing Touches
To complete your Crochet Butterfly Keychain, follow these final steps:
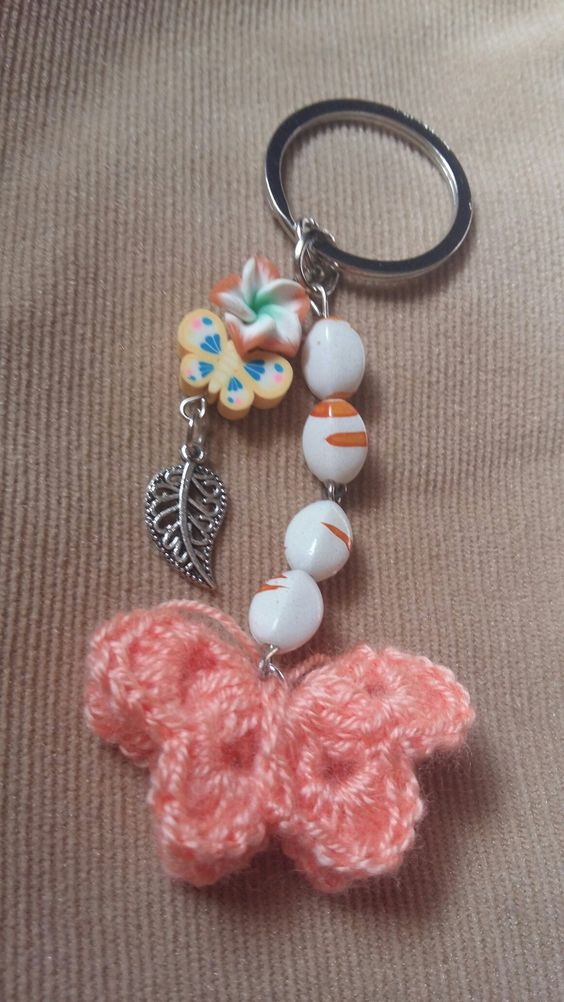
4.1 Keychain Attachment
- Thread the keychain ring through the top of your butterfly's body.
4.2 Stuffing
- Gently stuff the butterfly body to give it a plump appearance.
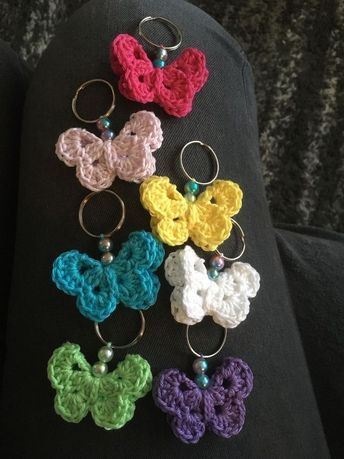
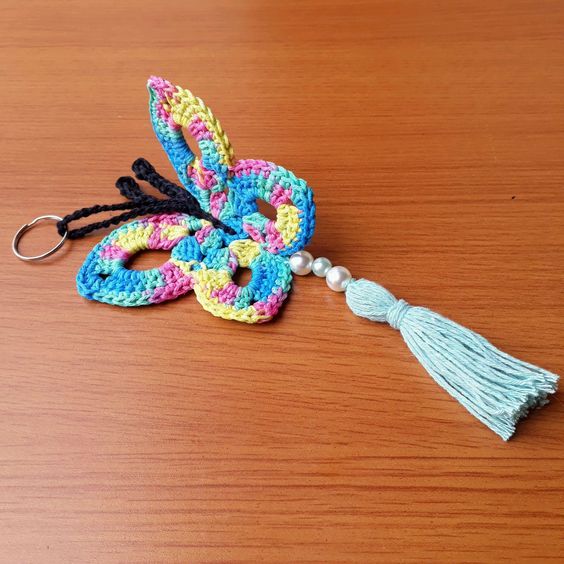
Congratulations! You've successfully crafted a stunning Crochet Butterfly Keychain.
This delightful accessory can brighten up your keys, bags, or even be a thoughtful gift for your loved ones. Dive into the world of crochet and let your creativity soar with each stitch.
CHECK MORE CROCHET PATTERNS