Crochet Baby Bib and Pacifier Clip

Creating a Crochet Baby Bib and Pacifier Clip set is a delightful and practical project for new parents or as a heartfelt gift.
These handmade items are not only adorable but also incredibly functional, making them perfect for keeping babies clean and ensuring pacifiers are always within reach.
Let's dive into how you can crochet your own baby bib and pacifier clip with detailed instructions and helpful tips.
Crochet Baby Bib and Pacifier Clip
Everyone has a little baby in their family’s and when this though came to our heads, we decided to do another research but this time for little ones.
This patterns and video tutorials have been tested and they work good. It doesn’t need to be reminded that this thing a very little sized and so they won’t take time or be hard to crochet.
I think that if you start crocheting than you will not finish and crochet many of these cute pacifier clips and baby bibs but in different colors.


We will share with you more article about crochet baby thing later but for now enjoy this article.
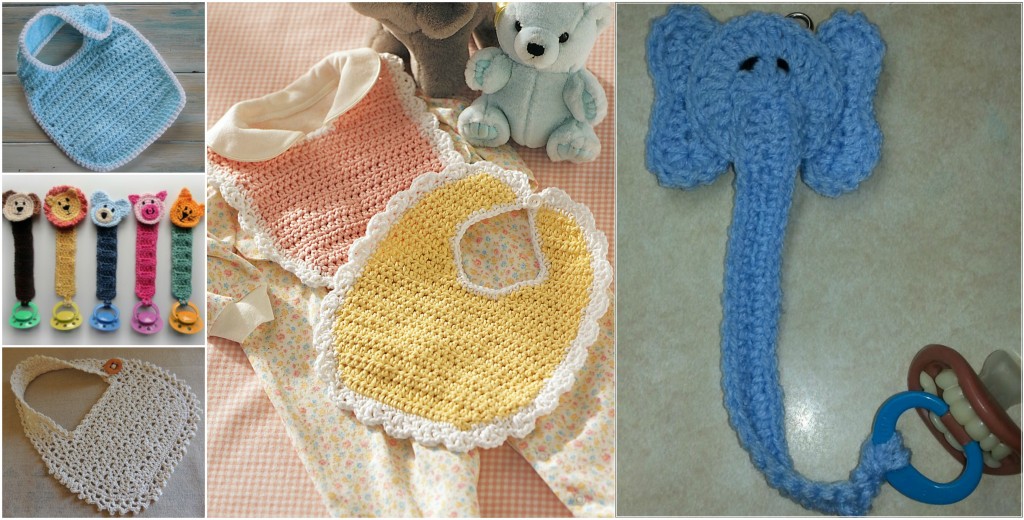
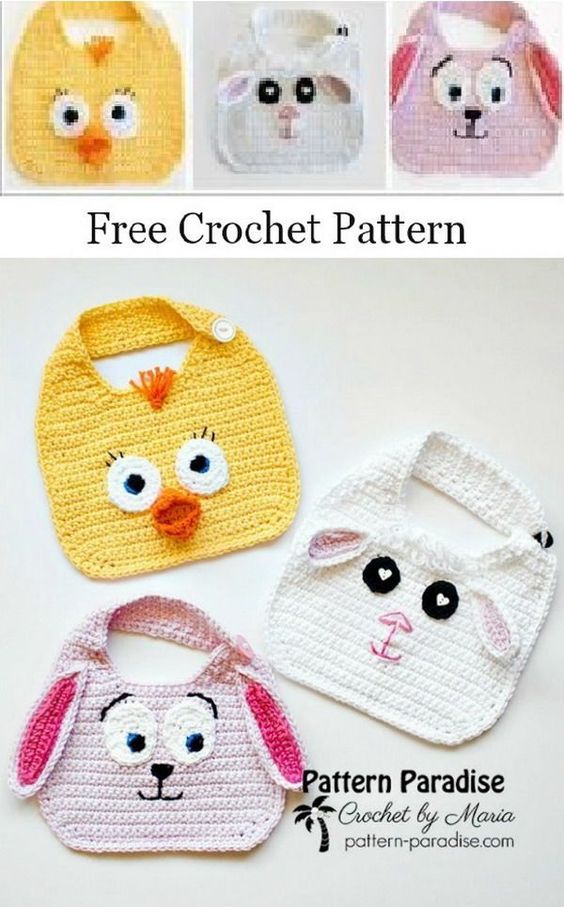
Looking at the photos you can imagine how joyful the working process will be. So do not put it away for later and start working now and share your opinion with some impressions with us. Enjoy

Materials You’ll Need
Before starting, gather these essential materials:
- Yarn: Soft, washable cotton yarn in your preferred colors.
- Crochet Hook: Size G/6 (4 mm) for a tight, sturdy fabric.
- Scissors: For cutting the yarn.
- Tapestry Needle: For weaving in ends.
- Pacifier Clip: A clip to attach to the pacifier holder.
- Button: For fastening the bib.
Step-by-Step Guide: Baby Bib
1. Create the Foundation Chain
Start by making the foundation chain for the baby bib.
Foundation Chain:
Chain (ch) 30 (or the number needed for your desired width).
2. Work the Main Body
Crochet the main body of the bib using basic stitches.
Row 1: Single crochet (sc) in the second chain from the hook and in each chain across. Turn.
Rows 2-20: Chain 1, sc in each stitch across. Turn.
3. Shape the Neckline
Create the neckline by decreasing stitches.
Row 21: Chain 1, sc in the first 10 stitches, leave remaining stitches unworked. Turn.
Row 22: Chain 1, sc2tog (single crochet two together), sc across to the last 2 stitches, sc2tog. Turn.
Rows 23-26: Repeat Row 22 until 4 stitches remain.
Rows 27-30: Chain 1, sc in each stitch across. Turn.
Finish off and weave in ends.
4. Add Edging and Fastener
Finish the bib with a neat edging and add a button for fastening.
Edging:
Round 1: Single crochet evenly around the edges of the bib, working 3 sc in each corner. Join with slip stitch to the first sc.
Round 2: Chain 1, sc in each stitch around. Join with slip stitch to the first sc.

Fastener:
Sew a button onto one end of the neckline. Create a button loop on the opposite end by chaining 5 and attaching with a slip stitch.
Step-by-Step Guide: Pacifier Clip
1. Create the Foundation Chain
Begin the pacifier clip with a foundation chain.
Foundation Chain:
Chain (ch) 50 (or the length needed to reach from the baby's clothing to their mouth).
2. Work the Strap
Crochet the strap using a simple stitch pattern for durability.
Row 1: Single crochet (sc) in the second chain from the hook and in each chain across. Turn.
Rows 2-3: Chain 1, sc n each stitch across. Turn.
Finish off and weave in ends.
3. Attach the Clip and Pacifier Holder
Secure the clip to one end and create a loop for the pacifier on the other.
Clip End:
Fold one end of the strap around the pacifier clip and sew securely.

Pacifier Loop:
Fold the opposite end of the strap to create a small loop and sew in place, ensuring it can hold the pacifier firmly.

Learn how to crochet a cute and functional baby bib and pacifier clip with our detailed guide.
CHECK MORE CROCHET PATTERNS