Crochet Baby Leg Warmers Tutorial: Cozy and Adorable Creations
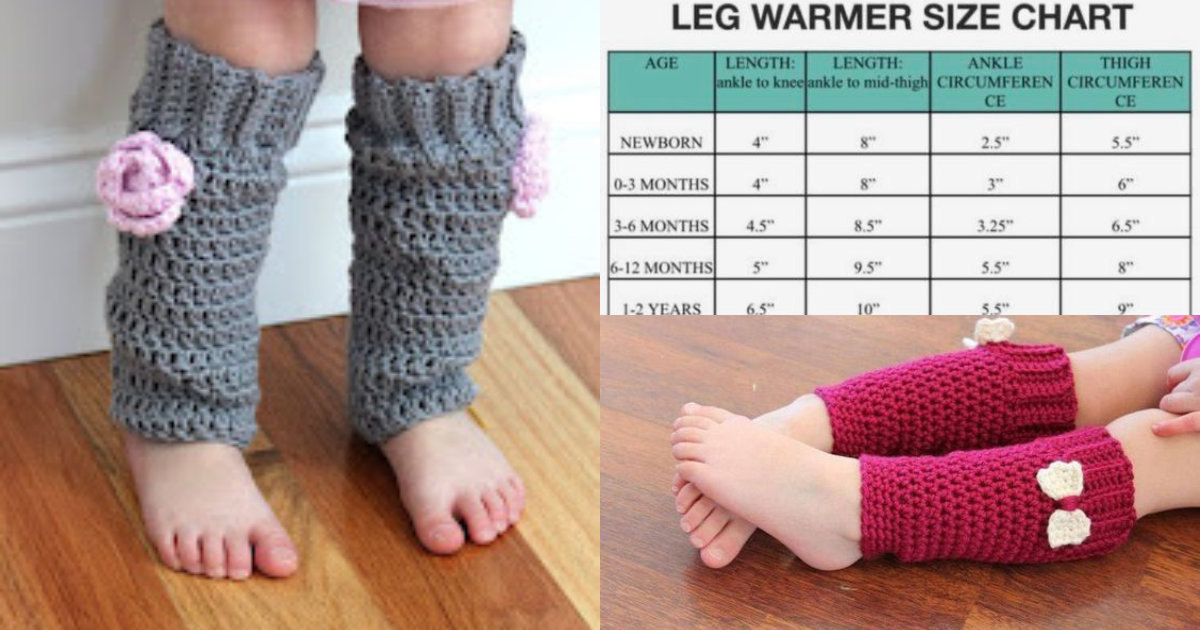
In today's DIY world, creating personalized items for your little one is not only a satisfying endeavor but also a way to add a touch of love and warmth to their wardrobes.
Crocheting baby leg warmers is a delightful and practical project that combines fashion and function.
In this tutorial, we will guide you through the steps of crafting these charming accessories for your little bundle of joy.
Crochet Baby Leg Warmers
Crocheting baby leg warmers is not only a delightful and creative hobby but also a practical way to keep your little one warm and stylish during chilly days.
In this tutorial, we will walk you through the steps to create these cozy accessories with ease.
Materials:
- Crochet Hook: Choose an appropriate hook size based on your selected yarn.
- Yarn: Opt for a soft, baby-friendly yarn in your desired color.
- Scissors: Essential for trimming yarn ends.
- Tapestry Needle: Used for weaving in loose ends.
- Measuring Tape: For precise sizing.
»video«

Begin by creating a slipknot and chaining the desired number of stitches to fit your baby's leg comfortably. Remember to keep the stitches loose to ensure flexibility.
Start with a foundation row of single crochets or double crochets, depending on your preference.
Work in continuous rounds to create the leg warmer's body.
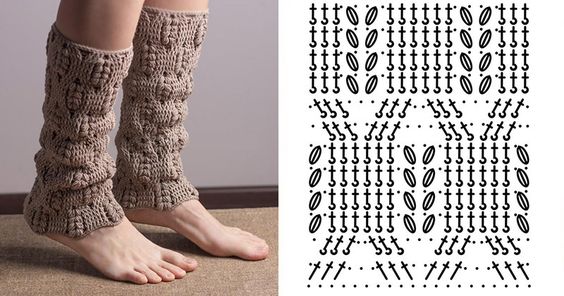
Experiment with different stitch patterns to add a touch of creativity.
Continue crocheting until the leg warmer reaches the desired length, typically just below the knee.
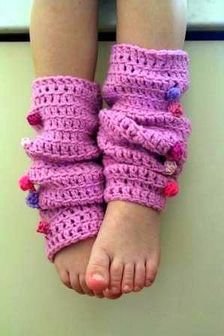
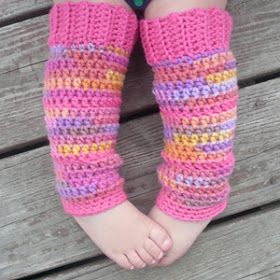
To make your baby's leg warmers unique, incorporate stylish patterns such as stripes, polka dots, or even tiny hearts. These details will enhance the overall charm of the leg warmers.
Adjusting the Size
To ensure a perfect fit, measure your baby's leg and adjust the number of stitches accordingly. Crochet is incredibly versatile, allowing you to customize the size precisely.
Care Instructions
To maintain the quality and softness of your baby's leg warmers, follow these care instructions:
- Hand wash in mild detergent.
- Avoid harsh wringing.
- Lay flat to dry.
Crafting crochet baby leg warmers is a rewarding and heartfelt endeavor.
With the right materials and a touch of creativity, you can create adorable accessories that keep your little one warm and stylish. Start crocheting today, and watch your baby shine in these cozy leg warmers!
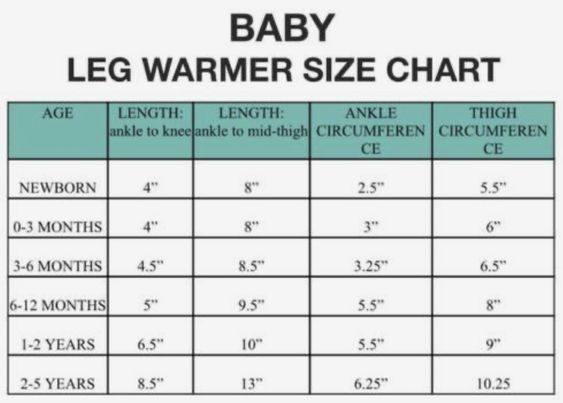
How to Crochet Baby Leg Warmers: Step-by-Step Guide
Step 1: Measure the Baby’s Leg Circumference and Length
- Measure Circumference:
- Measure the baby’s leg circumference at the widest part of the calf to ensure a comfortable fit.
- Determine Length:
- Decide how long you want the leg warmers to be. For infants, 6–8 inches is a typical length; for toddlers, 8–10 inches works well.
Tip: Make sure to crochet with a bit of stretch, allowing the leg warmers to fit comfortably over the baby’s legs.
Step 2: Create the Foundation Chain
- Chain to Fit the Circumference:
- Chain enough stitches to match the leg circumference. Make sure the chain has a little stretch to avoid being too tight.
- Join to Form a Circle:
- Join the chain with a slip stitch to create a circle. Be careful not to twist the chain.
**Pro Tip**: Check that the foundation chain fits comfortably around the baby’s calf to avoid a snug fit.
Step 3: Begin Working in Rounds
- Work in Single or Half-Double Crochet:
- Work the first row in single crochet (SC) or half-double crochet (HDC) for a simple, stretchy start.
- Continue Rounds for Desired Length:
- Repeat rounds until you reach the desired length. Most leg warmers are slightly longer than the calf for full coverage.
- Add Pattern if Desired:
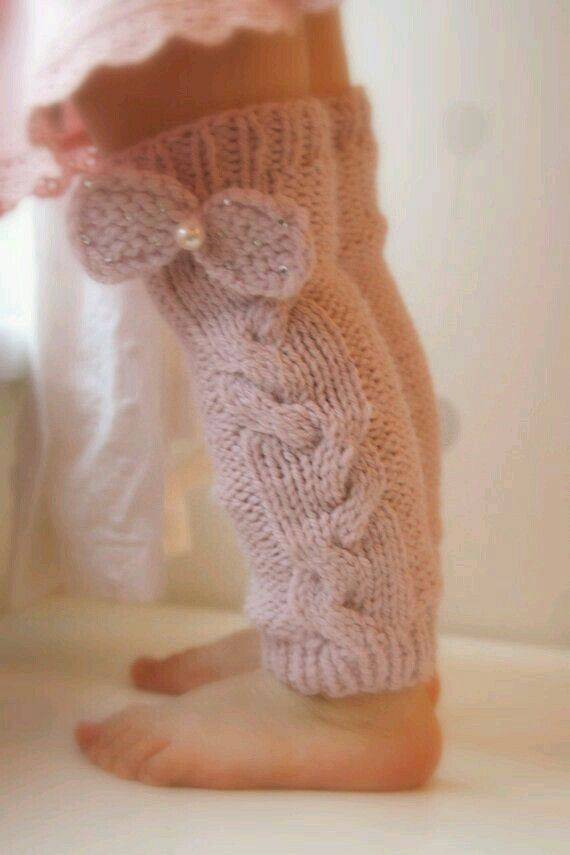
- You can switch to a ribbed stitch, or even add some puff stitches for a textured, cozy look.
"Working in rounds makes crocheting baby leg warmers quick and seamless, allowing you to focus on adding fun details."
Step 4: Add Ribbing at the Top and Bottom
- Add Ribbing for a Snug Fit:
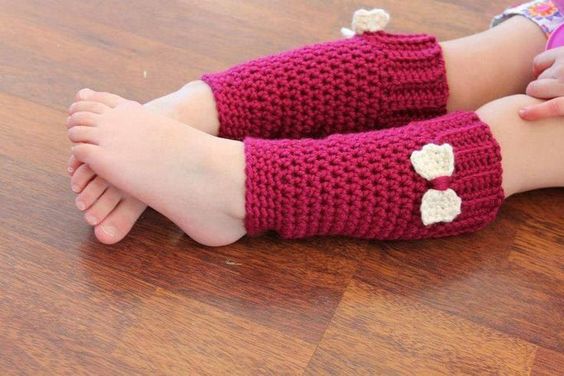
- Work several rounds of front and back post double crochet (FPDC/BPDC) to create ribbing at the top and bottom edges. This helps the leg warmers stay up.
- Customize the Width of Ribbing:
- Typically, 3–4 rows of ribbing at each end is sufficient, but you can adjust based on the style you want.
**Tip**: Ribbing not only adds style but also helps keep the leg warmers in place, even for active little ones!
Step 5: Add Finishing Touches
- Weave in Loose Ends:
- Use a tapestry needle to weave in any loose ends neatly.
- Add Decorative Elements:
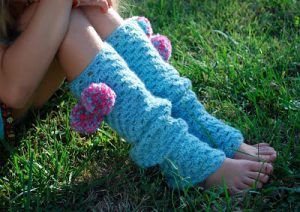
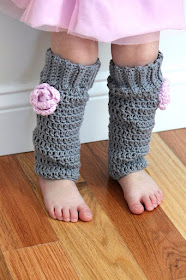
- Consider adding a small crochet bow, button, or pom-pom for a cute, personalized touch.
- Steam Block:
- Lightly steam block the leg warmers if needed to relax stitches and enhance the shape.
CHECK MORE CROCHET PATTERNS