Crochet Bear Cushion Tutorial
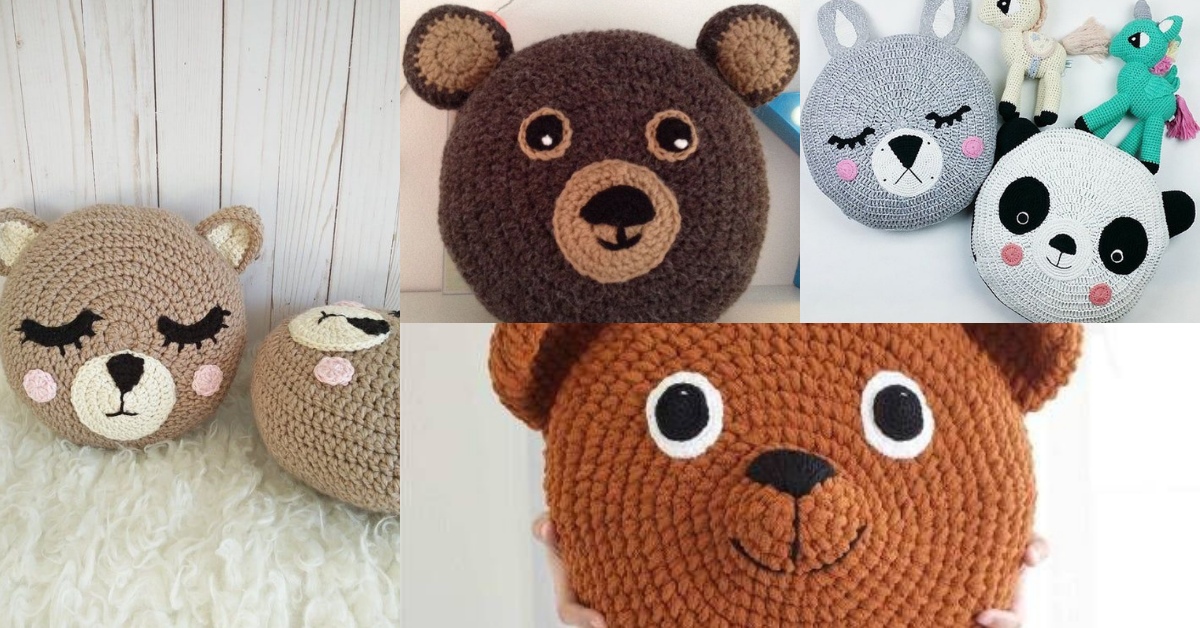
Cushions are perfect for decorating your home. They are the simplest and easiest option because there is a wide variety of models and options.
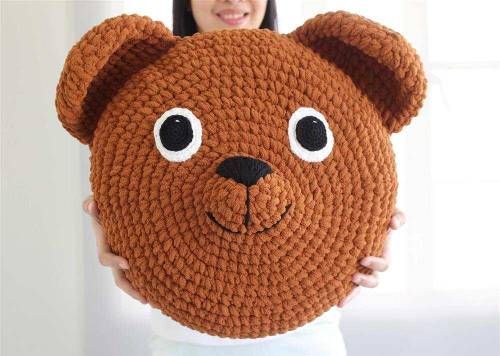
The bear is one of the favorite animals of the little ones, so a pillow shaped like a bear can be the perfect companion for the little ones.
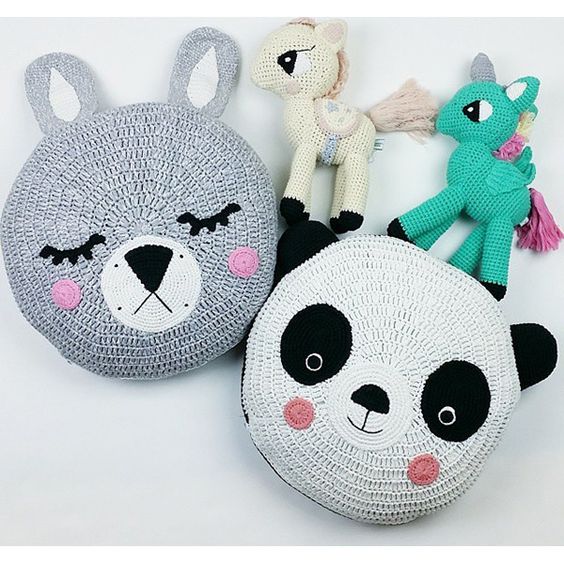
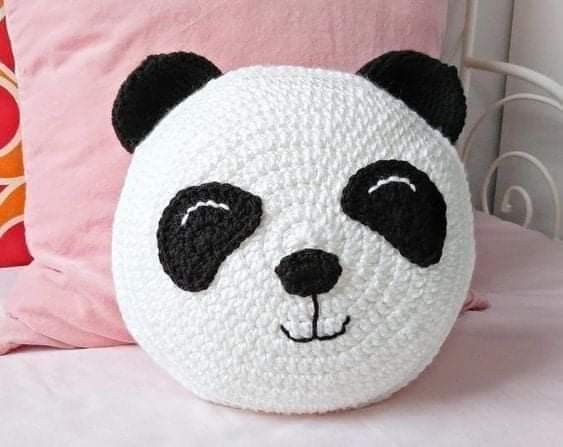
Today we show you some ideas for pillows in the shape of a bear, you can even watch a video tutorial for inspiration.
Crochet Bear Cushion Tutorial

Materials Needed for a Crochet Bear Cushion
Before starting, make sure you have these essential materials:
- Yarn: Choose soft, chunky yarn for a cozy feel. Neutral colors like brown, beige, or gray work well, but you can get creative with color.
- Crochet Hook: A 6mm–8mm hook is ideal for thicker yarn.
- Polyester Fiberfill: For stuffing your cushion, giving it a fluffy, huggable shape.
- Tapestry Needle: To sew pieces together and weave in loose ends.
- Safety Eyes and Nose: For adding a face to your bear. Alternatively, you can crochet or embroider these features.
- Scissors: For trimming yarn and finishing touches.
Crochet Bear Cushion Tutorial
Step 1: Crochet the Front and Back of the Cushion
- Chain 30–35 Stitches:
- Start by creating a foundation chain. Adjust the number of stitches based on how big you want your cushion.
- Work in Rounds:
- Single crochet (SC) in each stitch across. At the end of each row, chain 1 and turn.
- Continue crocheting rows until the piece reaches a square shape. This will be the front of your cushion.
- Repeat for the Back:
- Crochet a second identical piece to form the back side of the cushion.
Tip: Ensure both front and back pieces are the same size to make assembly easier.
Step 2: Crochet the Bear’s Ears
To make the bear’s face truly adorable, create two ears to attach to the cushion.
- Chain 8 Stitches:
- Start with a foundation chain of 8 stitches to form a base for the ear.
- Single Crochet in Rows:
- Work in single crochet across each row, gradually decreasing at the end of each row to create a rounded shape.
- Make Two Identical Ears:
- Repeat the steps to create a second ear, ensuring both are the same size.
"Adding ears gives your bear cushion a touch of personality, transforming it from a simple pillow into a charming character."
Step 3: Add Facial Features
Now it’s time to add the face to your bear cushion! You can use safety eyes and a nose or crochet these features if you prefer.
- Attach Safety Eyes:
- Place the safety eyes on the front piece of the cushion, positioning them evenly near the center.
- Create a Nose:
- For a simple nose, you can crochet a small oval or use a fabric nose piece.
- Sew or attach it securely between the eyes.
- Embroider the Mouth:
- Use black yarn or embroidery thread to stitch a small smile beneath the nose.
Step 4: Assemble the Cushion
- Align the Front and Back Pieces:
- Place the front and back pieces together, with the front side facing out.
- Sew the Edges:
- Using a tapestry needle, sew around the edges of the cushion with matching yarn, leaving a small opening for stuffing.
- Stuff the Cushion:
- Fill the cushion with polyester fiberfill until it’s soft and plump. Don’t overstuff, as it could stretch the stitches.
- Close the Opening:
- Once stuffed, finish sewing the opening, ensuring all edges are securely fastened.
"Stuffing the cushion brings it to life, transforming it into a soft, huggable friend."
Step 5: Attach the Ears
- Position the Ears:
- Place the ears on top of the cushion, ensuring they are evenly spaced.
- Sew the Ears:
- Attach each ear by sewing the base of the ear to the top of the cushion, using tight stitches to keep them secure.
"The ears add the final touch, giving your crochet bear cushion its adorable, cuddly look."
Crochet Bear Cushion Ideas
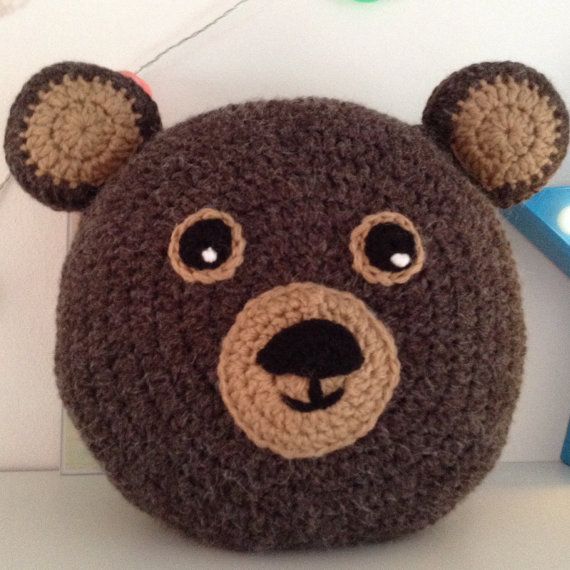
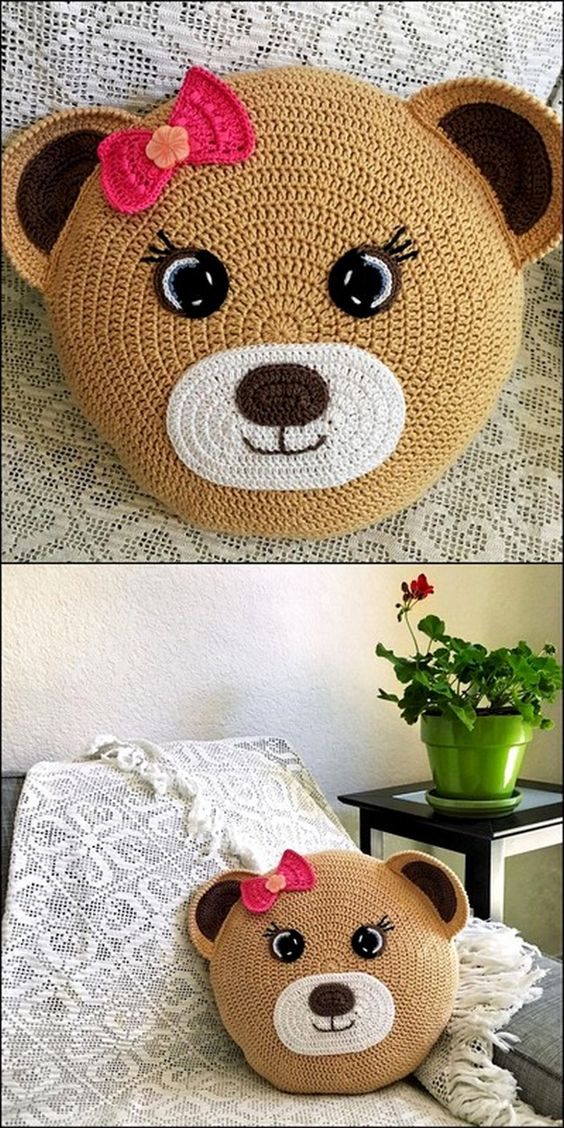
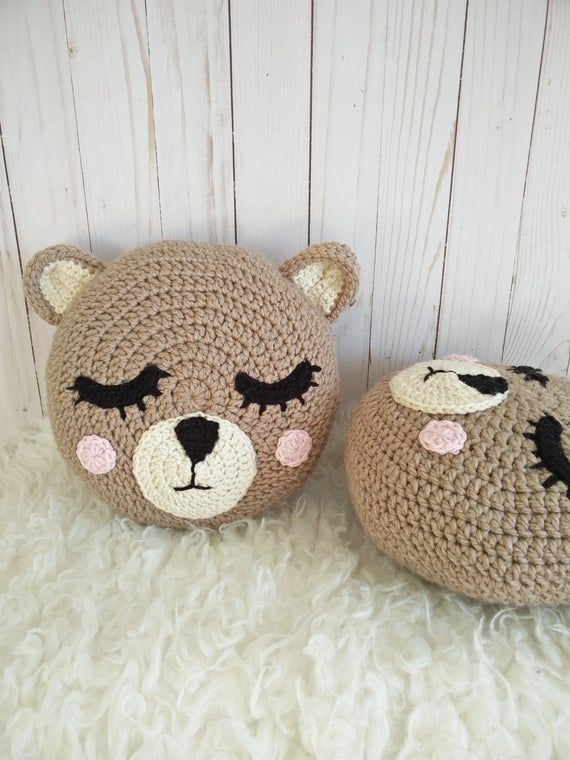
Via Pinterest
CHECK MORE CROCHET PATTERNS