Crochet Bunny Ears Jacket- Ideas
Crochet is an art that allows you to give free rein to your imagination and create unique and special pieces of clothing and decoration. Crochet clothing is perfect for all ages, but especially for babies and toddlers.
Also: Create a Stylish Crochet Bolero Jacket: A Step-by-Step Guide
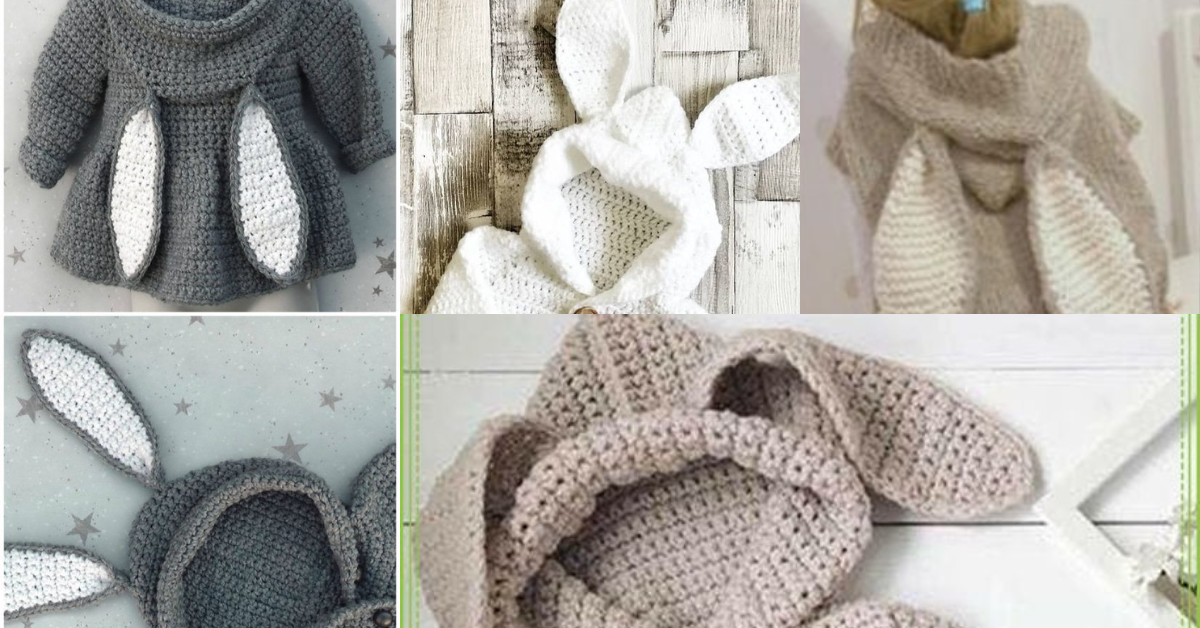
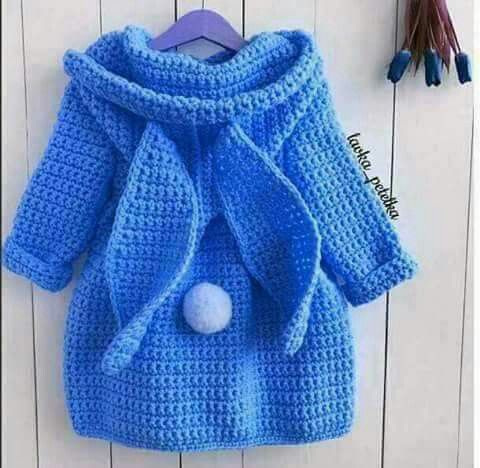
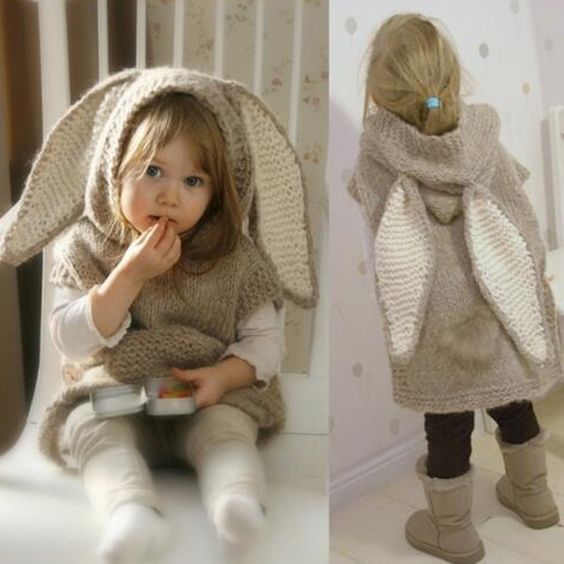
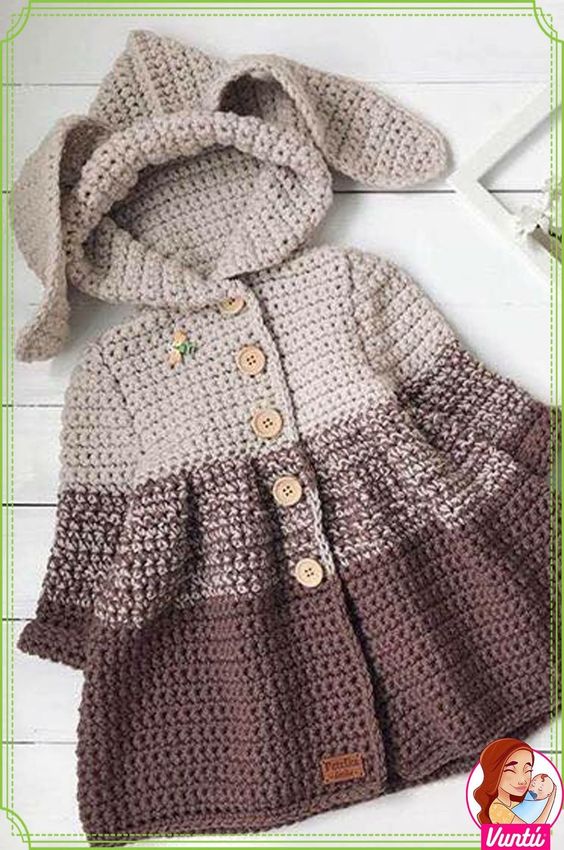
There are thousands of crochet clothing ideas and models, today we bring you a beautiful idea that the little ones will love. A coat with rabbit ears.
A beautiful and wonderful idea that will surprise you with its originality. Check out some ideas to get inspired.
Crochet rabbit ears for coat
Learn to crochet a cute bunny ears jacket with our step-by-step tutorial! Perfect for kids, this guide covers materials, stitches, and creative tips for a unique, cozy garment.
While some experience with basic crochet stitches is helpful, the jacket is achievable with patience and practice.
Use slightly tighter stitches and a stiffer yarn, or insert pipe cleaners inside the ears for extra support.
This pattern can be adapted for other animals by changing ear shapes and colors, such as bears, cats, or foxes.

Crochet Bunny Ears Jacket Ideas
Step-by-Step Guide to Crocheting the Bunny Ears Jacket
1. Starting the Body of the Jacket
- Make the Back Panel
- Begin with a foundation chain to form the width of the back panel.
- Work in rows of half double crochet (hdc) to build up the height of the jacket’s back.
- Continue until the panel reaches the desired length.
- Front Panels
- For each front panel, start with a smaller foundation chain and mirror the stitches of the back panel.
- Leave enough room in the middle to allow for a cozy fit when buttoned.
- Adding Sleeves
- To create the sleeves, use the same stitch as the body, but work in rounds or rows, depending on the style.
- Attach each sleeve to the armholes by sewing or crocheting them in place.
Make sure the sleeves are roomy enough for easy movement and comfort.
2. Adding the Bunny Hood
- Crochet the Hood Base
- Start with a foundation chain and work in rows to create a rectangle, making sure it’s large enough to fit comfortably over the head.
- Once the rectangle reaches the desired size, fold it in half and stitch along the top edge to form the hood shape.
- Attach the Hood to the Body
- Using a yarn needle, sew the bottom edge of the hood to the neckline of the jacket.
3. Creating the Bunny Ears
- Start with a Magic Ring
- Begin each ear with a magic ring and work a few rounds in double crochet to create the inner ear.
- Shape the Outer Ear
- Switch to your main yarn color and continue working in rounds, tapering the stitches towards the top.
- Attach Ears to the Hood
- Position the ears evenly on top of the hood and sew securely.
Extra Cuteness
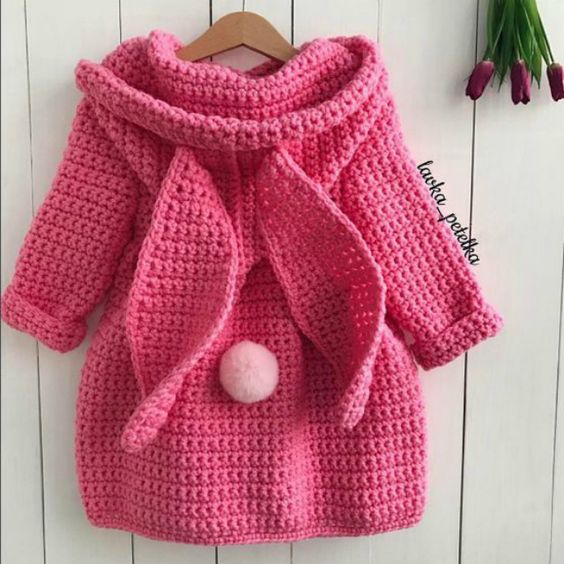
- Pom-Pom Tail: Add a crochet or yarn pom-pom to the back of the jacket as a fluffy tail.
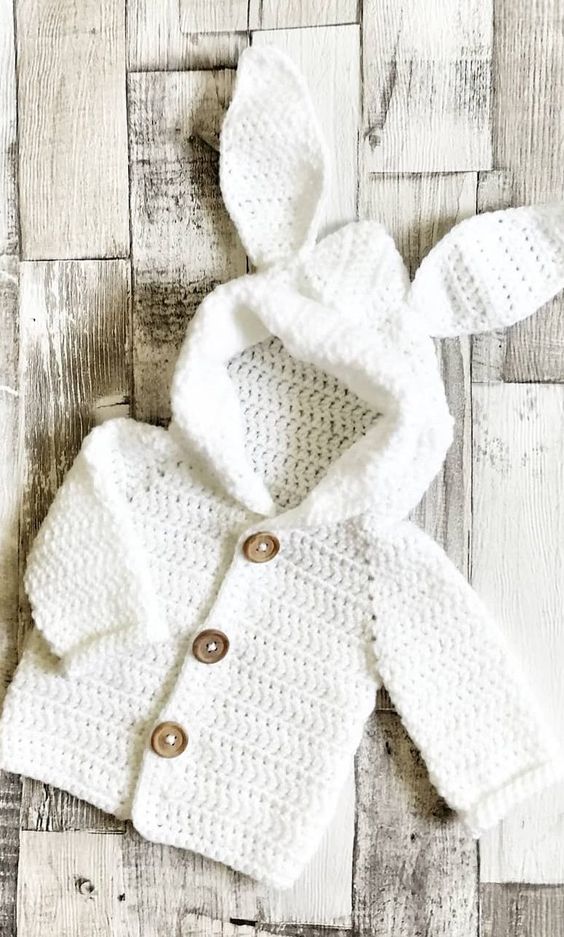
- Button Closures: Attach buttons down the front for an easy-open jacket.
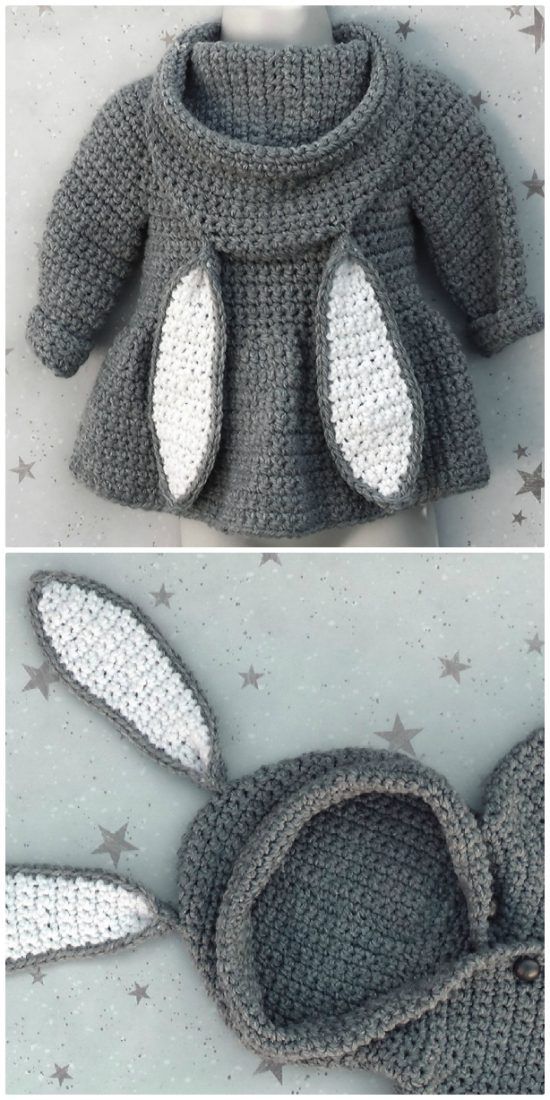
- Colorful Lining: Line the ears with a contrasting color or even a sparkle yarn for extra charm.
CHECK MORE CROCHET PATTERNS