Crochet Easy Buttons Bracelet: A Creative DIY Project
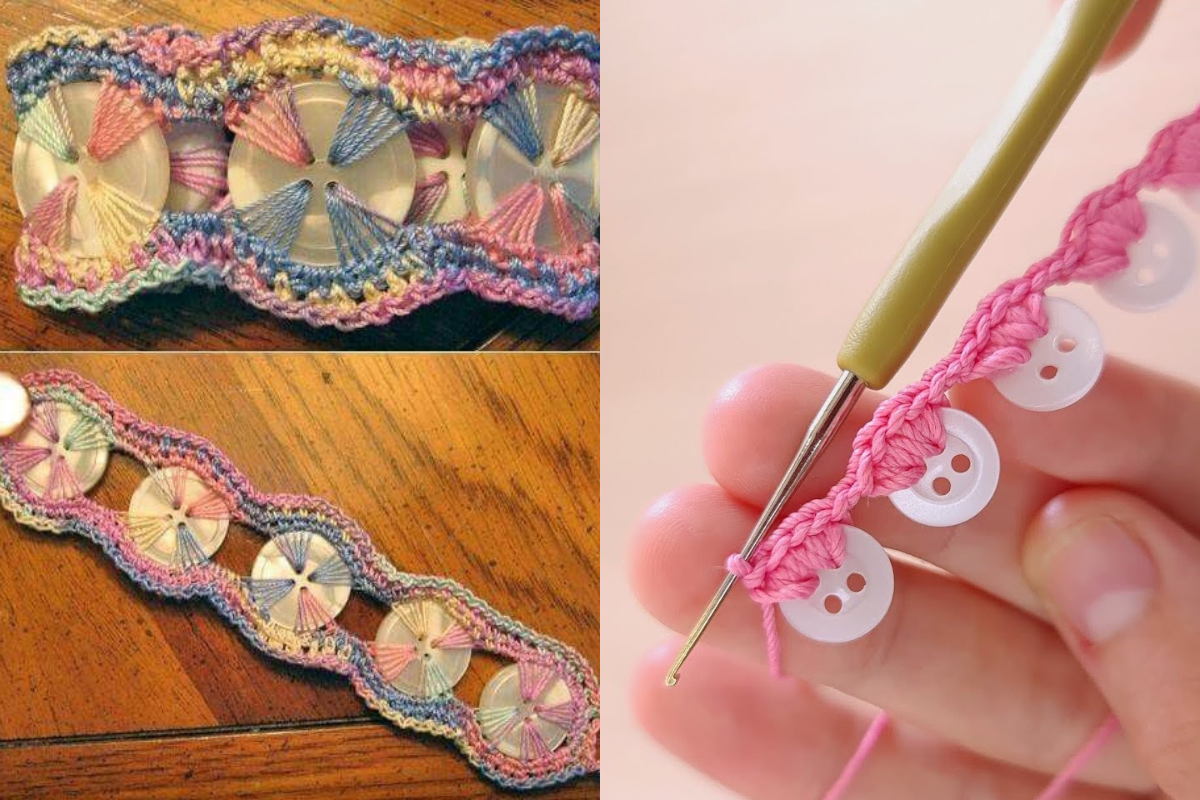
In today's fast-paced world, finding a creative and relaxing hobby can be a true blessing.
Crocheting is one such craft that not only allows you to unwind but also lets you create beautiful and practical items. In this article, we'll guide you through the process of making a Crochet Easy Buttons Bracelet.
This delightful accessory is not only fashionable but also an excellent conversation starter. Let's dive into the world of crochet and create something amazing.
Before we start, let's gather all the materials you'll need for this project. Here's a quick checklist:
For the Bracelet:
- Crochet Hook (Size G or H)
- Worsted Weight Yarn (Choose your favorite color)
- Buttons (Various sizes and styles)
- Yarn Needle
- Scissors
- Tape Measure
For the Closure:
- Sewing Needle
- Thread (Matching the yarn color)
- Small Snaps or Velcro

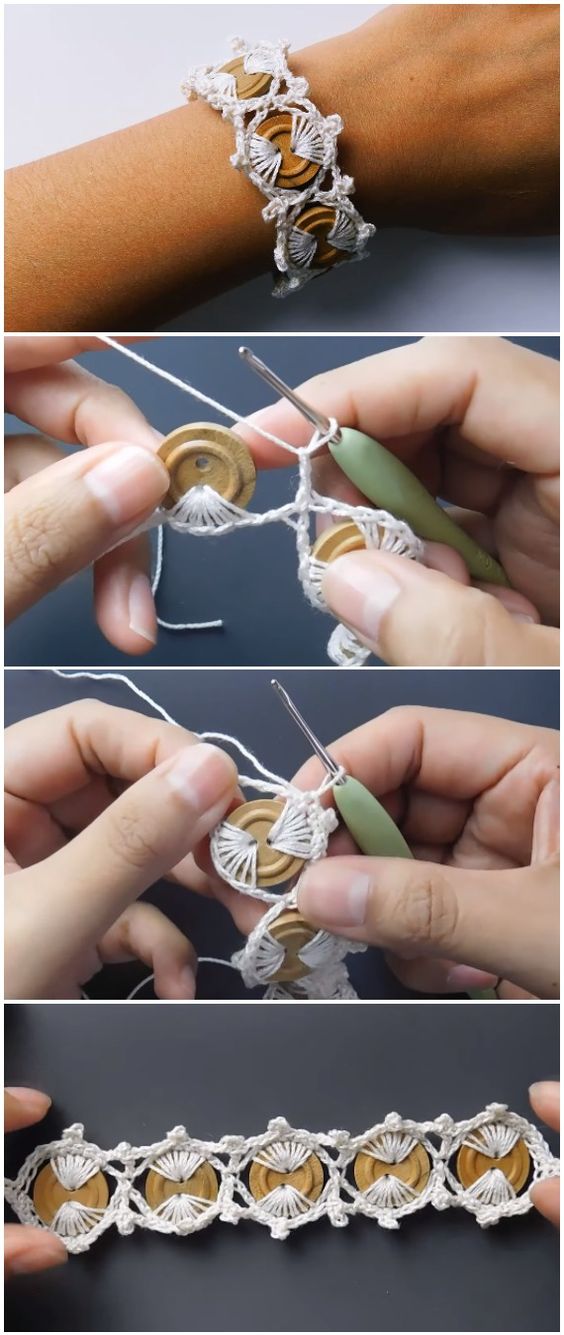
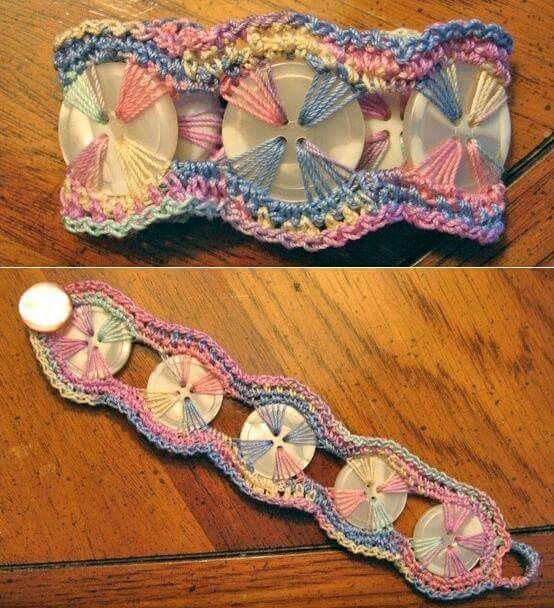
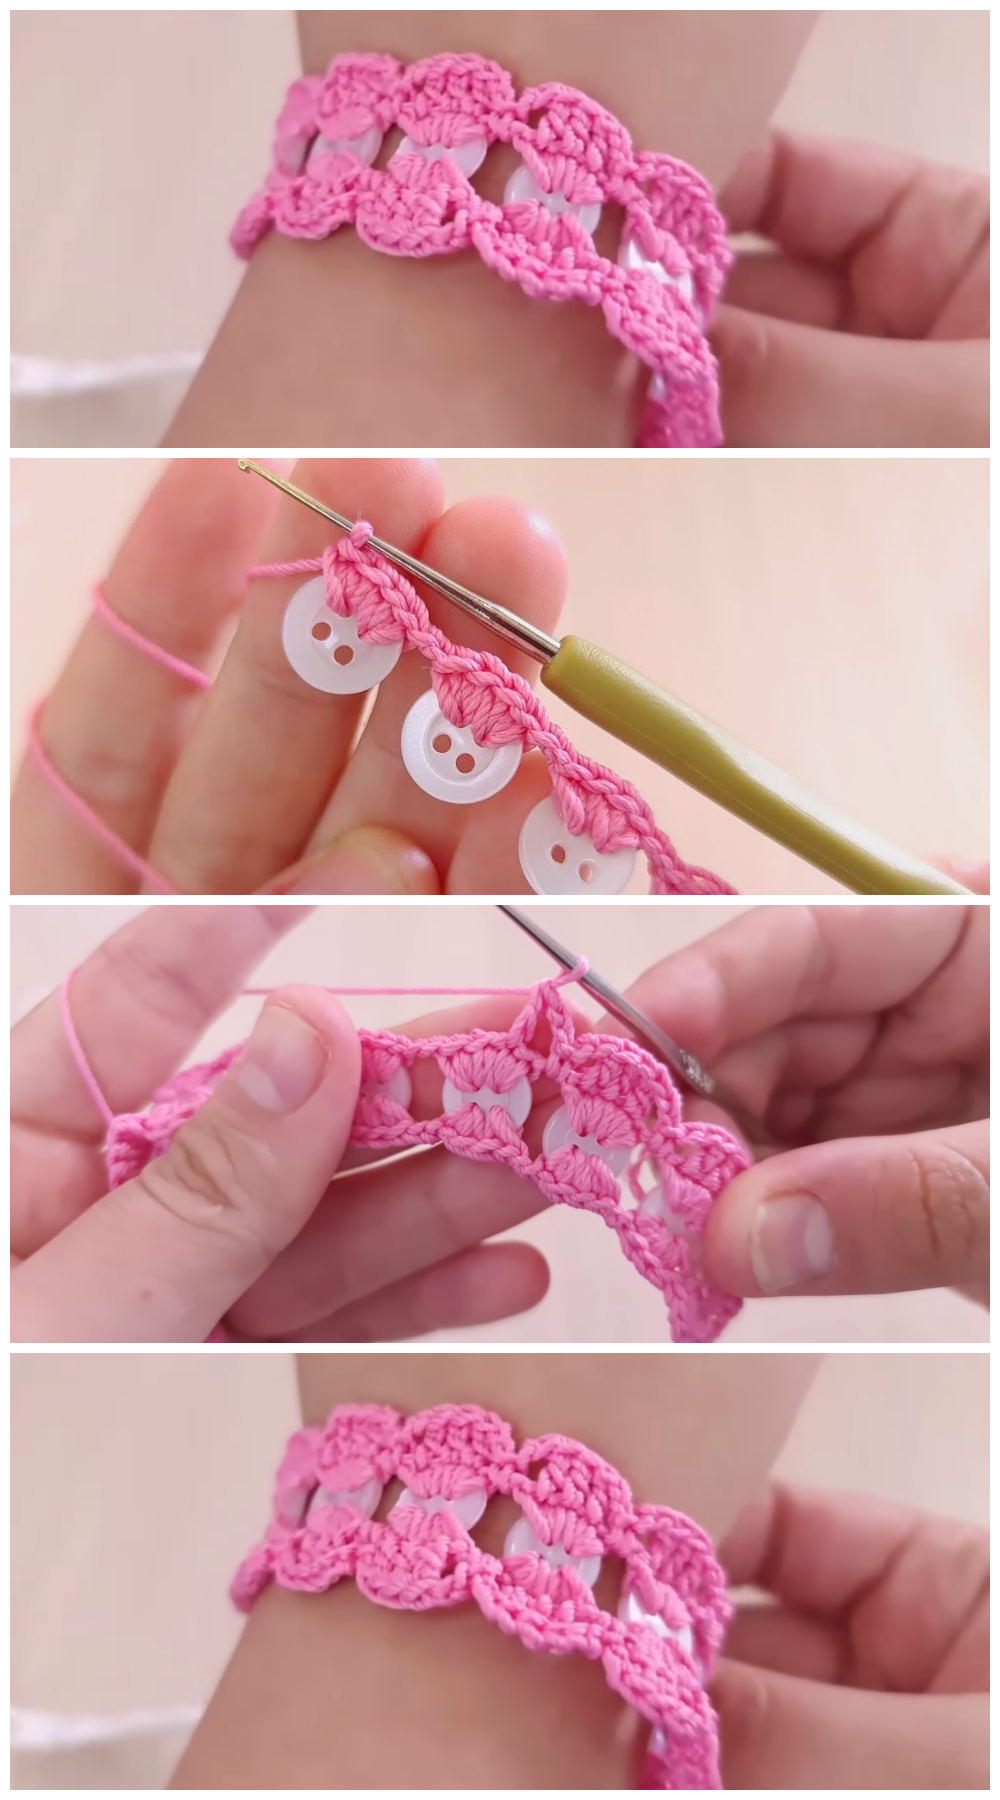
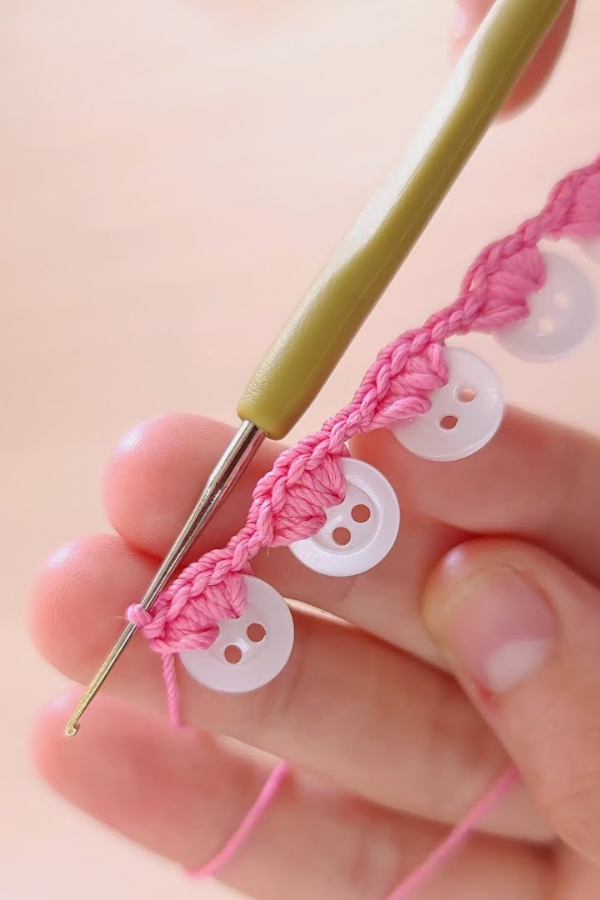
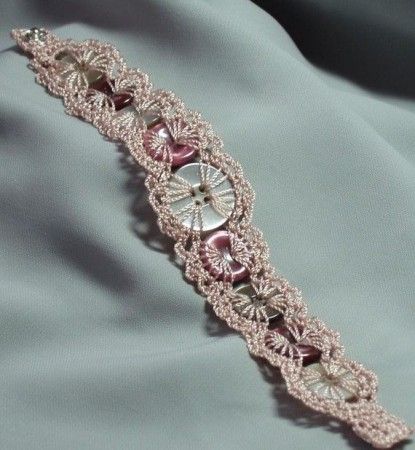
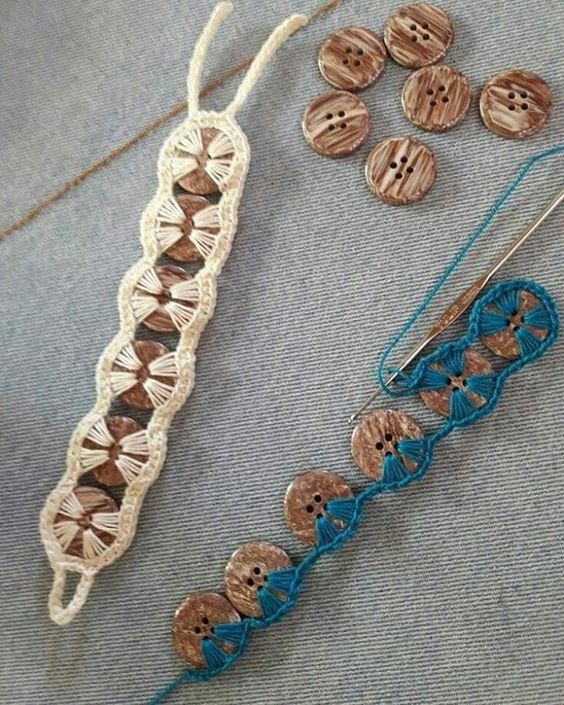
Step-by-Step Instructions
Now that we have everything ready, let's begin crafting our Crochet Easy Buttons Bracelet. Follow these simple steps:
1. Choose Your Yarn and Hook
Start by selecting your preferred yarn color and the appropriate crochet hook size (G or H). Ensure they complement each other well.
2. Measure Your Wrist
Use a tape measure to determine the circumference of your wrist. This measurement will help you create the perfect-sized bracelet.
3. Foundation Chain
Create a foundation chain using a multiple of two stitches, plus an additional one to achieve the desired length. For instance, if your wrist measures 6 inches, you can start with a chain of 26.
4. Single Crochet Rows
Begin crocheting single crochet rows, maintaining the chosen length. Make sure your rows are consistent, and the bracelet width suits your taste.
To create buttonholes, simply chain two at the beginning of a row, skip two stitches, and single crochet in the next two stitches. Repeat this pattern until you have enough buttonholes for your buttons.
Sew your chosen buttons on the opposite side of the buttonholes. Ensure they align correctly for secure closure.
7. Finishing Touches
Once you've added all your buttons, crochet a few more rows to secure them in place. Then, fasten off your yarn and weave in any loose ends using a yarn needle.
8. Closure
To create a closure for your bracelet, attach snaps or Velcro to the ends using a sewing needle and thread.
Get Creative
Now that you've completed your Crochet Easy Buttons Bracelet, feel free to personalize it further. You can experiment with different yarn colors, button styles, or even add beads or charms for extra flair. Let your creativity shine!
There are endless ways to make your crochet buttons bracelet unique. Here are some creative customization ideas:
Experiment with a variety of buttons to give each bracelet a distinct look.
- Vintage Buttons: Add a vintage touch by using old-fashioned buttons.
- Bright Colors: Use colorful buttons for a cheerful, playful look.
- Mix Sizes: Combine large and small buttons for a textured, eye-catching design.
Tip: Arrange buttons in a gradient for a beautiful ombre effect.
2. Add Beads or Charms
Incorporate beads or charms alongside the buttons for a boho-inspired look.
- Tiny Beads: Sew tiny beads between buttons to add sparkle.
- Charms: Attach small charms for a whimsical touch, like hearts, stars, or nature-inspired charms.
- Shell Accents: Use shell buttons or beads for a beachy vibe.
Boho Idea: Add fringe or tassels at the ends of the bracelet for a laid-back, bohemian style.
3. Make a Wrap Bracelet
Instead of a single-layer bracelet, try a wrap bracelet style for added flair.
- Longer Chain: Make the foundation chain long enough to wrap around your wrist twice or three times.
- Multiple Layers: Add buttons or charms to each layer for a fuller look.
- Layered Colors: Use two different colors of yarn to create a double-sided, reversible design.
Wrap Tip: Secure with multiple buttons for a wrap bracelet that stays snug and secure.
4. Add a Personalized Touch
Give your bracelet a sentimental feel by adding initials or symbols.
- Initial Buttons: Choose buttons with letters for a monogrammed look.
- Color Theme: Pick colors that have special meaning, like birthstones or favorite shades.
- Message Stitches: Use small embroidered stitches to spell a word or initials.
CHECK MORE CROCHET PATTERNS