Crochet Egg Tutorial – Step-by-Step Guide
Crocheted eggs are perfect for Easter decorations, gifts, or simply as a fun craft project. This tutorial
will walk you through creating a basic crochet egg, with tips to make it unique by using different yarns, patterns, and embellishments.
Also: Festive Easter Crochet Appliques: Easy Patterns
Crochet Egg Tutorial
Materials Needed
Before you start, gather the following materials:
Supplies:
- Yarn: Cotton or acrylic yarn in pastel or bright colors.
- Crochet Hook: Size 3.0mm – 4.5mm (adjust based on yarn weight).
- Scissors: For trimming excess yarn.
- Tapestry Needle: For weaving in ends.
- Polyfill Stuffing: To shape the egg.
- Stitch Marker: To keep track of rounds.
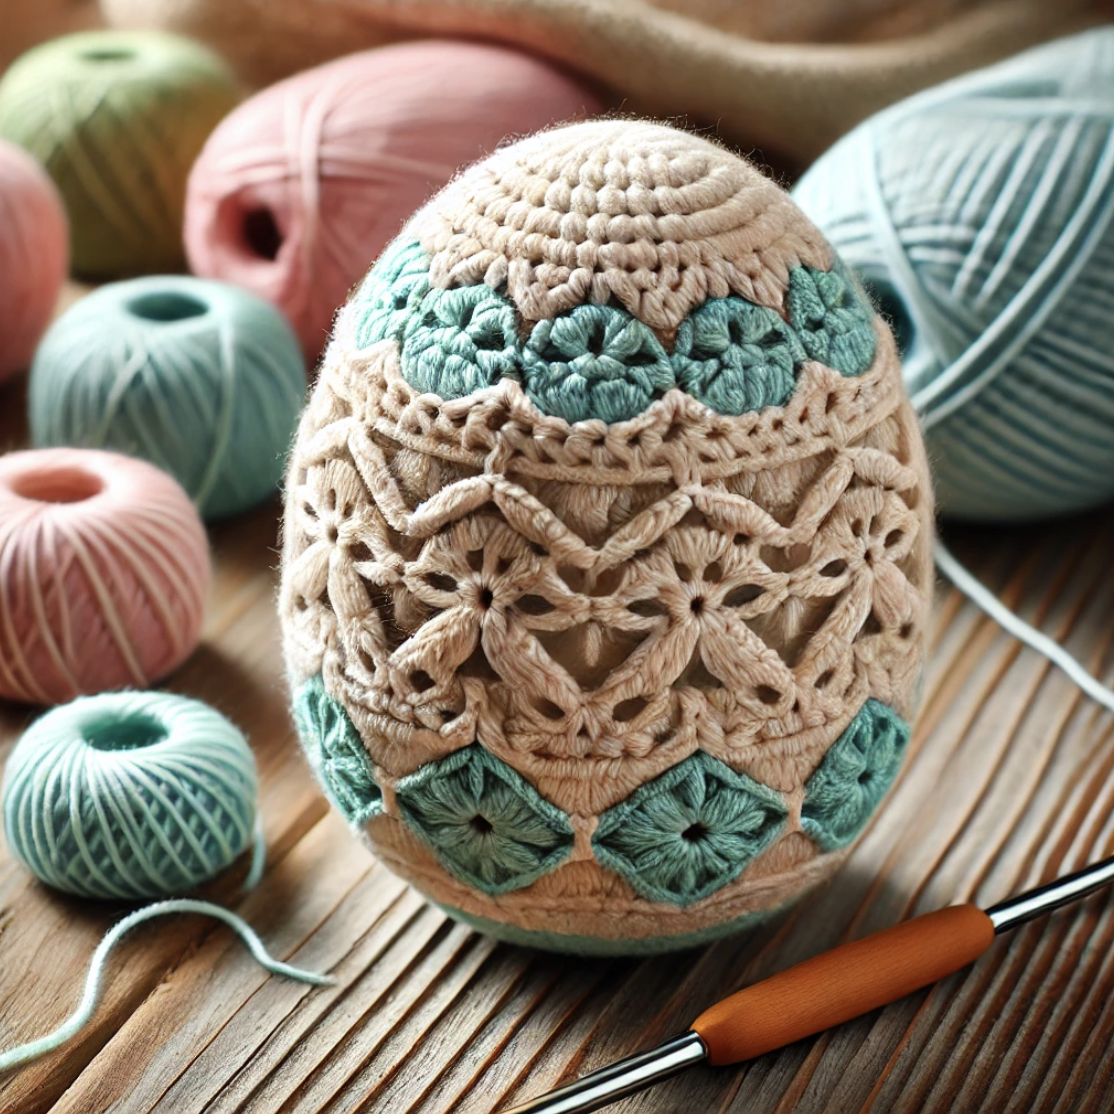
Use light pastel colors for a classic Easter look or bright tones for a fun and festive egg!
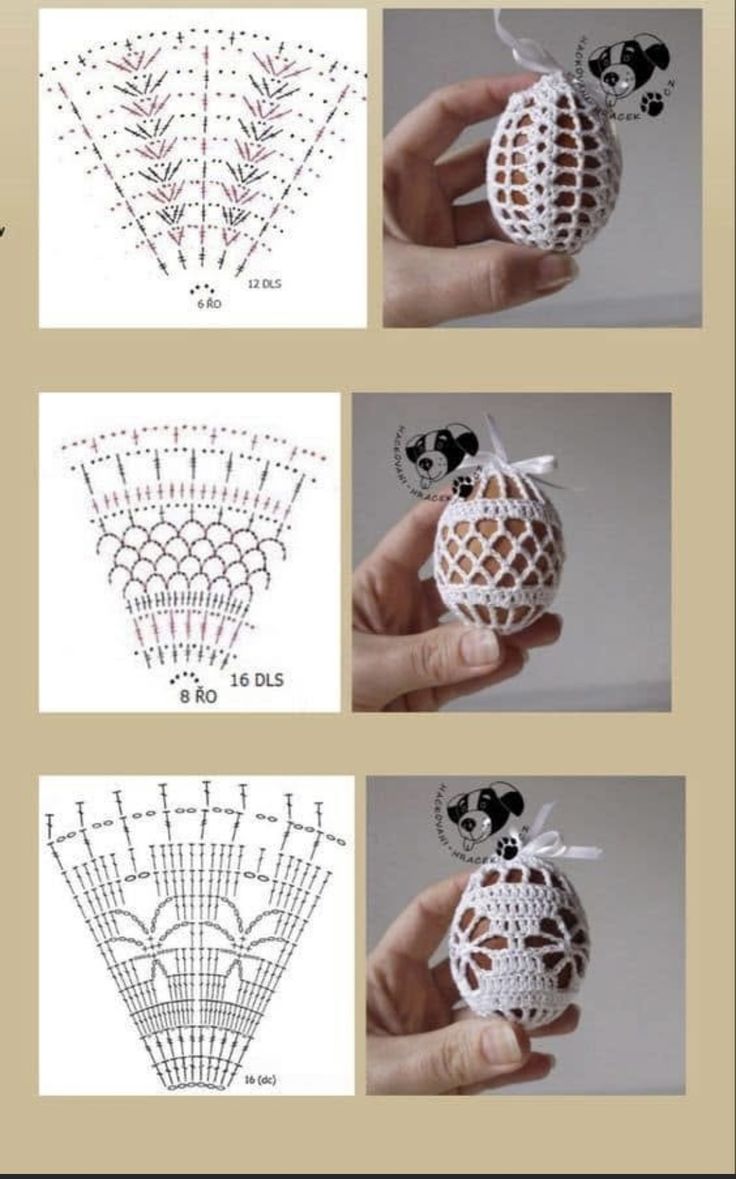
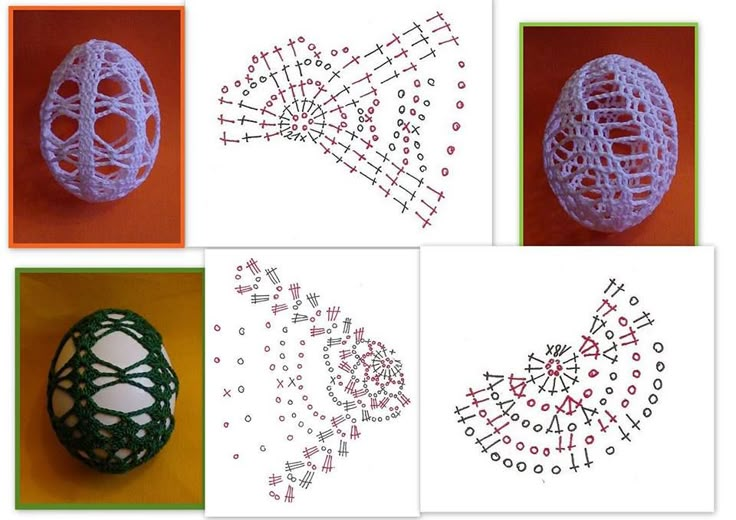
Crochet Egg Pattern
This crochet egg is worked in continuous rounds (spiral method), so use a stitch marker to keep track of the first stitch of each round.
Step 1: Start with a Magic Ring
- Make a magic ring and secure it.
- Round 1: Crochet 6 single crochets (sc) into the ring. Pull tight to close. (6 stitches)
Step 2: Increasing to Form the Egg Shape
- Round 2: Work 2 sc in each stitch around. (12 stitches)
- Round 3: (1 sc, 2 sc in next stitch) repeat around. (18 stitches)
- Round 4: (2 sc, 2 sc in next stitch) repeat around. (24 stitches)
- Round 5: (3 sc, 2 sc in next stitch) repeat around. (30 stitches)
- Rounds 6-10: Work 1 sc in each stitch around. (30 stitches per round)
At this stage, the egg should begin forming a rounded base.
Step 3: Shaping the Egg – Decreasing
- Round 11: (3 sc, decrease) repeat around. (24 stitches)
- Round 12: (2 sc, decrease) repeat around. (18 stitches)
- Round 13: (1 sc, decrease) repeat around. (12 stitches)
Before closing, stuff the egg with polyfill to give it shape.
- Round 14: (Decrease in every stitch) around. (6 stitches)
- Fasten off, cut yarn, and weave in the ends.
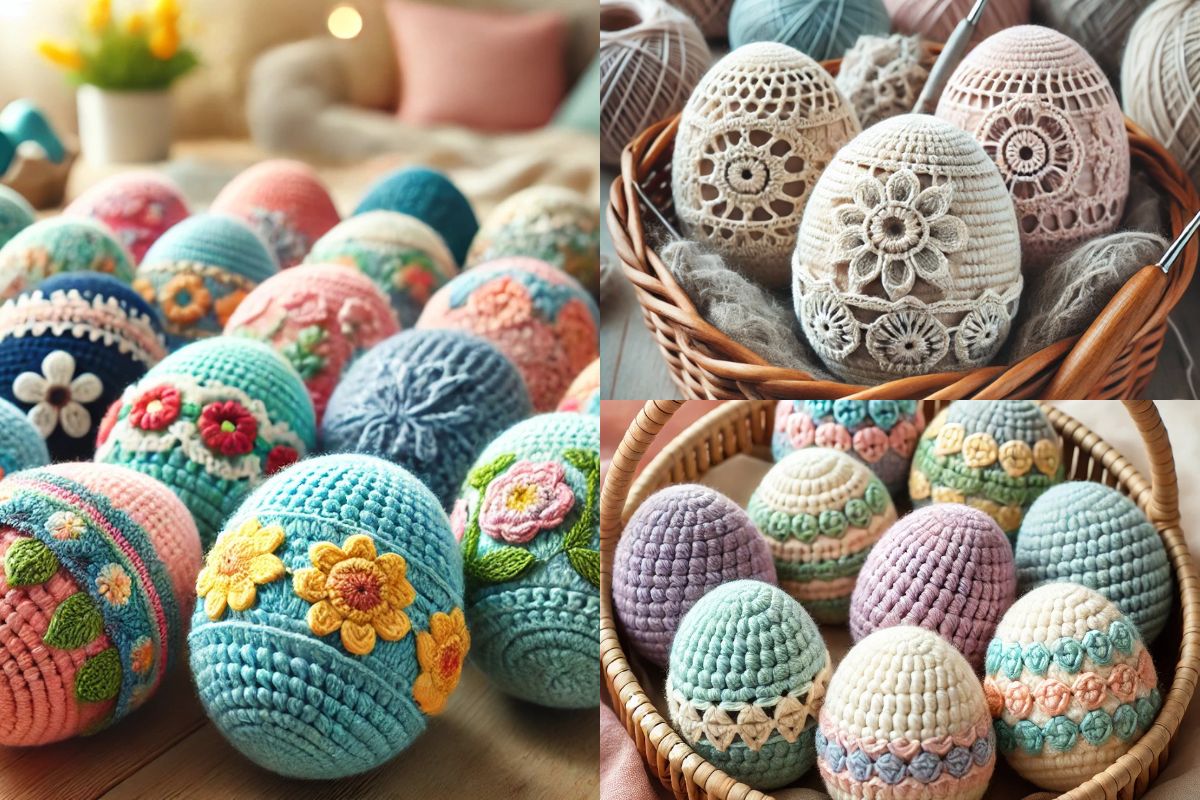
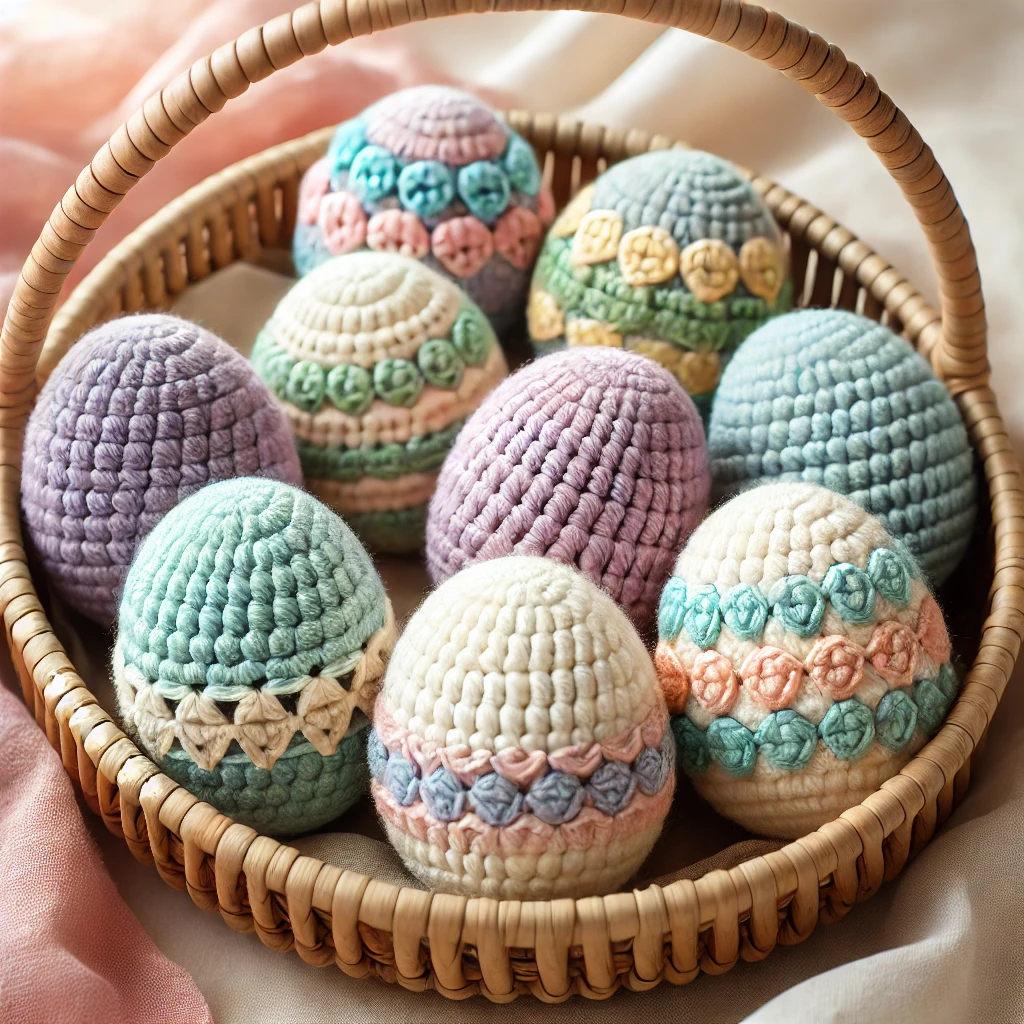
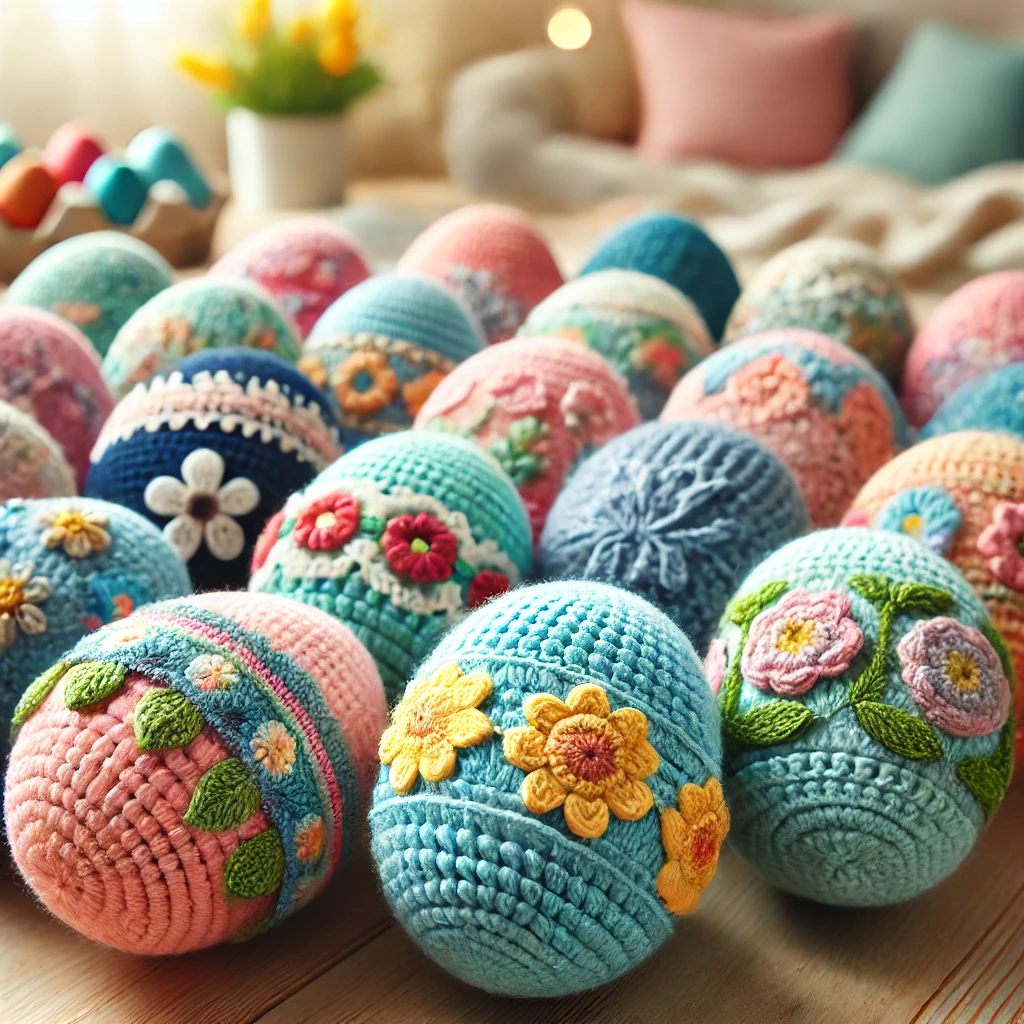
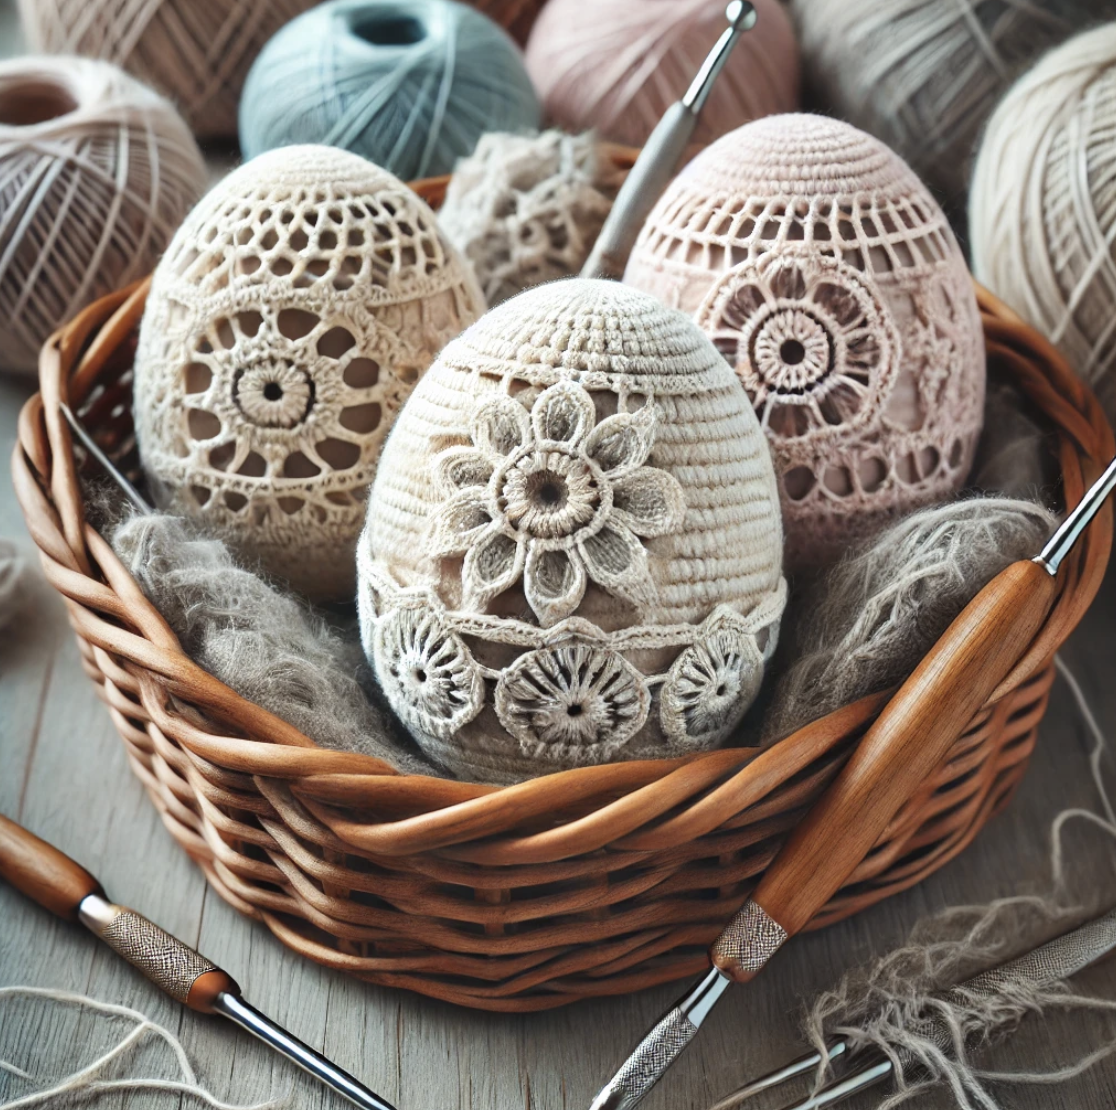
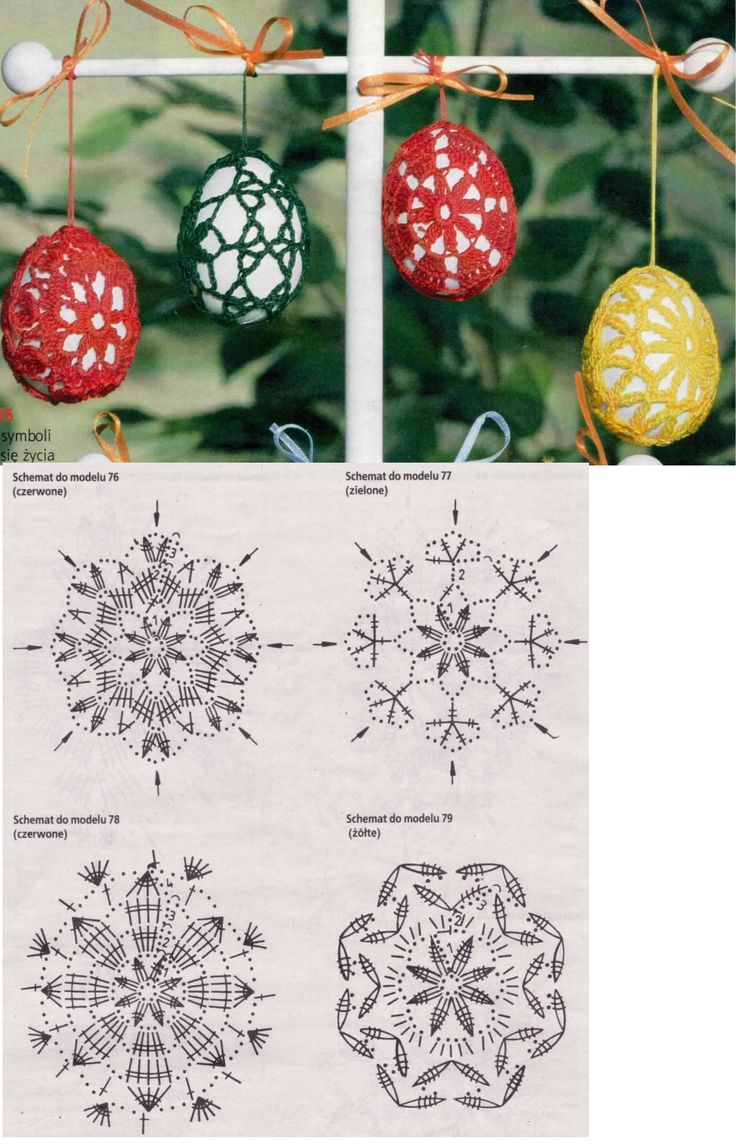
Customization Ideas
Once you've mastered the basic crochet egg, try these creative variations:
- Striped Egg: Change yarn colors every few rounds.
- Speckled Egg: Use a variegated yarn for a unique effect.
- Lace-Style Egg: Use a fine thread and a smaller hook for a delicate look.
- Embroidered Egg: Stitch small flowers, dots, or patterns on the egg surface.
- Hanging Egg: Add a small loop at the top to hang your crochet egg as decor.
Get creative and mix different yarn textures and colors for a personalized crochet egg collection! Add a few extra rounds in the middle section (Rounds 6-10) for a fuller shape.
Keep an even tension and use a stitch marker to avoid losing your place. Try using cotton, fabric scraps, or wool fiber as eco-friendly stuffing.
Via: Amália Juhász
Via: Barbara Chleb
Adjust the number of increase and decrease rounds to make larger or smaller eggs. Learn how to crochet a perfect Easter egg with this simple step-by-step tutorial. Customize your crochet eggs with colors, stripes, and patterns. Great for Easter decor!
Crocheting eggs is a fun, quick, and rewarding project that can be customized for any occasion. Whether you're making them for Easter, gifts, or decorations, these adorable crochet eggs will add charm to your handmade collection.