Crochet Fancy Mary Jane Slippers
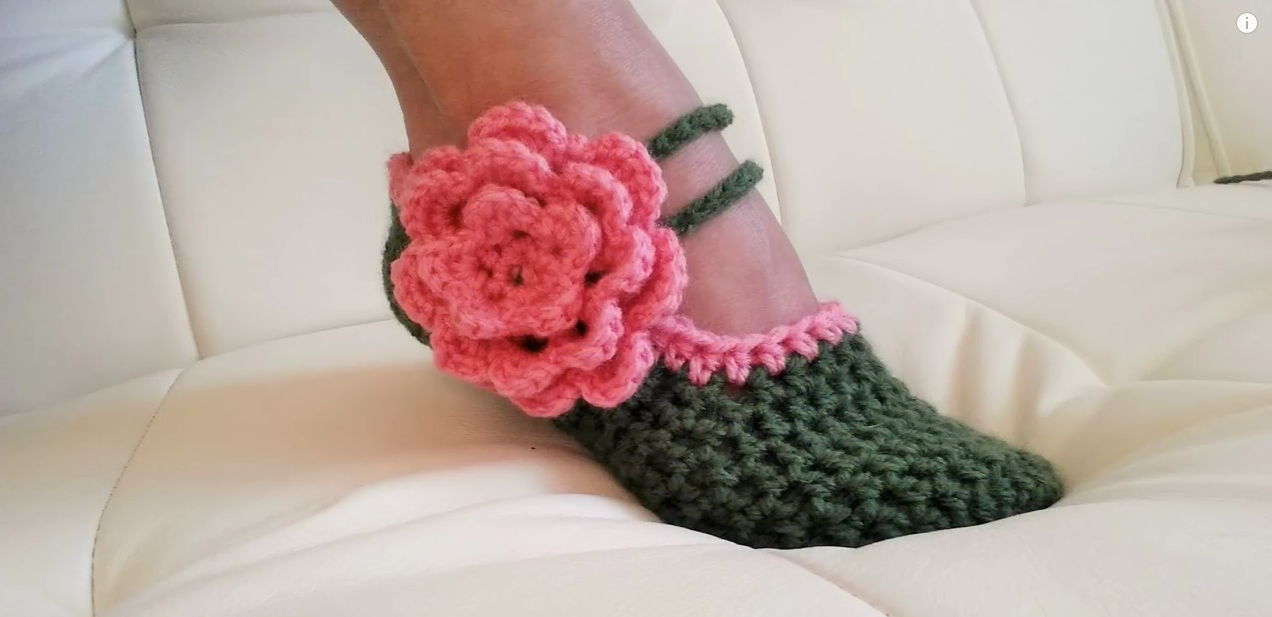
We are sure many of you would agree that a girl can never have enough shoes, but what about slippers?
While we may not be able to wear them outside of the house we are big believers in having a cute pair of homemade slippers to go with every outfit.
Cute and comfortable is definitely our motto, so you can imagine how excited we were to find this cute tutorial for Fancy Mary Jane Slippers from Made With Love by Glama!
Crochet Fancy Mary Jane Slippers
The straps and big, bright pink flower really take these slippers to a whole new level and will having you wishing to wear them outside of the house.
We can’t wait to see how yours turn out so make sure to share them with us!
Materials Needed for Crochet Fancy Mary Jane Slippers
Gather your materials before starting. Here’s what you’ll need:
- Yarn: Choose a soft, durable yarn like worsted weight for extra warmth and comfort. Cotton blends or acrylic yarns work well.
- Crochet Hook: Use the recommended size on the yarn label, typically around 5mm (H) for worsted weight yarn.
- Stitch Markers: To keep track of rows and stitches.
- Tapestry Needle: For weaving in ends and sewing on embellishments.
- Scissors: To trim yarn.
- Buttons (optional): Small buttons to attach straps for an authentic Mary Jane look.
- Non-Slip Sole (optional): Adds traction and prevents slipping on smooth surfaces.
Crochet Fancy Mary Jane Slippers Pattern
This pattern is ideal for US Women’s sizes 6-9. Adjustments can be made by adding or reducing rows to fit smaller or larger feet.
1. Create the Sole
The foundation of any good slipper is a sturdy, comfortable sole. Follow these steps to crochet the sole of your Mary Jane slippers.
Instructions for the Sole:
- Chain 15 (or more if you need a larger base for your foot length).
- Row 1: Single crochet (sc) in the second chain from the hook and in each chain across. In the last chain, make 3 sc to turn the corner.
- Row 2: Continue single crocheting down the other side of the chain. End with 2 sc in the last stitch and slip stitch to join.
- Rounds 3-4: Work around the oval sole, making 2 sc in each corner to maintain the oval shape. Continue until the sole measures approximately the length of your foot, adjusting rows as necessary.
2. Begin the Upper Section
Once you have the sole completed, it’s time to build up the sides and top of the slipper.
Instructions for the Upper Section:
- Attach Yarn to Sole: Start anywhere on the sole by attaching your yarn and chaining 1.
- Row 1: Single crochet around the entire sole, joining with a slip stitch. This helps form a base for the upper section.
- Rows 2-5: Continue working in single crochet, building up the sides of the slipper to enclose the foot.
- Row 6: Begin decreasing stitches around the toe area by working sc2tog (single crochet two stitches together) every few stitches across the front of the slipper to shape it snugly around the toes.
3. Add the Mary Jane Strap
The Mary Jane strap is what gives these slippers their distinct look. It’s a simple addition, but it makes a big difference in style!
Instructions for the Strap:
- Locate the Instep: Find a spot on the side of the slipper near the ankle to attach the strap.
- Chain 15-20 (depending on how loose or tight you want the strap to fit).
- Single Crochet Back: Work back along the chain with single crochet stitches, then slip stitch to the other side of the slipper to secure the strap.
- Attach a Button: Sew a small button onto the opposite side of the slipper. The strap can loop around the button, or you can sew the strap down if you prefer a fixed strap.
CHECK MORE CROCHET PATTERNS