Crochet Flower Basket Tutorial
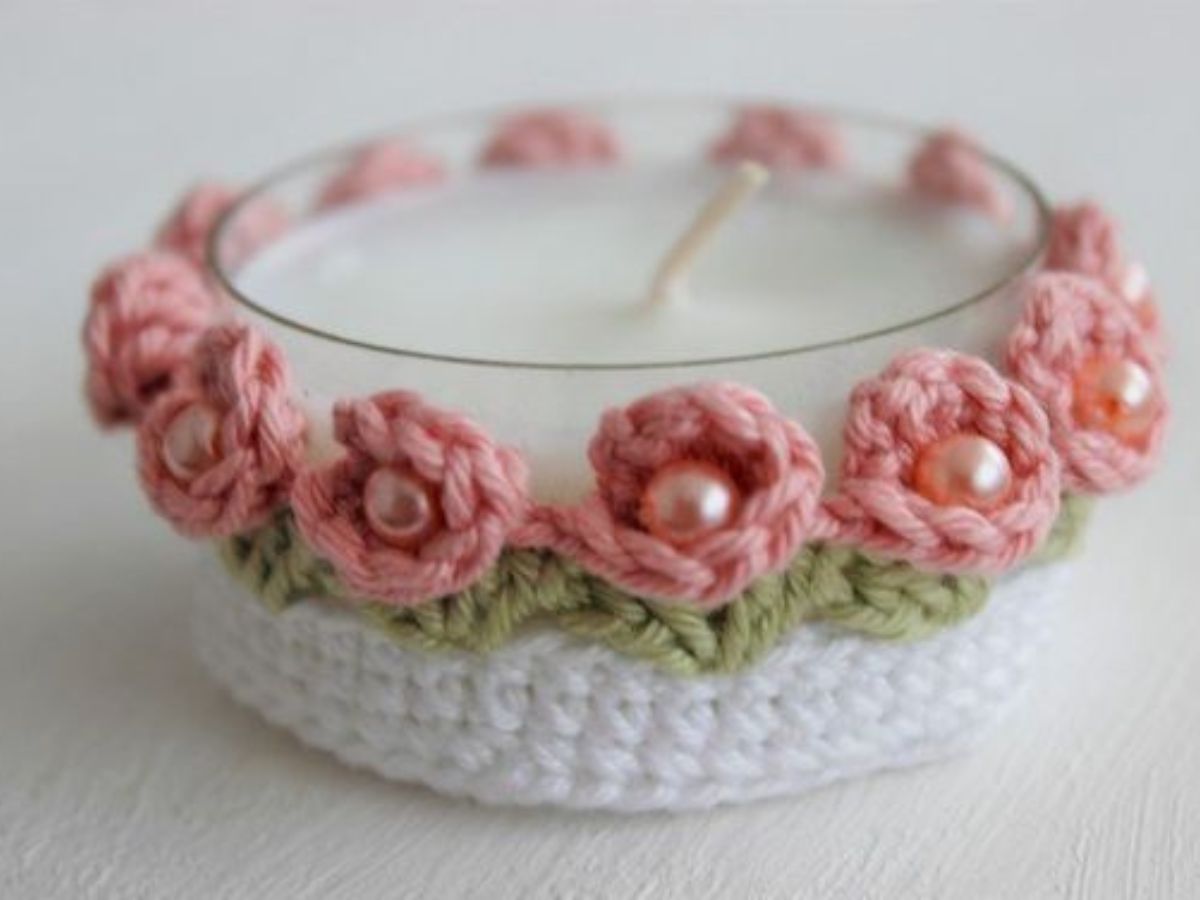
Crochet flower baskets are a beautiful and different option to decorate your home. These baskets can be used in many ways, you can use it to put makeup, creams, utensils and even vases.
The difference between these baskets is that they are made with dots imitating flowers. The final result is different, original and wonderful.
Today we bring you a video tutorial of a crochet basket with flowers and some ideas and inspirations for you.
How to make Crochet Flower Basket
Watch the video with the step by step.

Ideas of Crochet Flower Basket
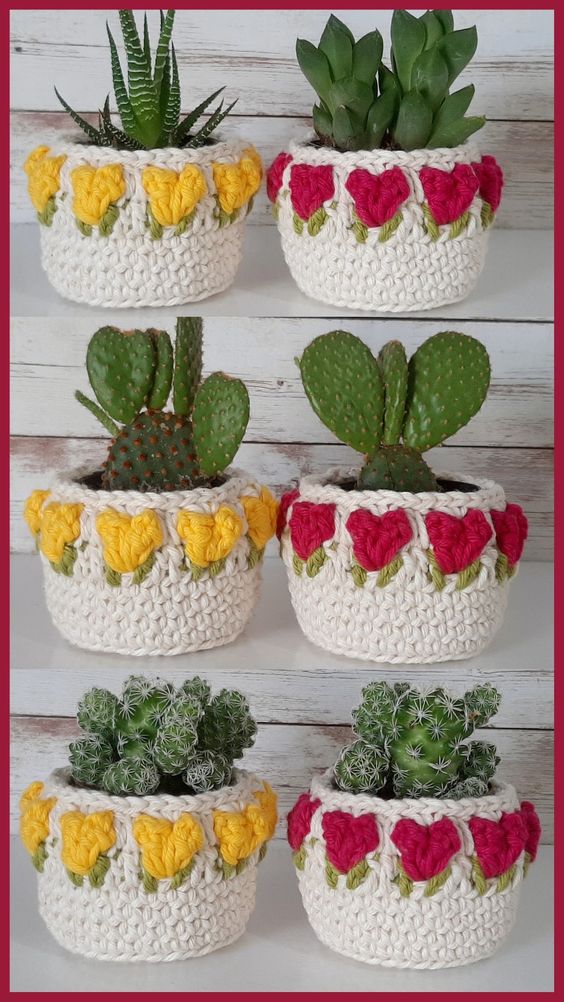
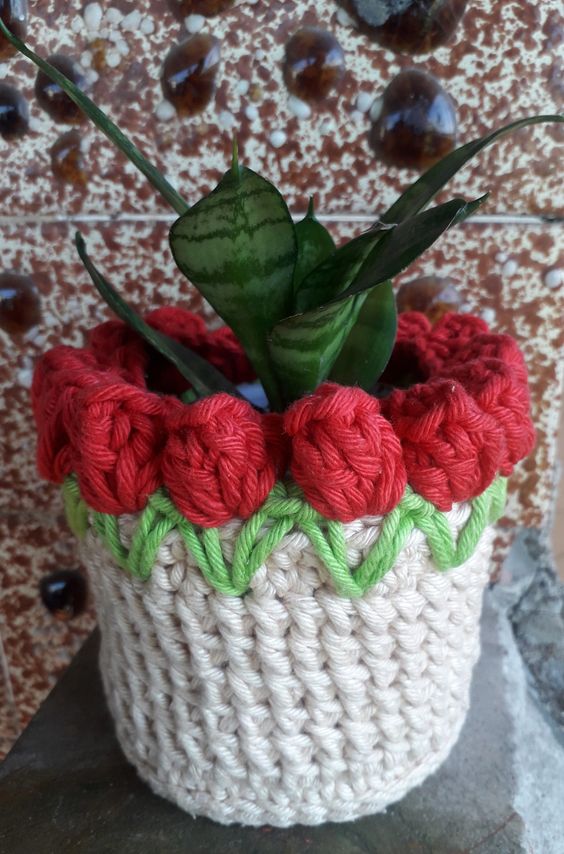
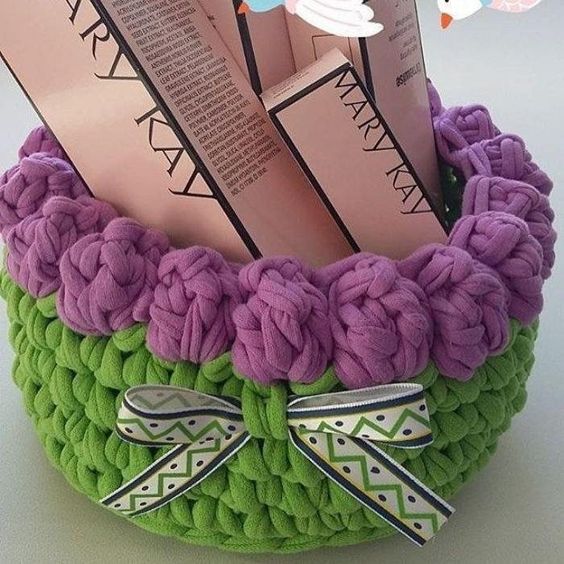
Via: teckflexembalagens.com.br
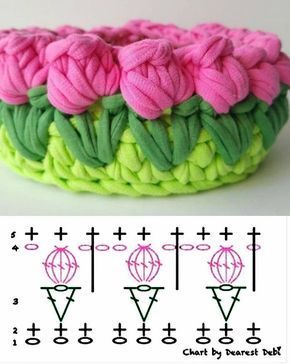
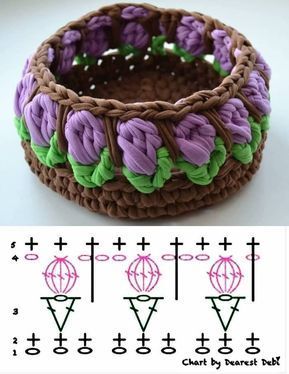
Via: defrenteparaomar.com
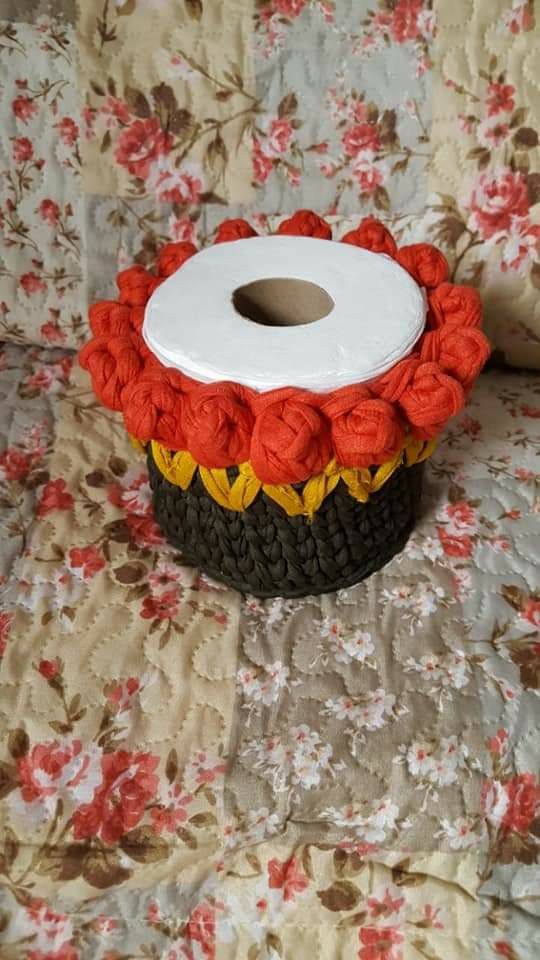
Via: defrenteparaomar.com
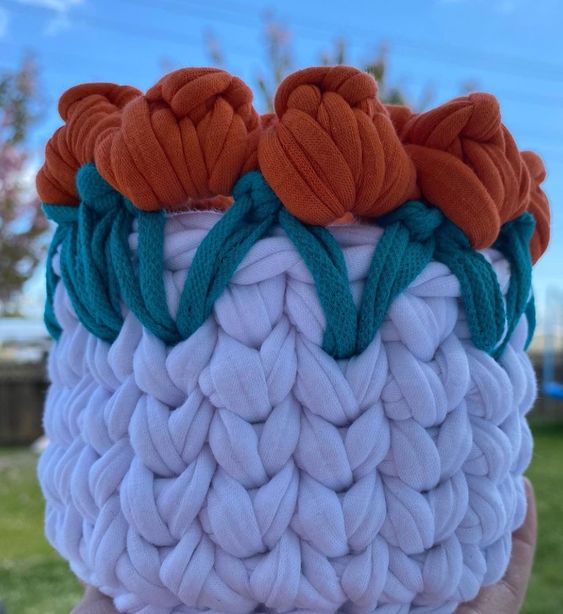
Via: defrenteparaomar.com
Via Pinterest
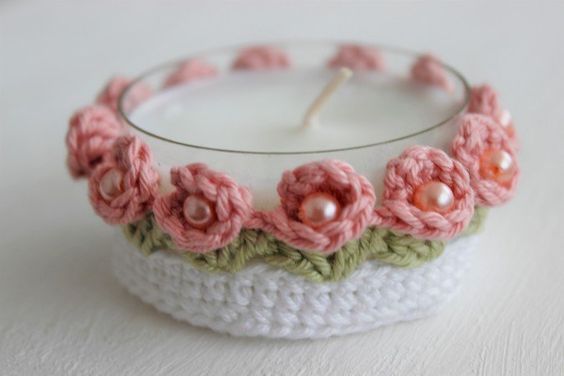
Via pinterest.
Step 1: Crochet the Basket Base
1. Create a Magic Ring
Begin with a magic ring to create the base. This technique forms a tight, seamless starting point for a flat circular base.
2. Crochet in Rounds
- Round 1: Start with 8 single crochets (SC) into the magic ring. Tighten the ring to close, then slip stitch to join.
- Round 2: Work 2 SC in each stitch around for a total of 16 stitches.
- Round 3: SC in the next stitch, 2 SC in the following stitch; repeat around.
- Rounds 4-6: Continue increasing by adding extra single crochets between increases until the base reaches your desired size.
3. Build the Basket Walls
For the basket’s walls:
- Round 7: Crochet in the back loop only (BLO) for each stitch around. This creates a neat turning edge for the walls.
- Rounds 8-15: Continue with single crochet in each stitch. Adjust the number of rounds based on the basket's height you prefer.
- Final Round: Slip stitch around for a polished edge and fasten off.
Step 2: Crochet Flowers for the Basket
1. Basic Five-Petal Flower
For a classic look, let’s start with a simple five-petal flower.
- Magic Ring: Begin with a magic ring.
- Petal Base: Chain 2, work 2 double crochets (DC), chain 2, slip stitch in the ring.
- Repeat: Repeat for 5 petals, then tighten the ring to close.
- Fasten Off: Cut and weave in the ends.
"These five-petal flowers create a delightful daisy effect – perfect for a spring or summer-inspired crochet flower basket!"
2. Layered Rose
For more dimension, you can create layered flowers.
- Magic Ring: Begin with a magic ring.
- Inner Petals: Work 6 SC into the ring.
- Layer 1: Chain 3, work 2 DC into the next stitch, chain 3, slip stitch in the same stitch; repeat around for a total of 6 petals.
- Layer 2: Attach a new color, slip stitch between each petal of layer 1, then chain 4, work 3 DC, chain 4, and slip stitch in each space between petals for a fuller rose.
"Layered roses bring sophistication and depth to your crochet flower basket, adding a realistic flair that’s hard to resist!"
3. Tiny Buds
Small buds are great fillers for your basket.
- Magic Ring: Start with a magic ring and chain 1.
- Petal Stitch: Work 5 SC into the ring, then tighten to form a small bud.
- Fasten Off: Cut the yarn and weave in ends.
Step 3: Crochet Leaves and Greenery
No flower basket is complete without some greenery! Simple leaves add balance to your arrangement.
Simple Leaf Pattern
- Chain 7: This chain will serve as the center of your leaf.
- Row 1: Starting in the 2nd chain from the hook, work 1 SC, 1 HDC, 1 DC, 1 HDC, and 1 SC in each of the next stitches.
- Row 2: Work 1 SC, 1 HDC, 1 DC, 1 HDC, and 1 SC along the opposite side of the chain for a symmetrical look.
Step 4: Assemble Your Crochet Flower Basket
Arrange the Flowers
- Placement: Lay your flowers and greenery around the basket’s edge to plan your design.
- Secure Flowers: Using a yarn needle, sew each flower onto the basket. Position larger blooms in the center and smaller buds around the edges.
Attach the Greenery
- Place the Leaves: Tuck leaves around the flowers, securing them with a yarn needle.
- Add Vines: Sew the vines to cascade over the basket’s edge for a graceful effect.
Final Touches
For an extra-special touch, add beads, buttons, or tiny charms in the flower centers.
CHECK MORE CROCHET PATTERNS