Crochet Granny Square Top: A Cozy and Stylish DIY Project
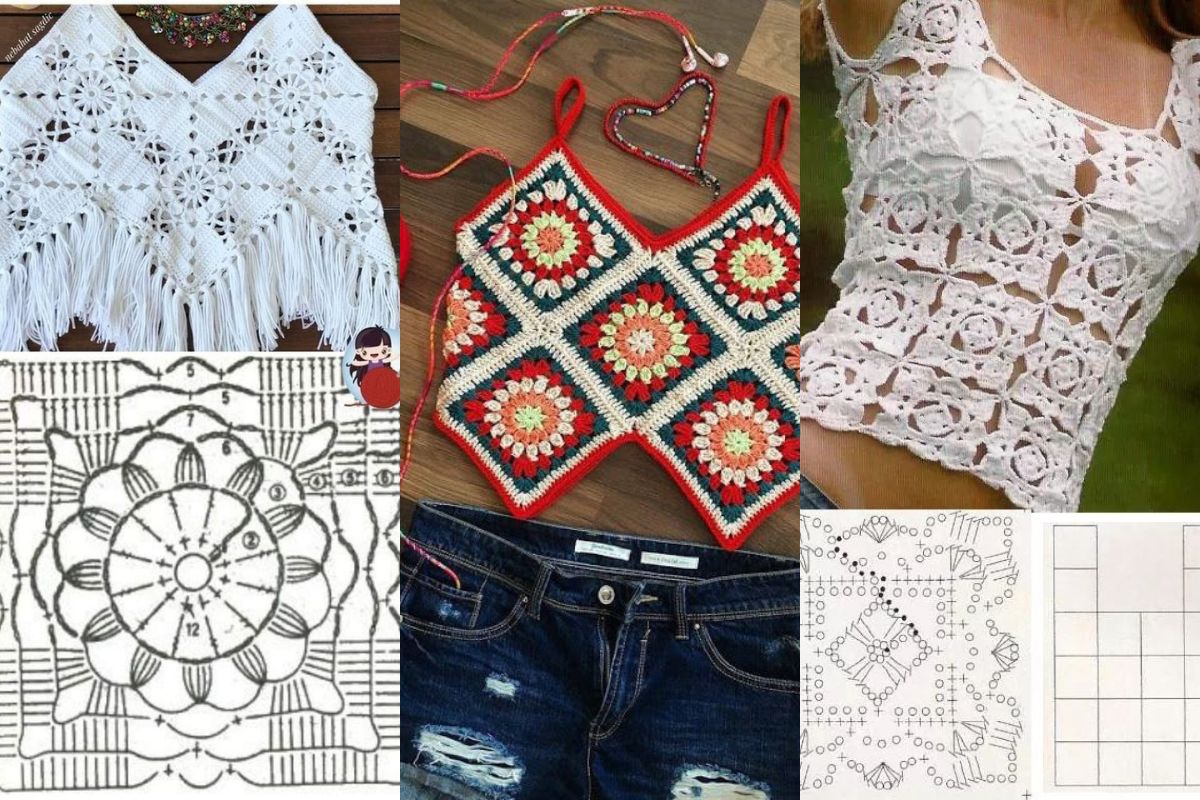
This article will show you how to make a crochet granny square top. It's perfect for summer, whether you're at the beach, a music festival, or just relaxing.
Making a granny square top is not only fun but also lets you be creative. You can make it truly your own.
If you're new to crocheting or have done it before, this guide will help. It offers step-by-step tips to make your unique crochet granny square top.

Crochet Granny Square Top
The crochet granny square top is loved in boho-chic fashion. It has a unique, eye-catching design that shows off a free spirit. The classic granny square motif brings vintage charm and personality to any look.
Exploring the Granny Square Motif
These crocheted tops are super versatile. You can wear them as a light crochet beach cover up or a stunning crochet festival top. You can pick the colors and patterns for the granny square garments. This lets you make something one-of-a-kind that shows your style.
Versatility: From Beach Cover-Up to Festival Favorite
Choose a structured crop-top style or a loose, big design. The crochet granny square top helps you nail the boho-chic look and stand out.
It can go from a boho crochet top to a stylish crochet festival top. This lets you show your style in a simple way.
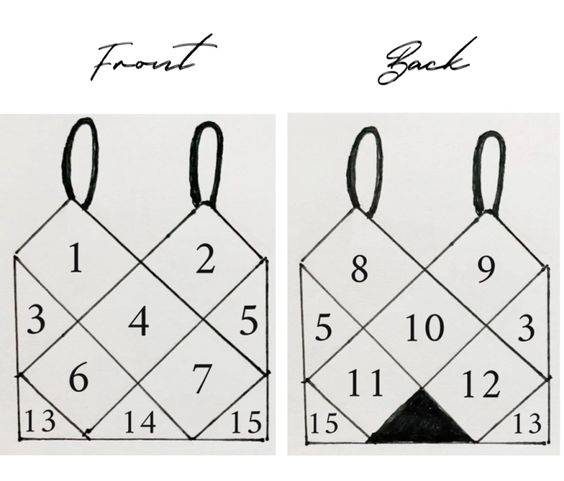
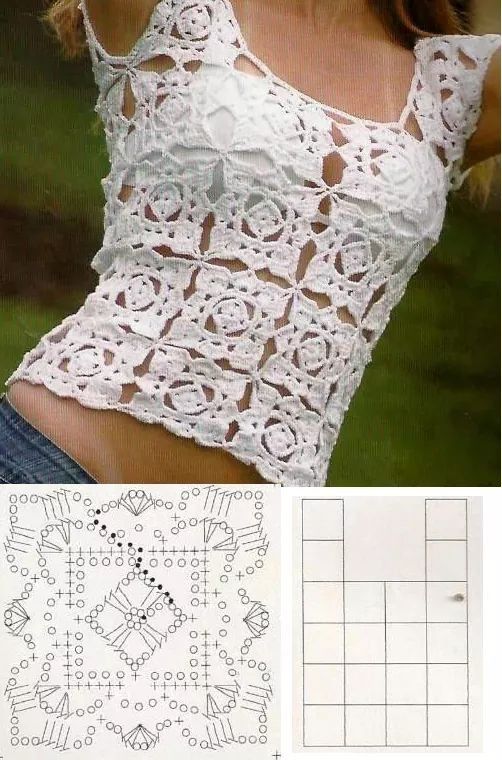
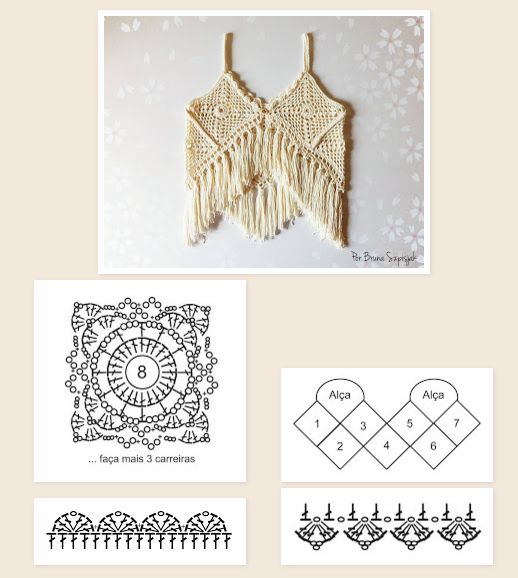
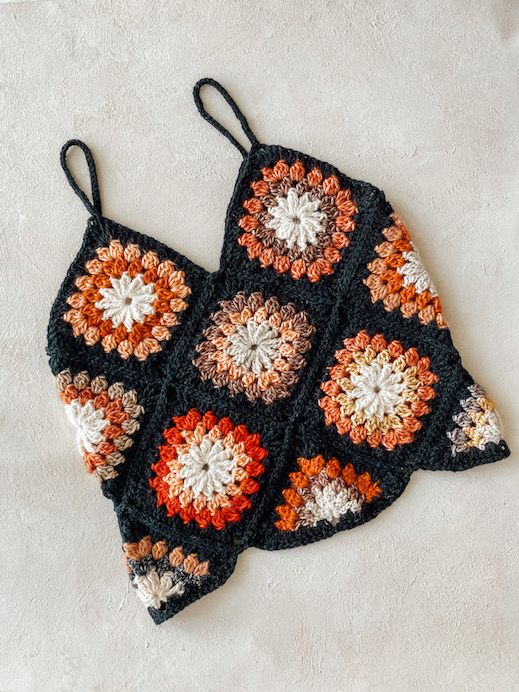
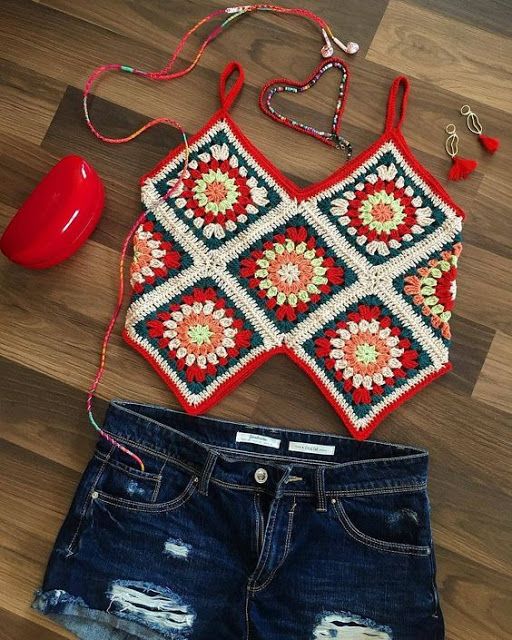
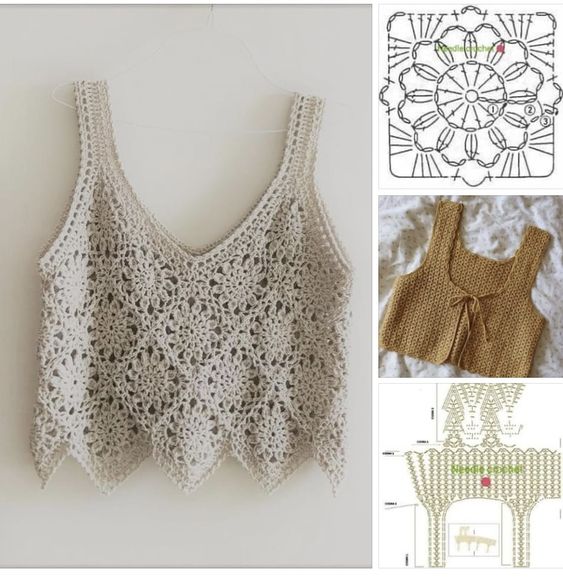
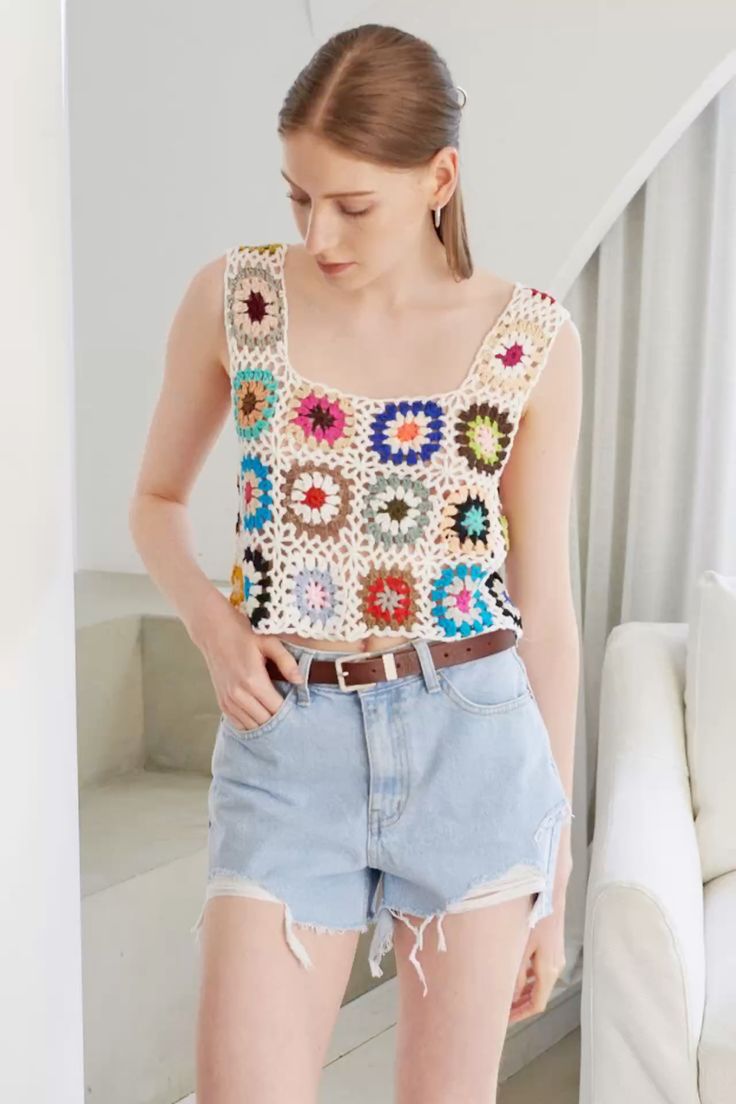
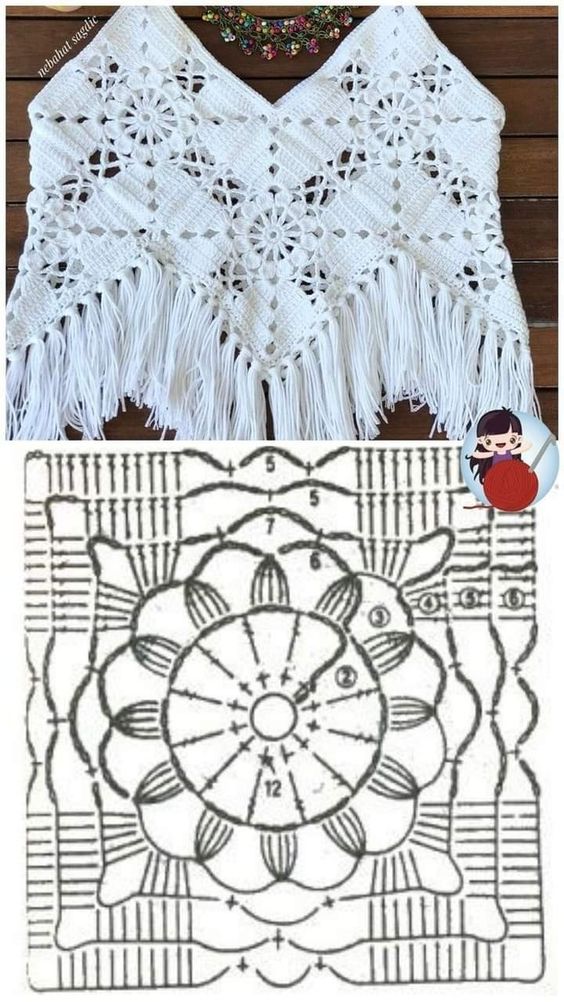
Crochet Granny Square Top: A Step-by-Step Guide
Making your own crochet granny square top is a fun DIY. It lets you show off your creative side. This guide will help you every step of the way. I'll cover picking the right yarn and hook size to finishing the piece.
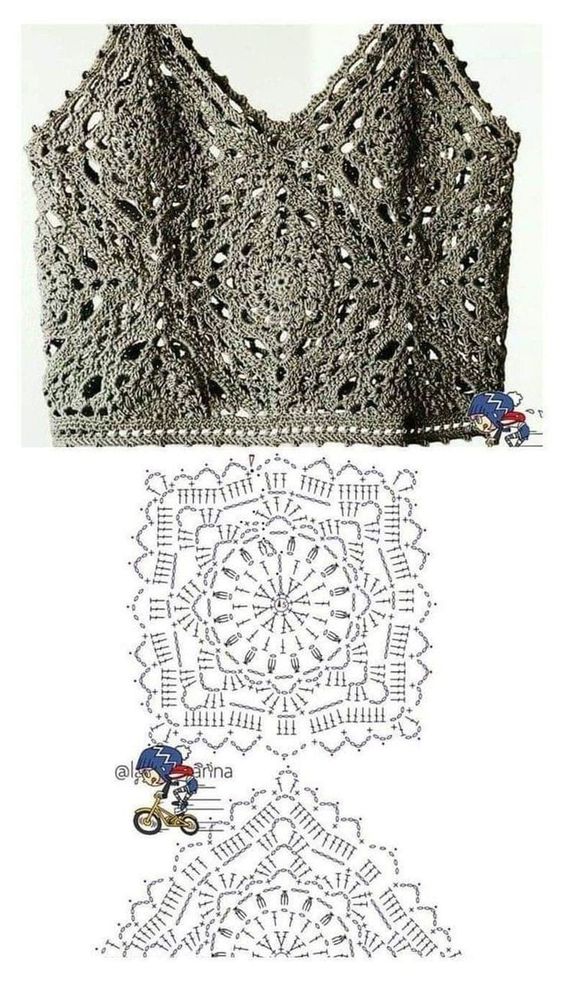
Sample Stitch Pattern: Basic Granny Square
To give you a head start, here’s how to create a basic granny square:
Materials Needed
- Yarn in your chosen colors.
- Crochet hook (size G or H).
- Scissors and tapestry needle.
Instructions
- Start with a Magic Ring: Create a magic ring to form the center of your granny square.
- Round 1: Chain 3 (counts as your first dc), then work 2 dc into the ring. Chain 2, then work 3 dc into the ring. Repeat until you have a total of 4 sets of 3 dc, separated by chains.
- Round 2: Chain 3, then work 2 dc in the first chain space. Chain 2, then work 3 dc in the same chain space. Repeat in each chain space around.
- Round 3: Continue working in rounds, increasing in the corners to create the square shape.
- Finish Off: Cut the yarn and leave a long tail for joining squares.
Step-by-Step Instructions for Crocheting a Granny Square Top
Now that you’re familiar with the basic stitch patterns, let’s dive deeper into the step-by-step process of creating your crochet granny square top.
Step 1: Measure Your Size
- Decide on the Fit: Measure your bust, waist, and desired length for the top. Consider how loose or fitted you want it to be.
Step 2: Create the Granny Squares
- Make Multiple Squares: Using the sample stitch pattern above, create enough granny squares to cover the front and back of your top. Depending on the size of your top, you may need anywhere from 20 to 40 squares.
Step 3: Join the Squares
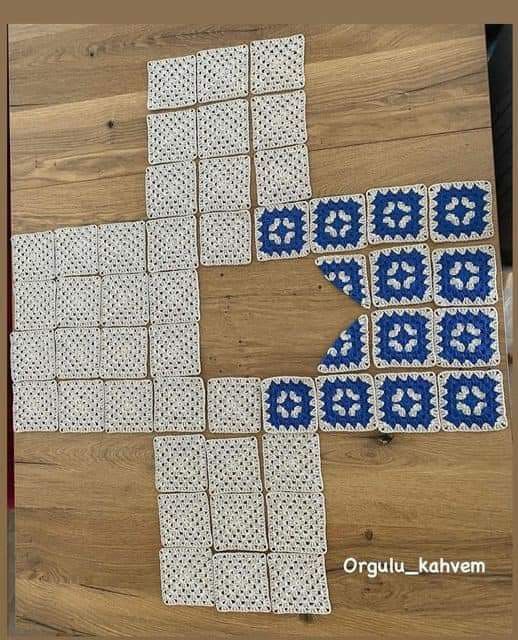
- Layout: Arrange the granny squares on a flat surface to decide on your design. You can create a simple grid or a more complex pattern.
- Joining: Use a slip stitch or whip stitch to join the squares together, creating the front and back panels of your top.
Step 4: Create the Sleeves
- Determine Sleeve Length: Decide how long you want the sleeves to be—short, long, or even sleeveless.
- Crochet the Sleeves: Create additional squares or panels in the same pattern, attaching them to the body at the desired points.
Step 5: Adding a Neckline
- Neckline Design: Use double crochet stitches to create a neckline that flatters your shape. You can opt for a scoop neck, V-neck, or square neckline.
- Secure the Neckline: Ensure the neckline fits comfortably, adjusting as necessary.
Step 6: Finishing Touches
- Bordering the Top: Once you have all the pieces assembled, consider adding a decorative border around the neckline and sleeves for a polished look. A simple single crochet border works well, or you can use a shell stitch.
- Weave in Ends: Use a tapestry needle to weave in any loose ends.
Let's start with the basics of the granny square technique. I will show you the main stitches. You'll learn to make a pattern that looks neat and even. You can choose your own style, from one color to many, and make your crochet granny square top special.
After you've nailed the granny square, it's time to join them. I'll show you how to connect squares so your top looks smooth and fits well. With each square in place, your crochet granny square top will come together beautifully. In the end, you'll be able to make a fabulous crochet granny square top. Wear it proudly at the beach, a concert, or just for a relaxed day in your favorite boho look.
A crochet granny square top is a stylish garment. It's made by connecting many granny square motifs. It's very versatile and can be a beach cover-up, a festival item, or an everyday top.
CHECK MORE CROCHET PATTERNS