Easy Crochet Hedgehog- Video and ideas
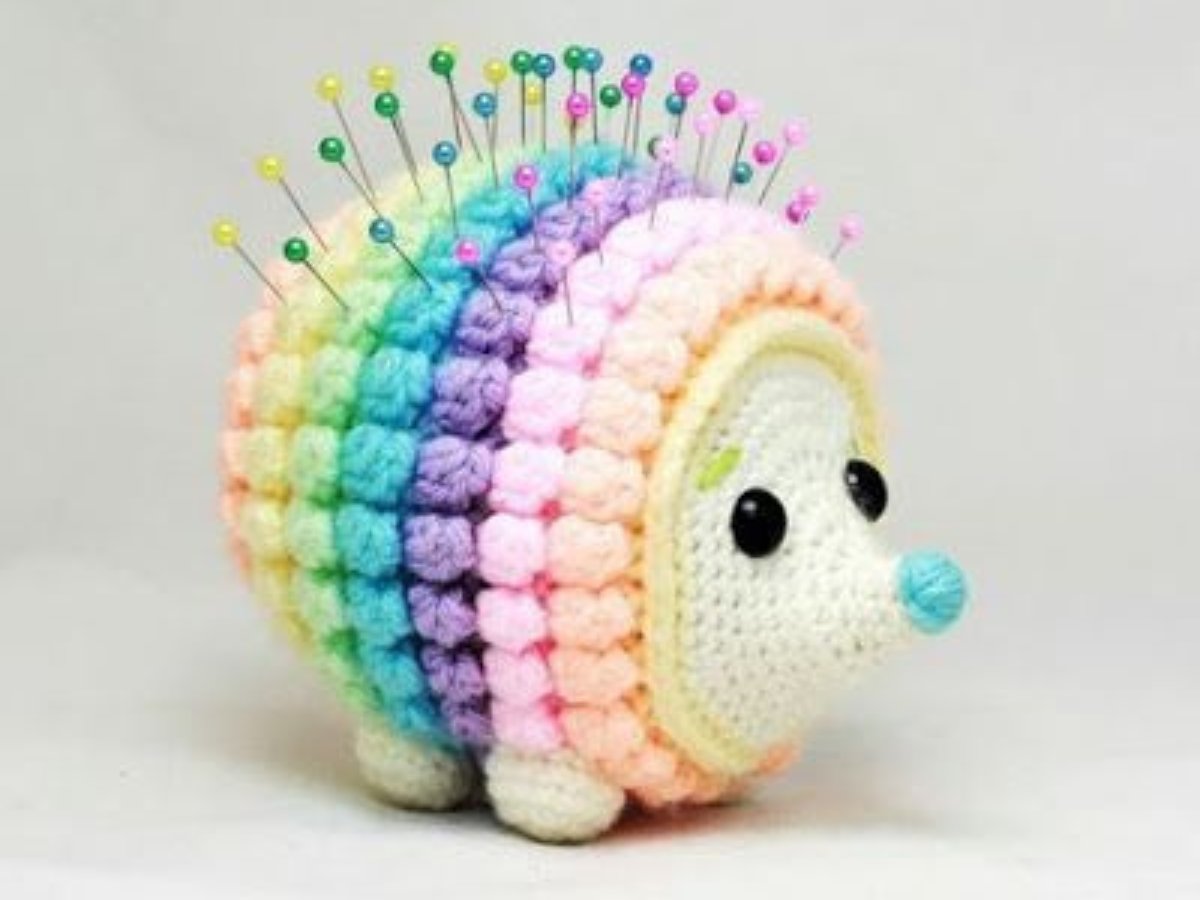
The hedgehog is a super cute animal, despite its thorns they are beautiful and perfect to crochet.
Crocheted hedgehogs are wonderful to use in your home decor. He is a symbol of power, but also of protection in the face of challenges, self-development and the pursuit of purpose in life.
For those who can't resist this cute animal, we show you a video tutorial and some ideas to crochet a hedgehog.
Tuto Crochet Hedgehog
Crocheting an easy crochet hedgehog is a delightful project that’s perfect for both beginner and experienced crocheters alike. This adorable amigurumi creation is both cute and manageable, allowing you to craft a little creature that can be used as a toy, gift, or decorative piece.
In this article, we’ll guide you through the steps to crochet a hedgehog, covering essential tips and providing helpful details to make the process as smooth as possible.


Crochet Hedgehog ideas
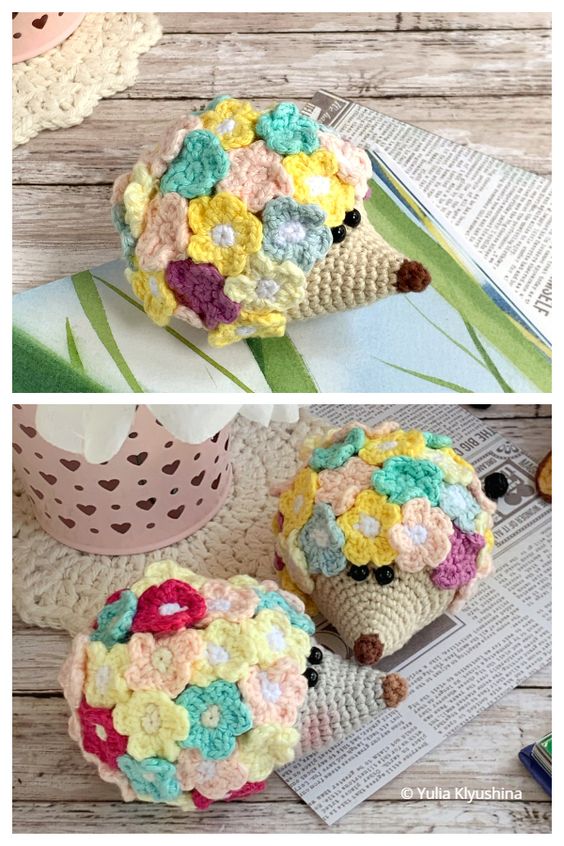
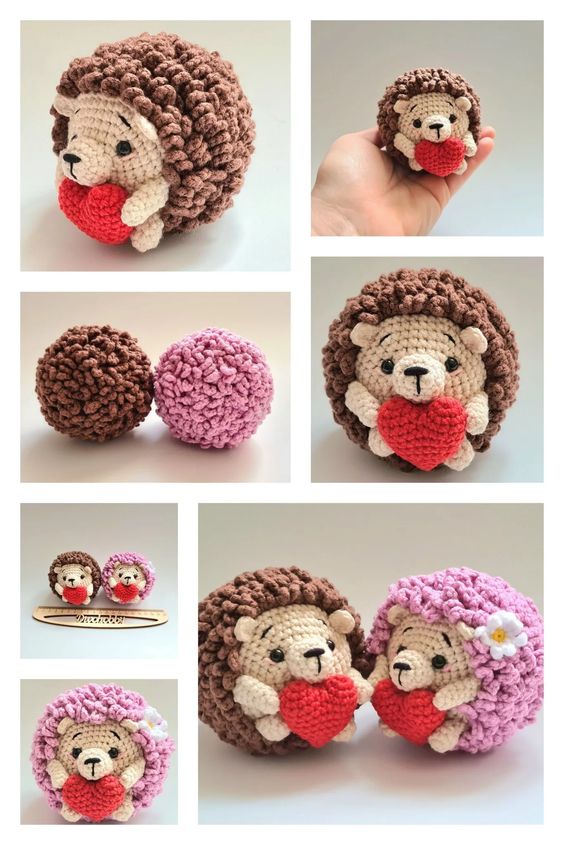
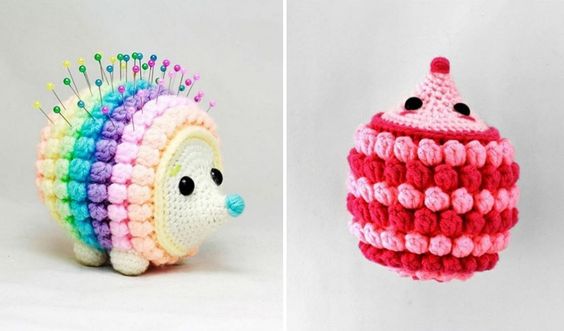
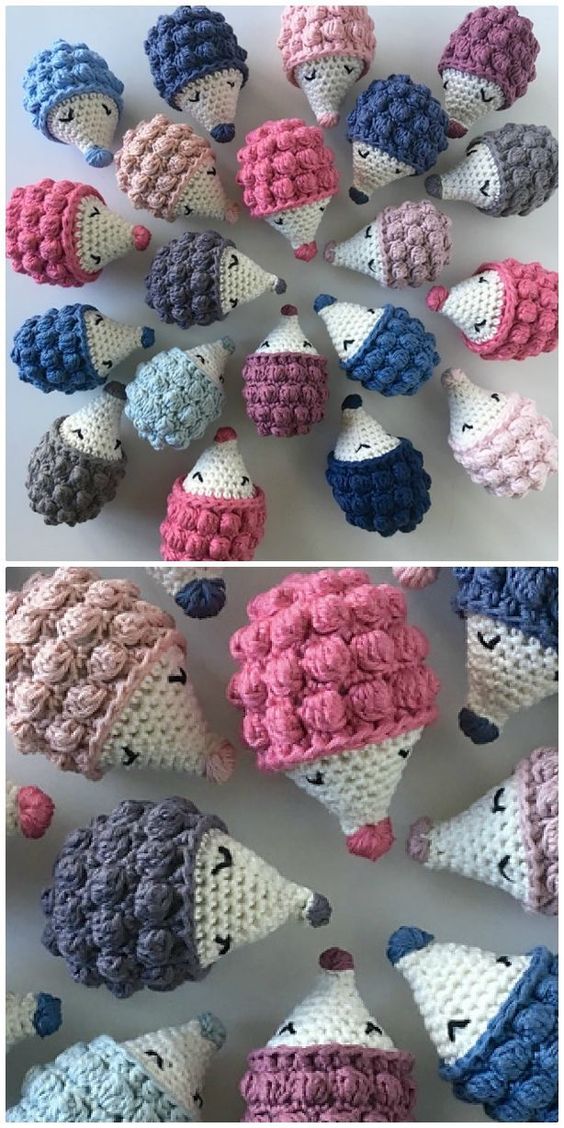
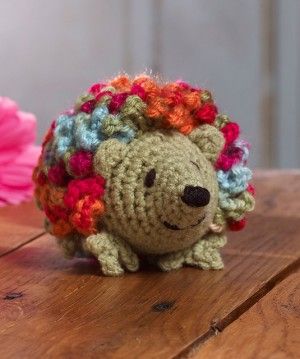
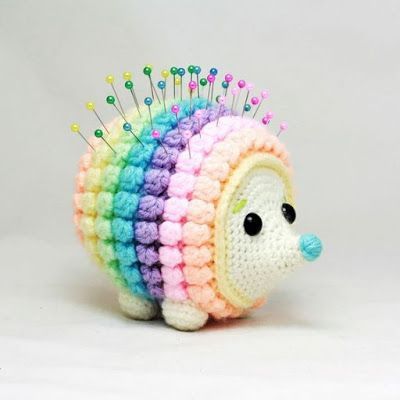
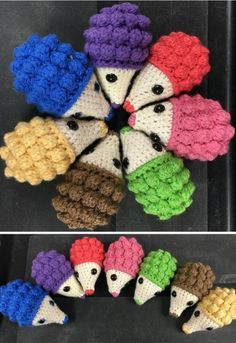
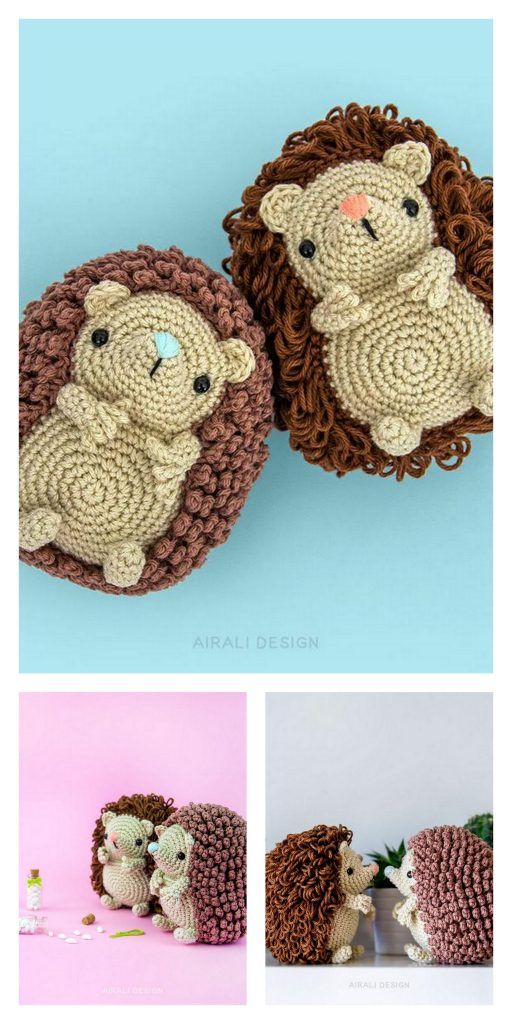
From pinterest.
Step-By-Step Guide: How to Crochet an Easy Hedgehog
Step 1: Start with the Head and Body
The head and body are typically crocheted in one piece, making this project straightforward.
- Magic Ring: Start with a magic ring. Chain 1, and then single crochet 6 stitches into the ring.
- Increase Rounds: Work in rounds, increasing stitches evenly to form a spherical shape. For example, in the second round, you’ll increase by working 2 single crochets into each stitch, ending with 12 stitches.
- Shape the Head: After a few rounds of increases, you’ll stop increasing and crochet in a consistent number of stitches for several rounds. This forms the rounded body of the hedgehog.
Step 2: Create the Spiky Back
For the hedgehog's spiky back, a loop stitch or fringe effect can create a textured look.
- Switch Yarn: Choose a fluffy or textured yarn that resembles hedgehog spines.
- Add Texture: In each stitch, make loop stitches (pulling yarn up to form loops) for the back part of the body. This creates the “spikes” and adds volume to your hedgehog’s back.
- Continue in Rounds: Work around the body, only adding loops on the back half while keeping the belly smooth.
Step 3: Shape the Face
- Decrease Rounds: Once the body and head are complete, begin decreasing to shape the snout.
- Add Eyes and Nose: Attach safety eyes on the front of the face and embroider or attach a small nose at the tip.
- Stuff: Fill the head and body with fiberfill, ensuring the shape is full but not too tight.
Step 4: Attach the Legs
Hedgehogs typically have small legs, which can be made with simple stitches.
- Make the Legs: Crochet small oval shapes for the front and back legs, stuffing them lightly.
- Sew Onto Body: Use a tapestry needle to sew the legs securely onto the underside of the hedgehog.
Step 5: Finishing Touches
- Secure Ends: Weave in all loose ends with your tapestry needle to keep your work neat.
- Optional Details: Add small crochet accessories or embroider a smile to give your hedgehog extra character.
Learn how to create an adorable crochet hedgehog with this easy step-by-step guide. Perfect for beginners, this amigurumi project will brighten any day!
Enjoy!
CHECK MORE CROCHET PATTERNS