Crochet Holly Leaves Tutorial: Step-by-Step Guide for Festive Decor
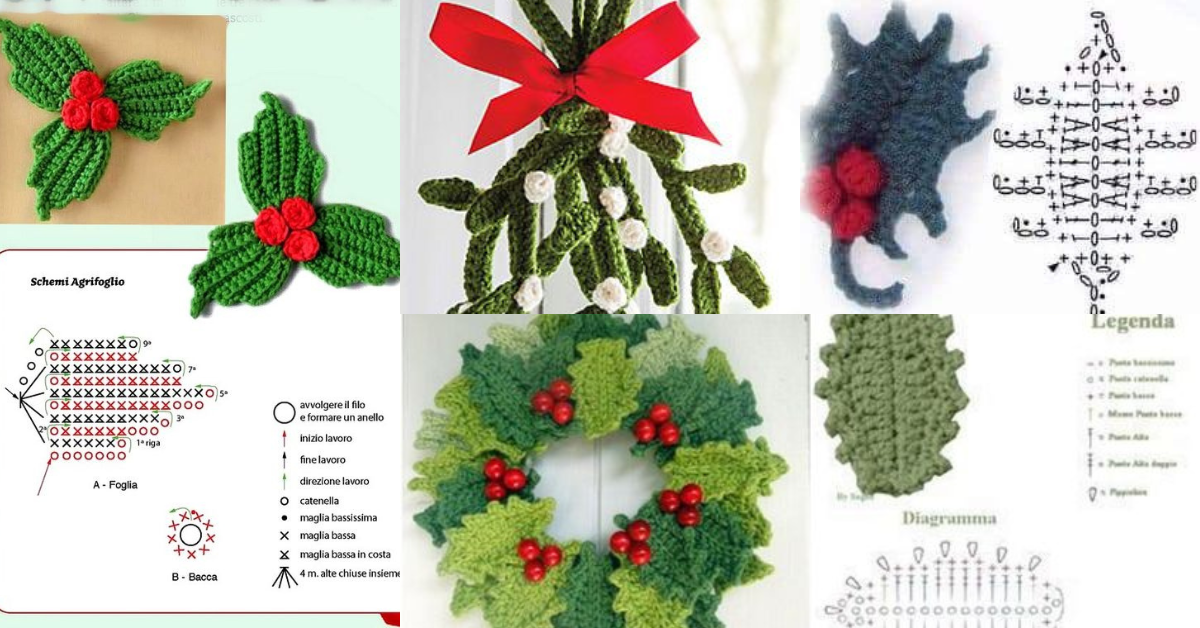
Holly is a well-known plant, especially for its tradition of giving a kiss under a holly branch. Holly is a fairly easy-to-identify plant, with green leaves with red dots.
Holly is a plant associated with the Christmas season, it is common to see holly in Christmas decorations.
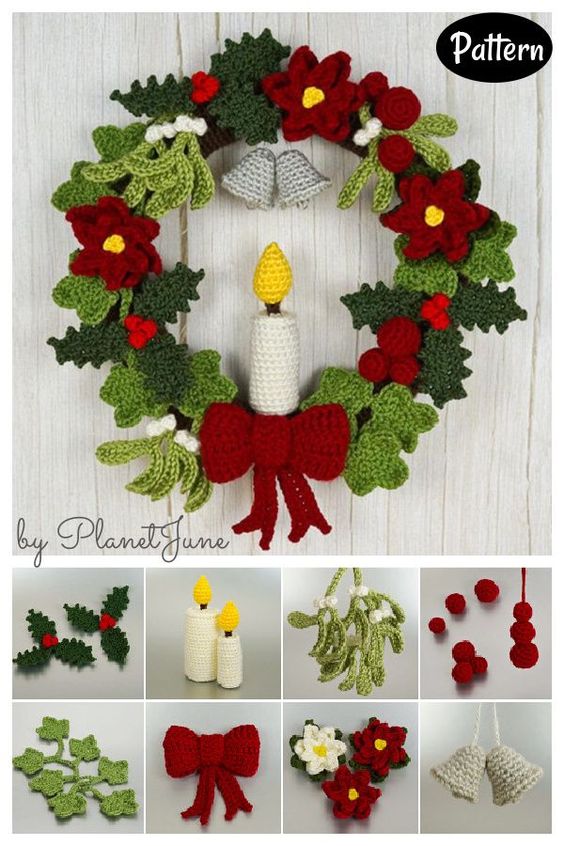
Today we bring you some crochet holly tutorials. A beautiful and perfect idea to use in different types of work.
Also check: Yo-Yo Ornaments and Crafts For Christmas
Crochet holly leaves tutorial

Crochet holly leaves ideas
There are ideas and options for all tastes and all styles. Choose your favorite.
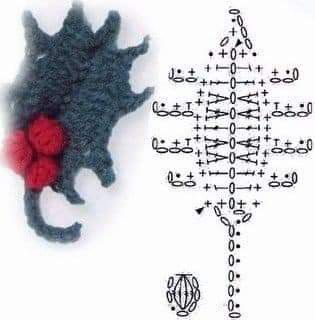
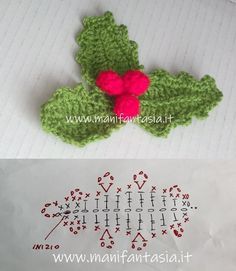
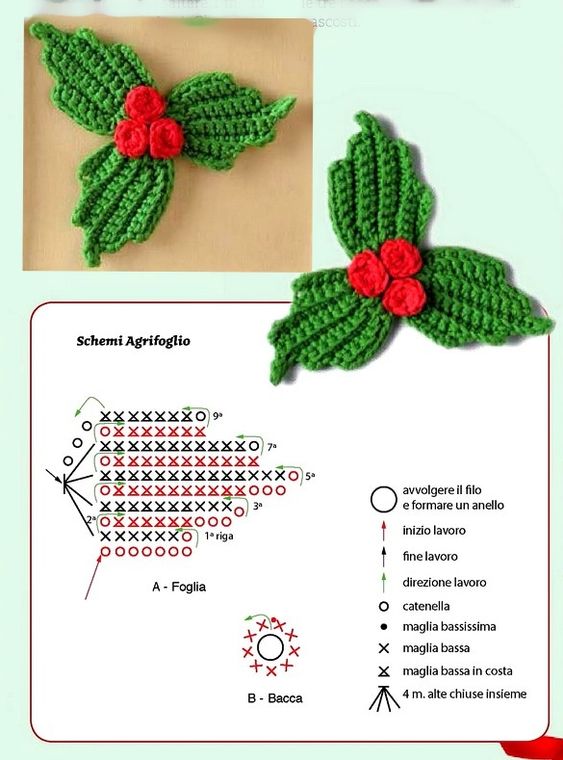
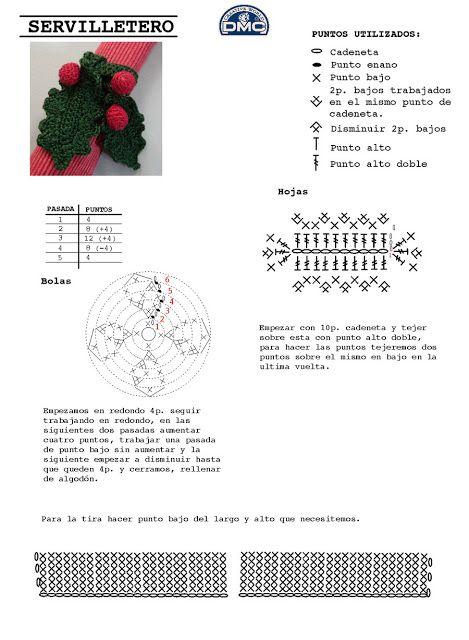
Via: elblogdedmc.blogspot.com
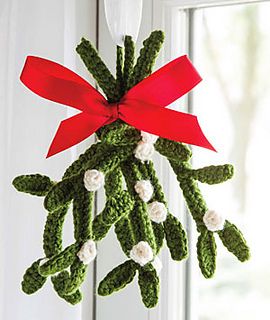
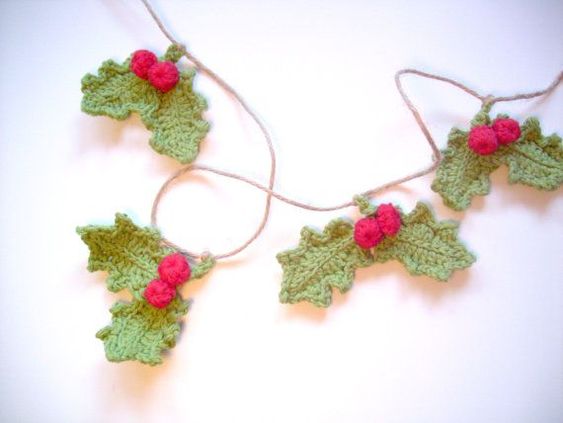
Via: sewdifferent.co.uk
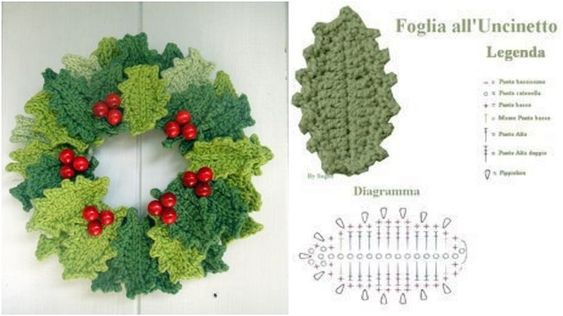
Via: institches2012.wordpress.com
Materials Needed
Before you start, gather the following materials:
- Yarn: Use medium-weight yarn (worsted weight) in green for the leaves. You may also want red yarn for the berries.
- Crochet Hook: A size H (5 mm) crochet hook is recommended.
- Scissors
- Tapestry Needle: For weaving in ends.
- Stitch Marker (optional): To keep track of your rounds.
Basic Crochet Stitches Used
- Chain (ch)
- Single Crochet (sc)
- Half Double Crochet (hdc)
- Double Crochet (dc)
- Slip Stitch (sl st)
Holly Leaves Pattern
Instructions
1. Create the Foundation Chain
- Start with a Slip Knot: Make a slip knot on your hook.
- Chain 5: This will form the base of your leaf.
2. Start the Leaf Shape
- Row 1:
- In the second chain from the hook, make 1 single crochet (sc).
- In the next chain, make 1 half double crochet (hdc).
- In the next chain, make 2 double crochets (dc).
- In the next chain, make 1 half double crochet (hdc).
- In the last chain, make 1 single crochet (sc).
At this point, you should have a small leaf shape forming.
3. Create the Other Side
- Row 2:
- Chain 1 and turn your work.
- In the same stitch where you made the last single crochet, make 1 single crochet.
- In the next stitch, make 1 half double crochet (hdc).
- In the next stitch, make 2 double crochets (dc).
- In the next stitch, make 1 half double crochet (hdc).
- In the last stitch, make 1 single crochet (sc).
4. Finishing the Leaf
- Fasten Off: Cut the yarn, leaving a long tail for sewing if needed.
- Weave in Ends: Use the tapestry needle to weave in any loose ends.
5. Optional: Add Berries
To create berries for your holly decoration:
- Using Red Yarn: Create small circles using the magic ring method.
- Berries Pattern: Make 3-4 single crochets into the magic ring, tighten, and fasten off.
- Attach Berries: Sew the berries onto the holly leaves using a tapestry needle.
Learn how to crochet beautiful holly leaves with our easy step-by-step tutorial. Perfect for holiday decorations, gift embellishments, and more! Enjoy.
CHECK MORE CROCHET PATTERNS