Crochet Labubu Tutorial: Create Your Adorable Amigurumi Companion
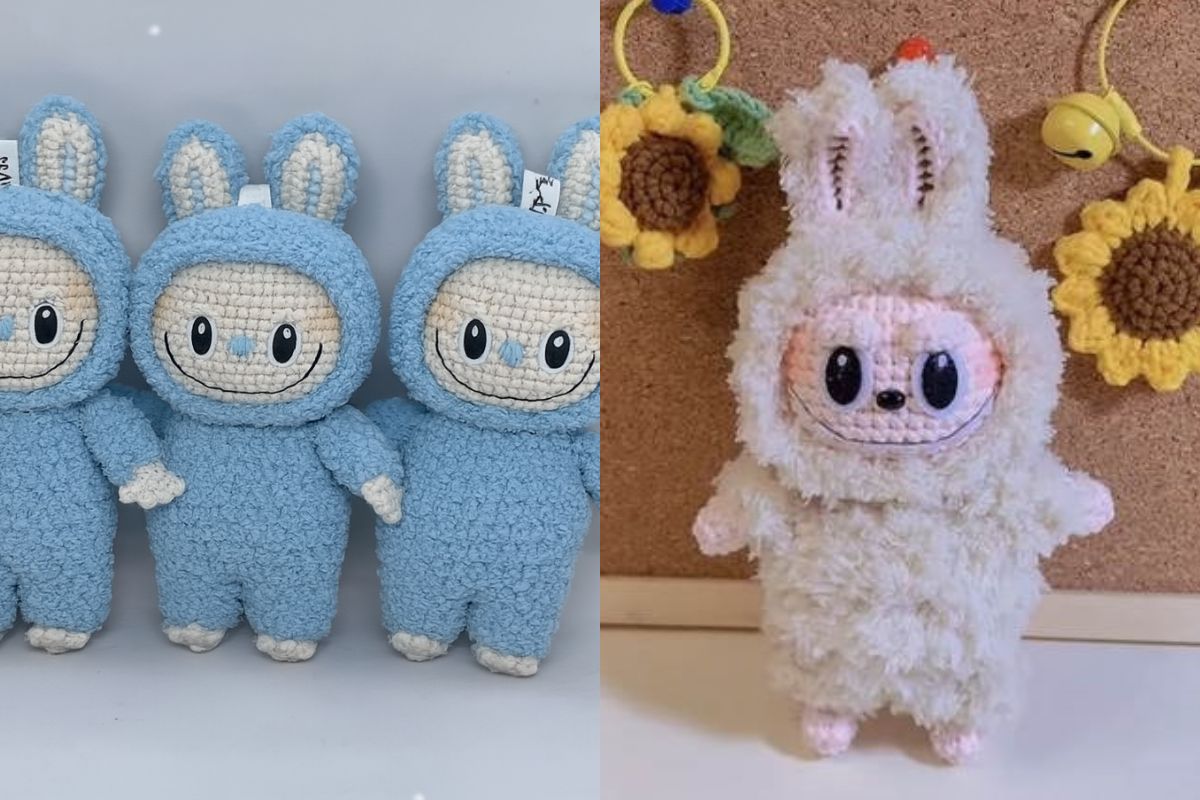
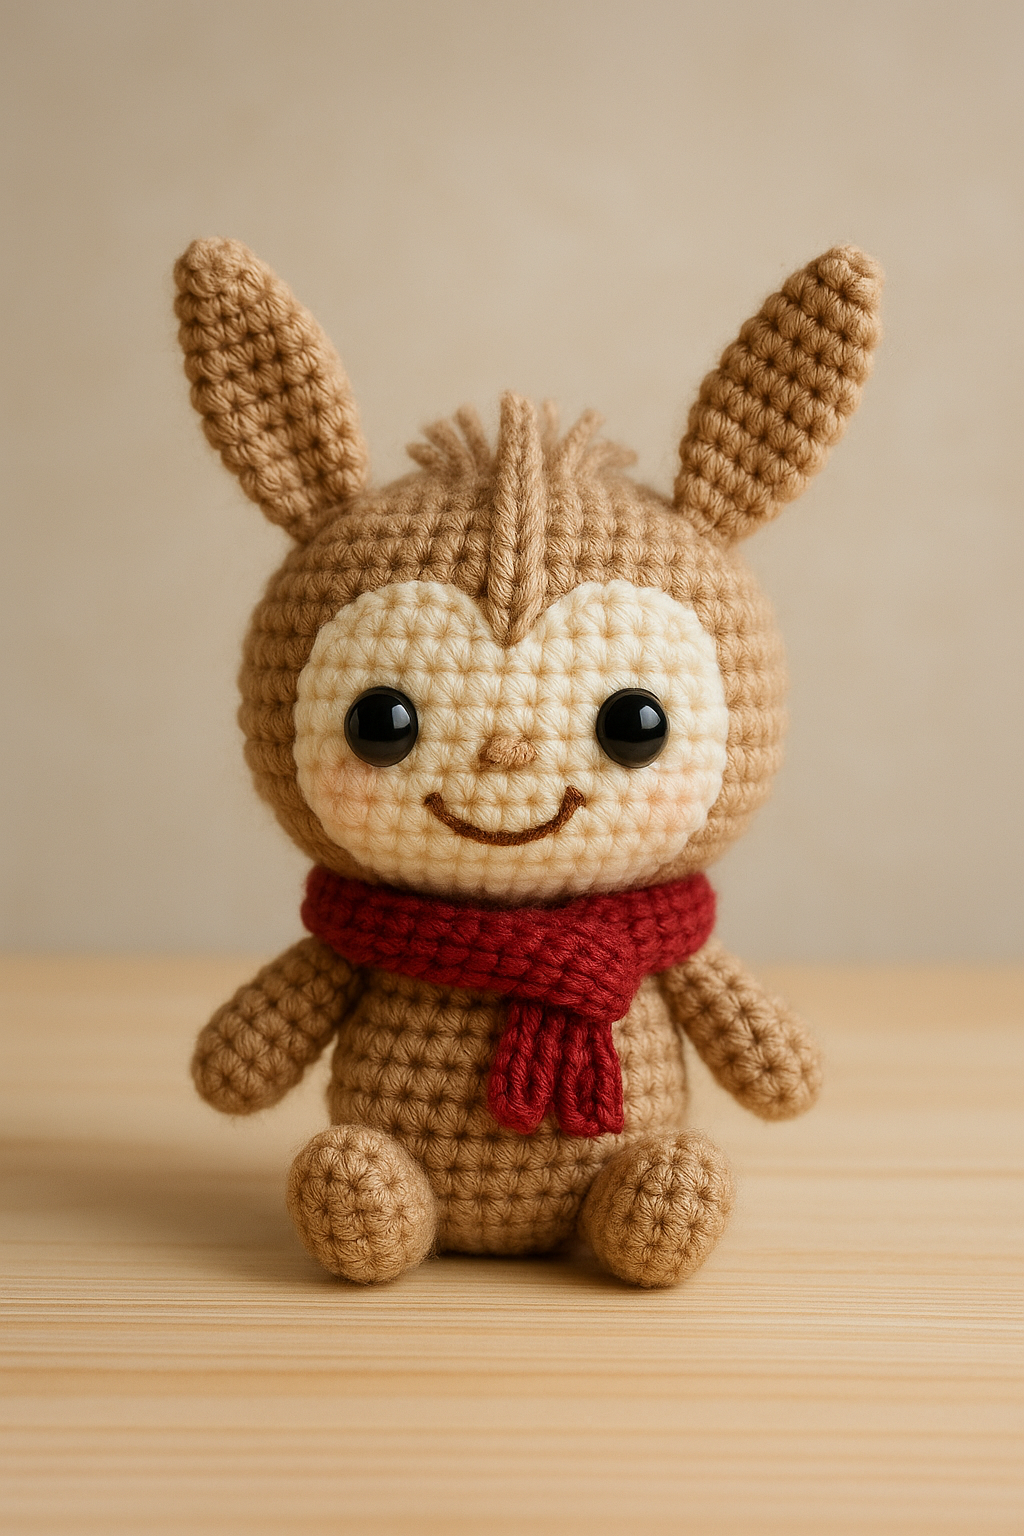
Labubu is an irresistibly round, slightly quizzical amigurumi character that has swept across crafting communities for its cute face, adorable shape, and endearing personality.
A Labubu is more than a toy—it’s a little pocket of joy brought to life with yarn and imagination.
Materials & Supplies Needed
- Yarn: Soft worsted-weight or dedicated amigurumi yarn (acrylic or cotton blend).
- Crochet hook: 2.5–3.5 mm, depending on your desired tightness.
- Safety eyes (9–12 mm) or black yarn for embroidered eyes (safer for babies).
- Polyester stuffing (or craft fill).
- Tapestry needle for sewing parts and weaving tails.
- Stitch marker to track the beginning of rounds.
- Scissors, notepad, pen for notes.
Abbreviations & Terms
- MR = Magic Ring
- sc = Single Crochet
- inc = Increase (2 sc in same stitch)
- dec = Decrease (sc two together)
- rnd(s) = Round(s)
- sl st = Slip Stitch
Labubu Anatomy: Step‑by‑Step Pattern
Body and Head (Worked in One Piece)
- Rnd 1 (MR): 6 sc
- Rnd 2: inc x6 → 12 sc
- Rnd 3–8: sc around (6 rounds) → 12 sc
- Rnd 9: (sc, inc) x6 → 18 sc
- Rnd 10–15: sc around (6 rounds)
- Rnd 16: (2 sc, inc) x6 → 24 sc
- Rnd 17–26: sc around (10 rounds)
- Rnd 27: (2 sc, dec) x6 → 18 sc
- Rnd 28: (sc, dec) x6 → 12 sc
At this point, you’ve closed off the head. Want a short Labubu? Close up now. Prefer a longer body? Continue:
- Rnd 29–45: sc around (17 rounds)
- Rnd 46: (2 sc, dec) x4 → 8 sc
- Continue decreasing to close, stuffing as you go.
Tip: Insert safety eyes between rounds 10 and 11, approx. 5 stitches apart.
Arms (Make 2)
- MR: 6 sc
- Rnd 2: (sc, inc) x3 → 9 sc
- Rnd 3–12: sc around (10 rounds)
- Fasten off, leaving a tail for sewing.
Legs (Make 2)
Follow the arm pattern but go for 12 rounds total. Lightly stuff.
Ears (Make 2)
- MR: 6 sc
- Rnd 2: (sc, inc) x3 → 9 sc
- Rnd 3–5: sc around (3 rounds)
- Fasten off, leaving a tail for sewing.
Optional Tail Loop
- Chain 15, attach as a tail on Labubu’s back.
- Optionally add a pom‑pom or mini ball at the end.
Assembly
- Sew arms to the body’s sides at round 26–28.
- Attach legs underneath, spaced about 4 stitches apart.
- Stitch ears at the top corners of the head.
- Add tail if desired.
- Weave in all loose ends.
Customization Ideas
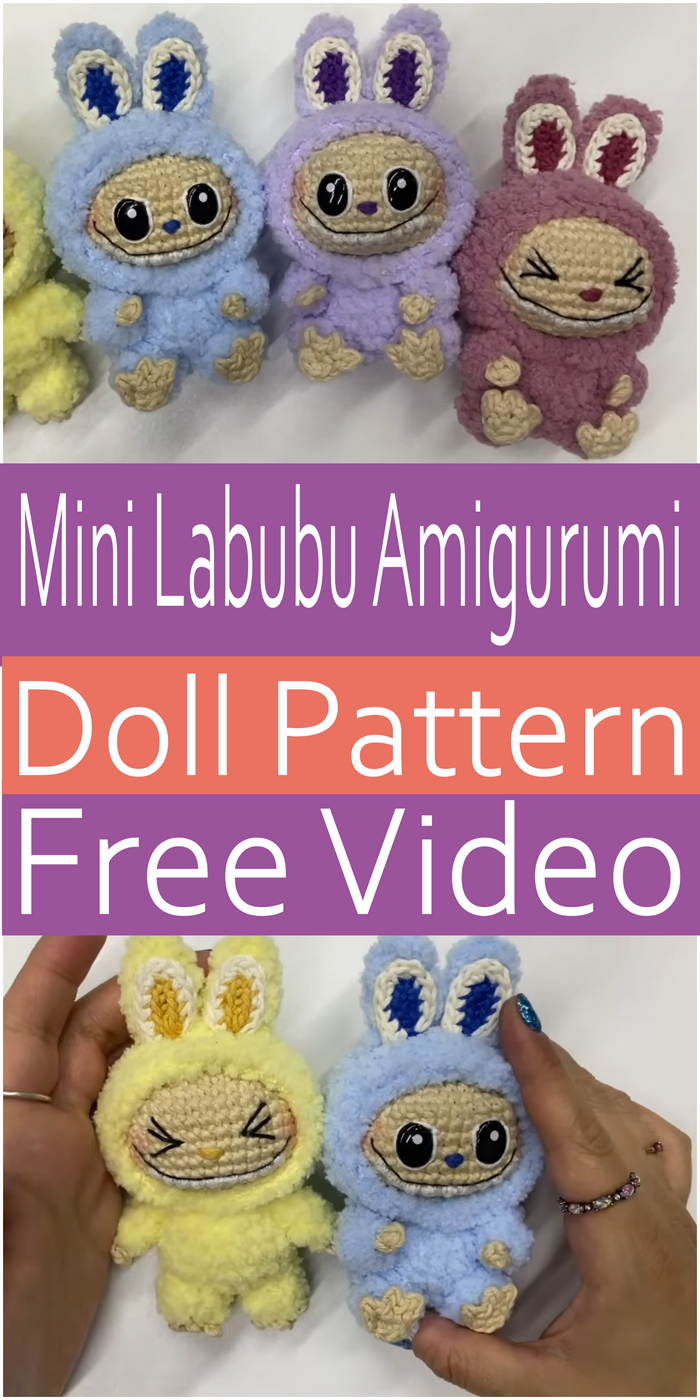
- Color variations: pastel turquoise, dusty rose, steel gray.
- Accessories:
- Tiny scarf: ch 10, turn and sc across (3 rounds).
- Mini crochet hat: start with 6 sc MR, work 3–4 rounds inc.
- Small badges or embroidered patches.
- Facial expression tweaks:
- Close-set eyes = sweet expression.
- Wider eyes and slight smile = curious vibe.
Finishing Touches & Texture Tricks
Fluffy effect: use boucle or fluffy yarn alongside main yarn.
Safety embellishments: sewn-on felt cheeks, embroidered nose.
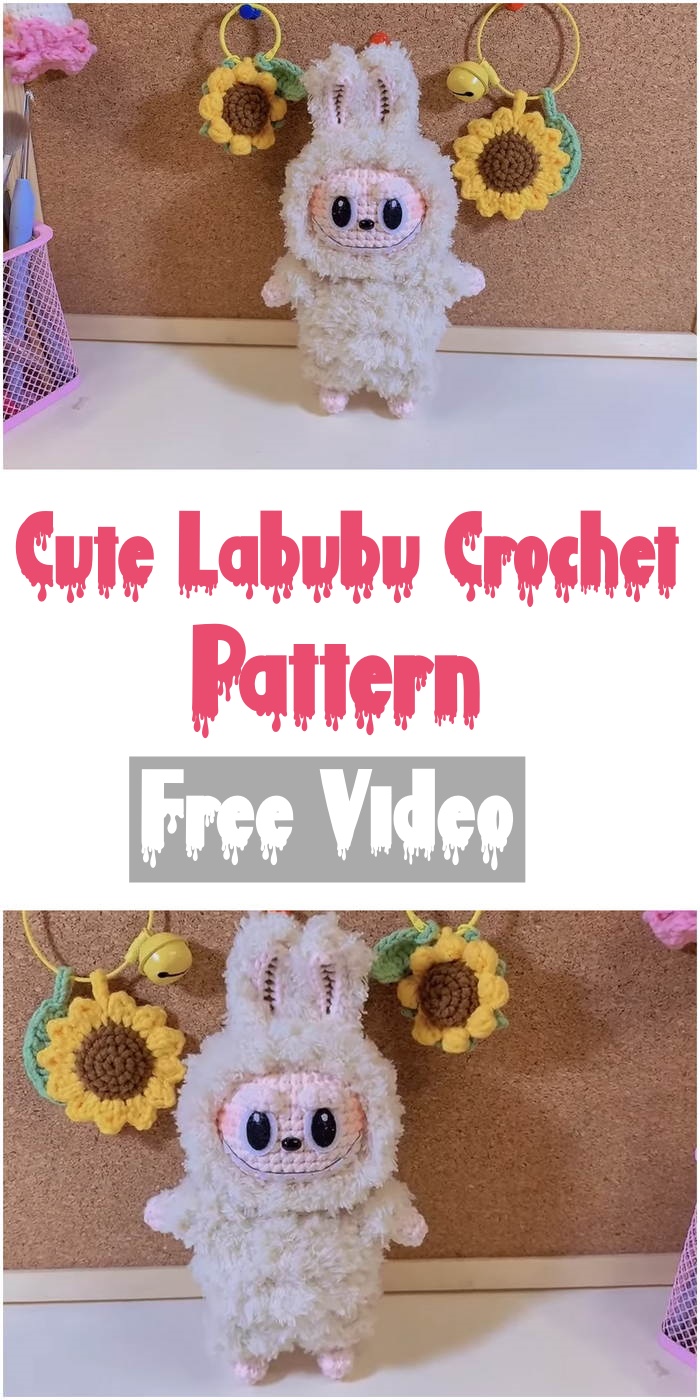
Themed variations: pumpkin, bunny ears, or superhero mask.
Multipurpose design: create a keychain version, zipper pull, or fridge magnet.
Typically around 4–6 hours for a medium-sized version, depending on your speed. Use embroidered eyes instead of safety eyes. Fully secure all parts before gifting.
Choose worsted-weight or amigurumi-specific yarn for durability and softness. Hand wash gently in cold water, air dry flat. Avoid wringing or heat sources.
Create your own adorable Labubu plushie with this detailed crochet tutorial. Step-by-step instructions, helpful tips, accessories ideas, care advice, and personalization options included.
CHECK MORE CROCHET PATTERNS