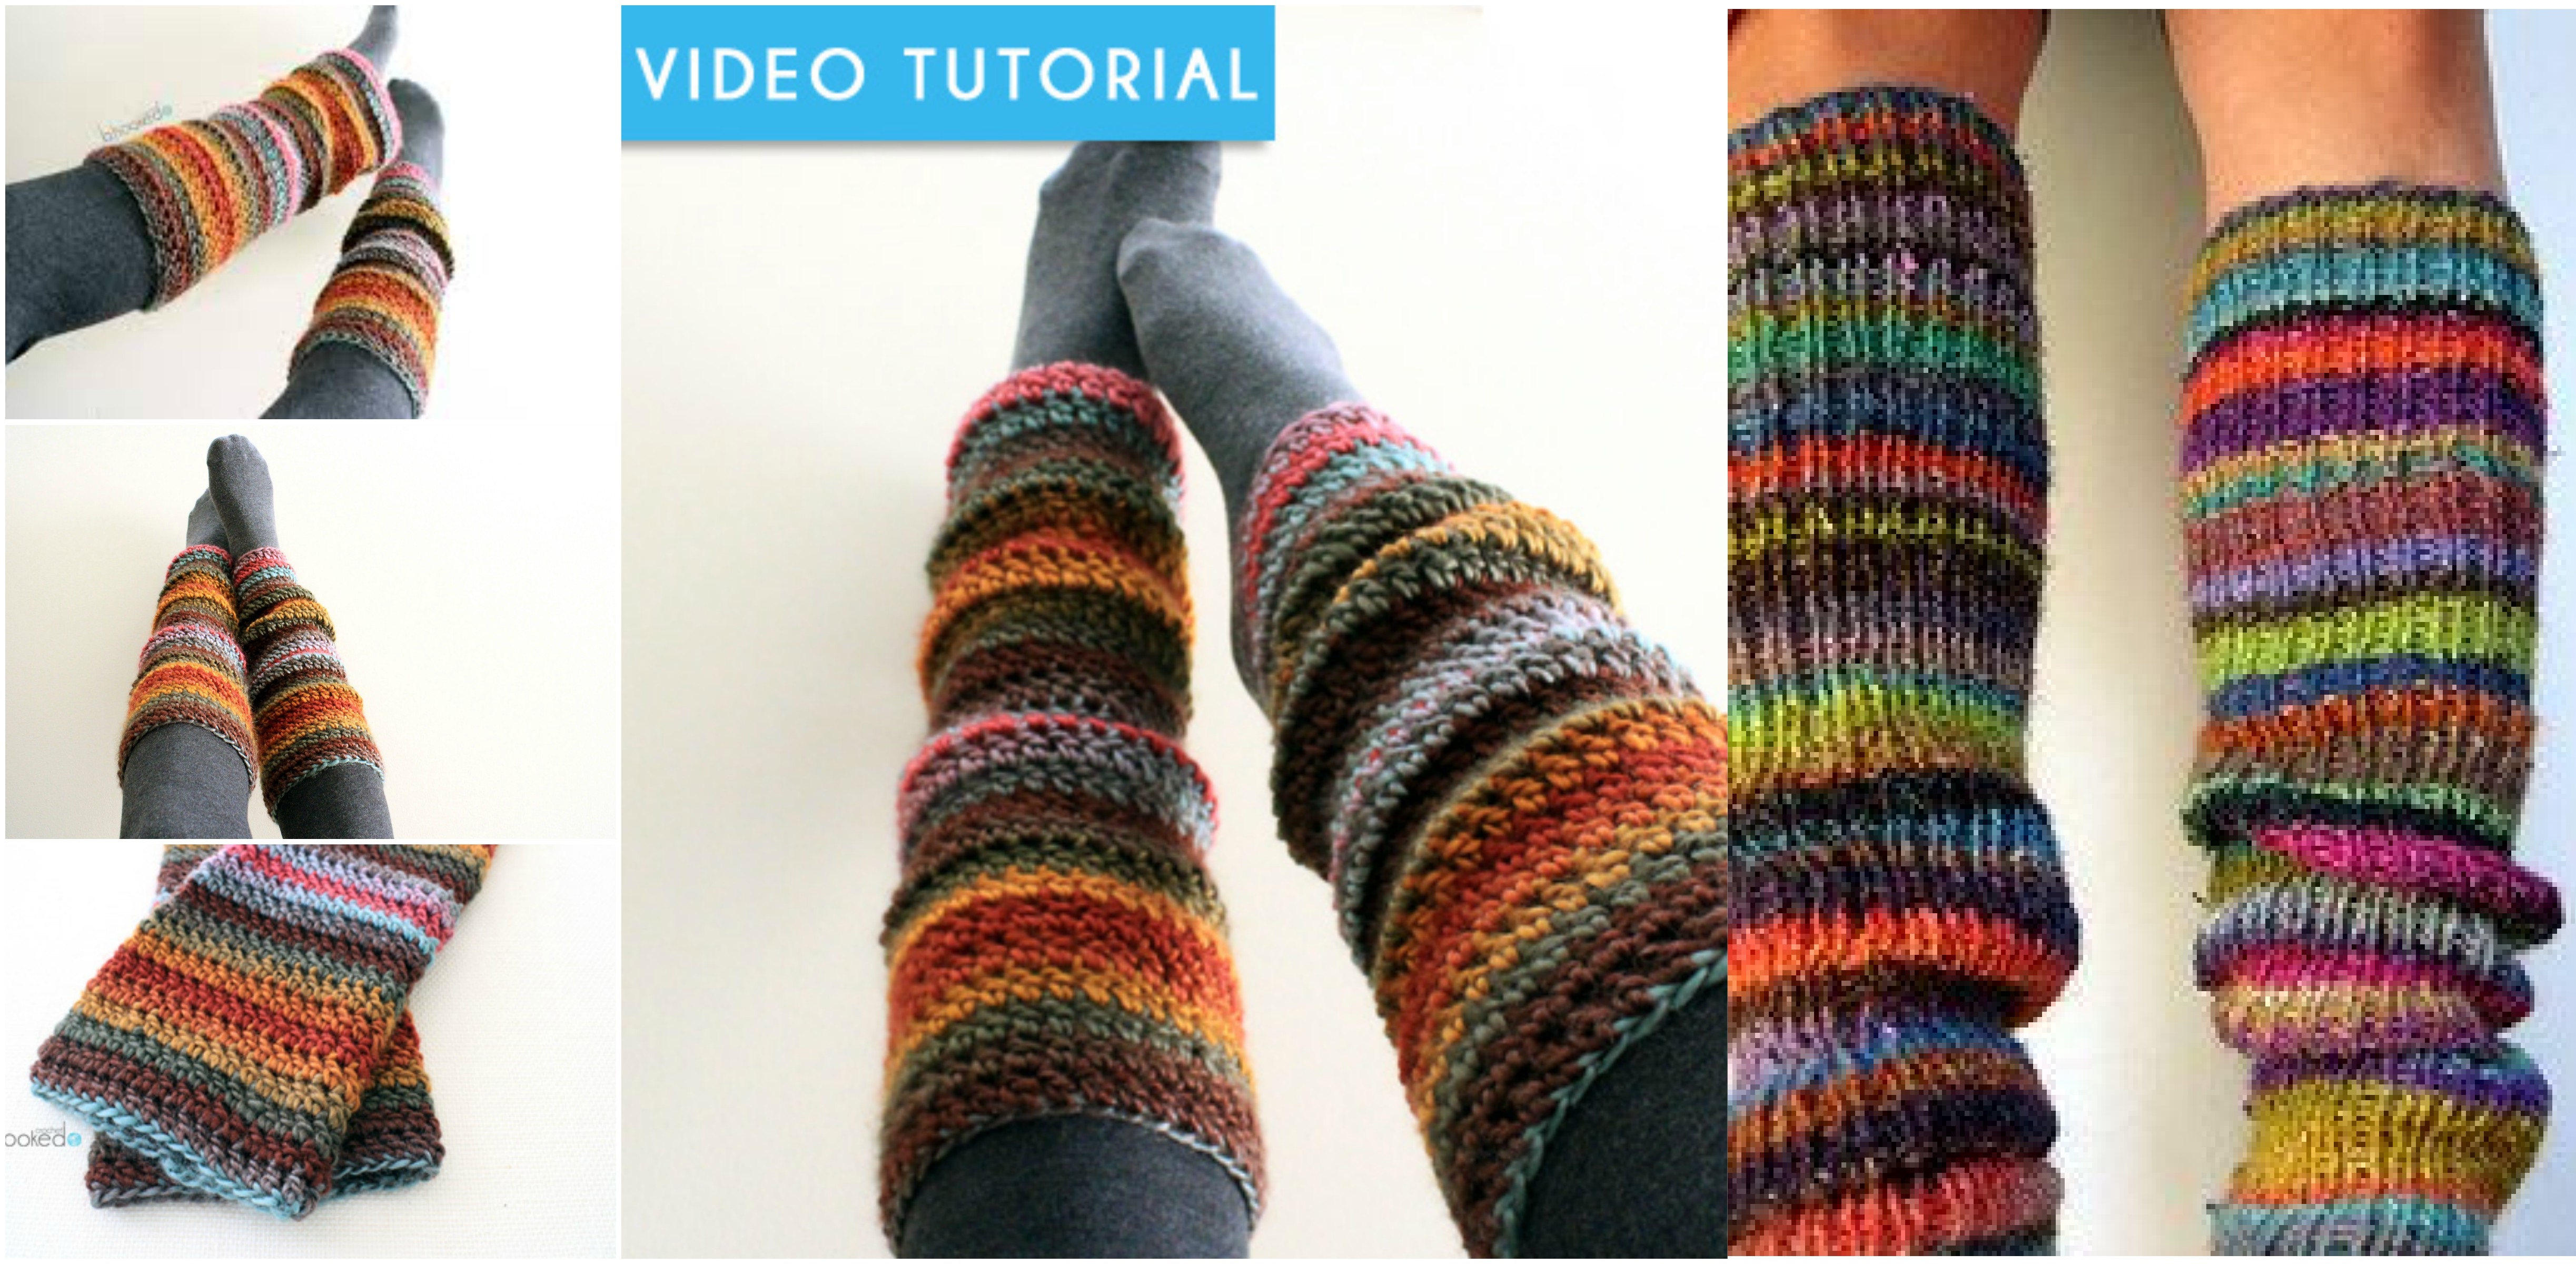
How To Crochet the Leg Warmers

When it’s cold outside or maybe it’s even snowing our feet and legs get most frozen and today we are going to teach you how to keep them cozy even in the coldest weather.
Today we are going to show you an article and the video tutorial about How To Crochet the Leg Warmers.
Winter is coming, and what better way to keep your legs toasty than with handmade crochet leg warmers? Whether you're a seasoned crochet artist or a beginner, this fun and practical project is perfect for you. Not only are leg warmers stylish and functional, but they also make excellent gifts!
How To Crochet the Leg Warmers
Let’s all agree that if our legs are warm the cold weather doesn’t bother us as much, so with the help of our article you are going to be bother less by the freezing weather.
You can see on the photos about what we are talking and you surely understand that this leg warmers are very easy to crochet and with the help of our tutorial it will get even easier. Also the good news is that crocheting will not take much time and the you will be pleased by the result you will get.

Why Crochet Leg Warmers?
Leg warmers are making a comeback, and for good reason. Here are some compelling reasons to start crocheting your own:
- Warmth: Perfect for keeping your legs warm during chilly days.
- Style: Add a unique, handmade touch to your outfits.
- Customization: Choose your favorite colors and patterns.
Materials You’ll Need
To get started on your leg warmers, gather the following supplies:
- Yarn: Choose a soft, medium-weight yarn in your preferred color.
- Crochet Hook: Size H/8 (5 mm) is recommended.
- Scissors: For cutting the yarn.
- Tapestry Needle: To weave in ends.
Customization Ideas
Personalize your leg warmers with these creative touches:
- Color Blocking: Use multiple colors to create bold stripes.
- Buttons and Bows: Sew on buttons or bows for added flair.
- Ribbed Cuffs: Create ribbed cuffs by alternating front and back post stitches.
Caring for Your Leg Warmers
To ensure your leg warmers last, follow these care instructions:
- Hand Wash: Use mild detergent and lukewarm water.
- Dry Flat: Avoid stretching by drying flat on a towel.
Learn how to crochet stylish and cozy leg warmers with our detailed step-by-step guide.
So start crocheting, don’t waste any more time and share your impressions and opinion with us. Enjoy
CHECK MORE CROCHET PATTERNS