Crochet Mini Tulip Flower Keychain: A Colorful and Charming DIY Project

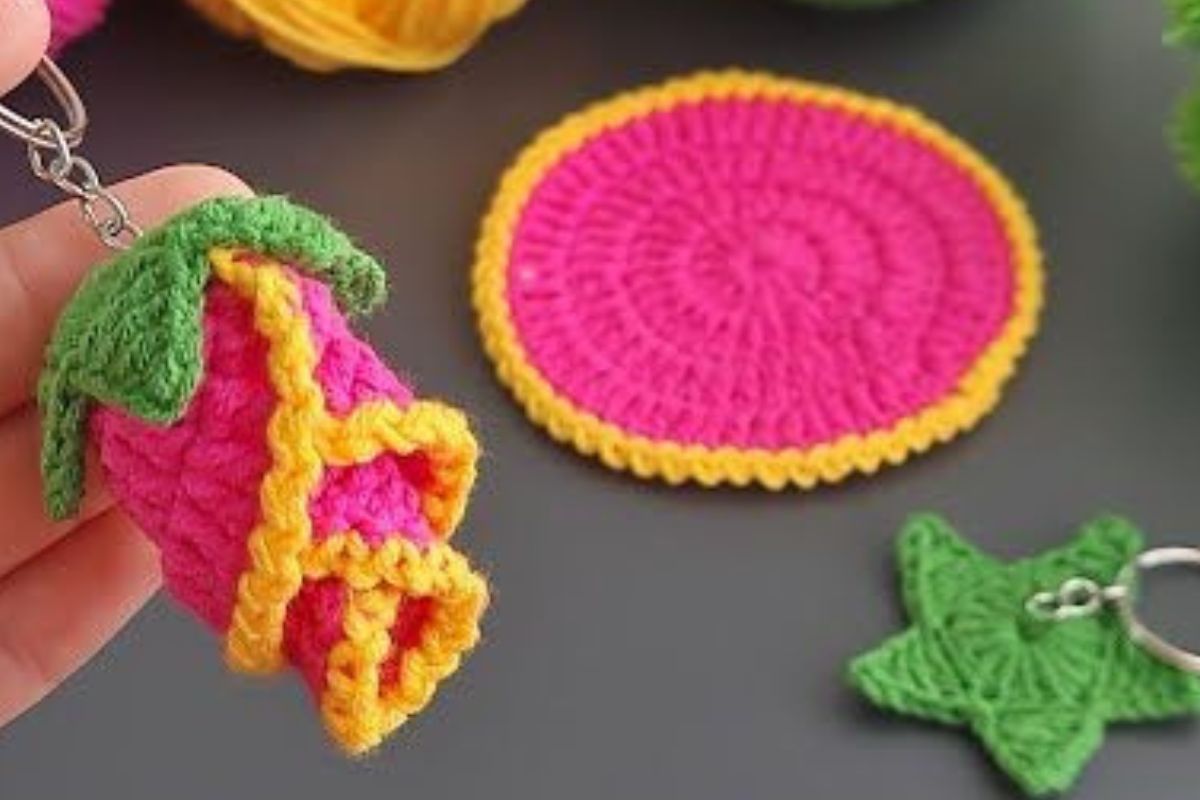
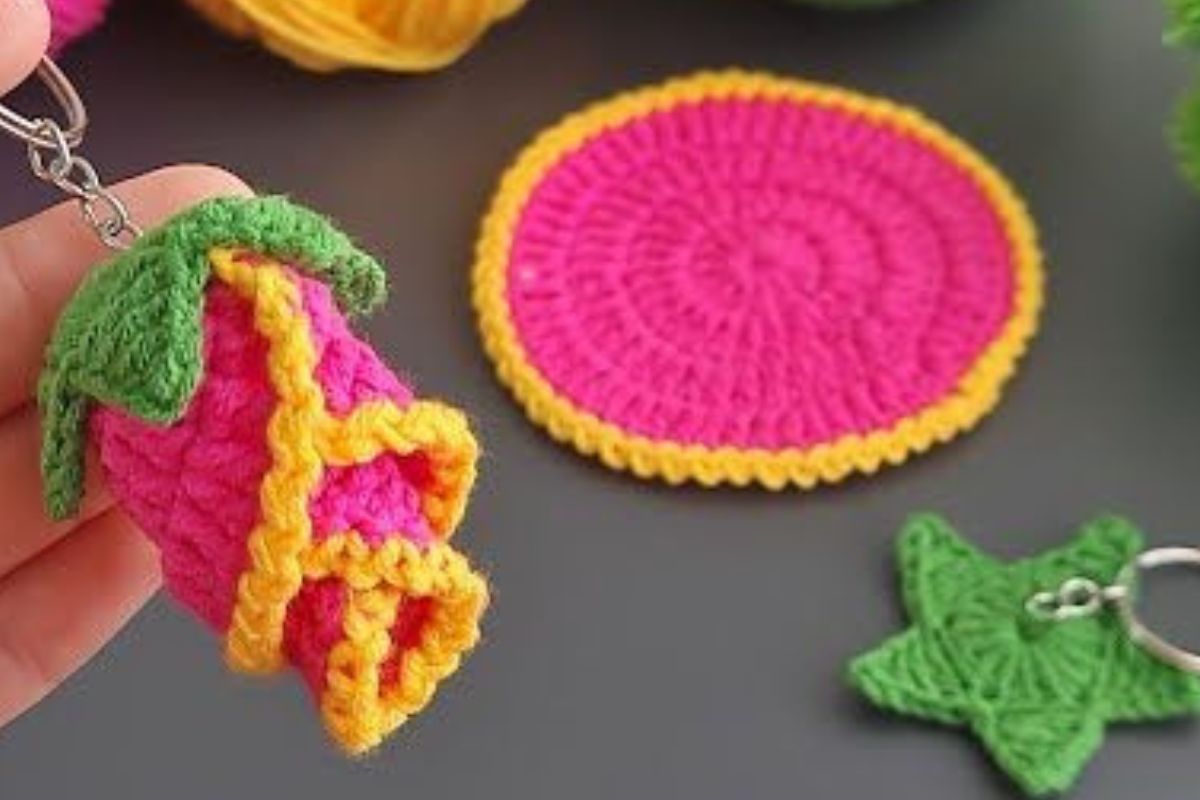
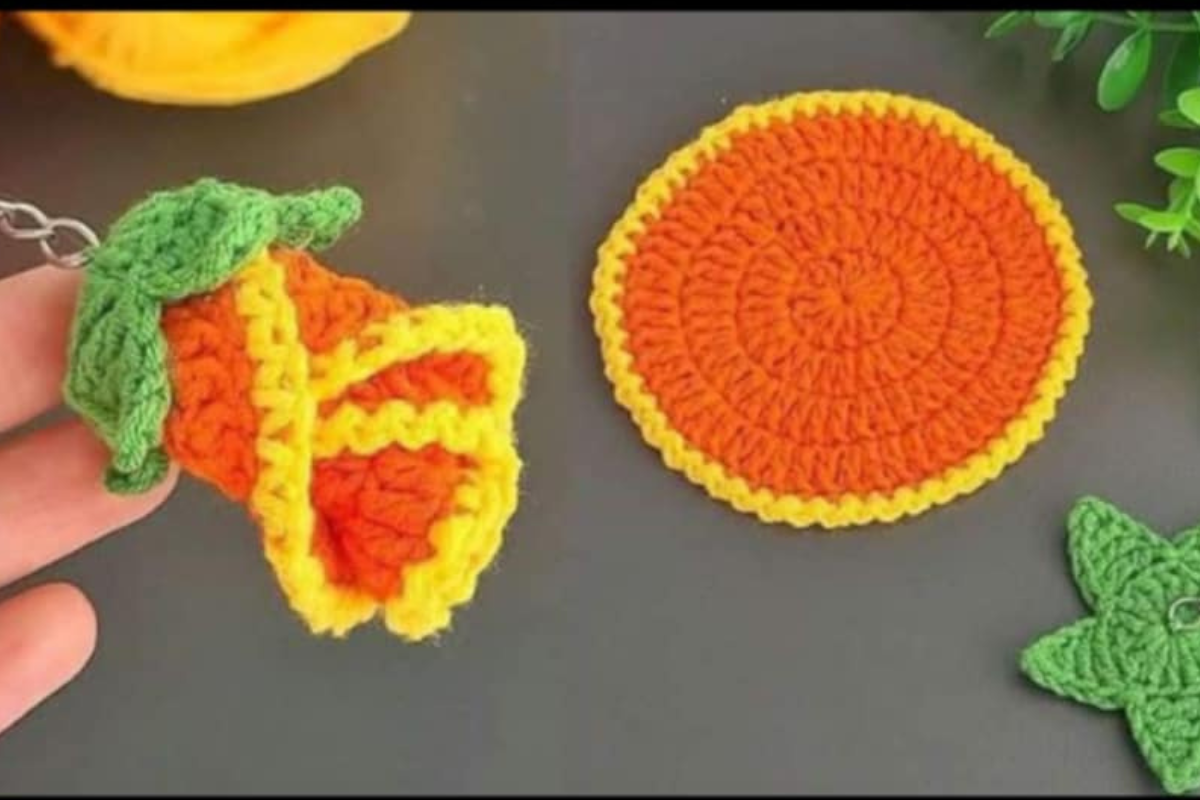
If you're looking for a fun and creative way to add a personal touch to your accessories, a crochet mini tulip flower keychain is the perfect DIY project.
This cute and colorful craft is an excellent way to showcase your crochet skills, and the finished product makes for a delightful keychain, bag charm, or even a gift.
In this article, we’ll explore how to crochet your own mini tulip flower keychain, step by step, along with tips for customizing it to match your personal style.
Creative Variations of Crochet Mini Tulip Flower Keychain
While the basic crochet tulip keychain is charming on its own, there are plenty of ways to get creative with your designs. Here are a few ideas:
1. Ombre Tulip Keychain
- Use a gradient of colors for the petals, blending from light to dark shades for a stunning ombre effect.
2. Double Tulip Keychain
- Create a double tulip by adding a second, smaller flower behind the first one for a fuller look.
3. Add Sparkle with Glitter
- Use glitter yarn or sprinkle some glitter on the petals for a sparkly, eye-catching effect.
4. Mini Tulip Bouquet
- Create a small bouquet by crocheting multiple tulip keychains and bundling them together with a ribbon for a charming gift idea.

Materials Needed
Before diving into the step-by-step guide, let’s gather all the necessary materials. You’ll need the following:
- Yarn: Choose a medium-weight yarn (like worsted weight) in colors such as green for the stem, yellow, pink, purple, or red for the petals.
- Crochet Hook: A 3.5mm to 4mm hook works well for this project.
- Scissors: For cutting the yarn once the project is complete.
- Yarn Needle: To weave in loose ends and attach the pieces.
- Keychain Hardware: A keychain ring or lobster clasp to attach to the finished flower.
- Fiberfill (optional): For a slightly stuffed flower if you want a fuller look.
Pro Tip: Use cotton yarn for a sturdier texture, or acrylic yarn for a softer feel. Both work well for this project, depending on your desired finish.
Step-by-Step Guide: How to Crochet a Mini Tulip Flower Keychain
Step 1: Crochet the Tulip Petals
- Start with a Magic Ring: Begin by creating a magic ring to start your flower. This allows you to work in the round and keep your stitches tight.
Magic Ring: Make a loop and secure it with a slip stitch. - Round 1 - Create the First Petal: Chain 3 stitches and then work 2 double crochet stitches (DC) into the ring.
Round 1: 3 DC into the magic ring. - Round 2 - Complete the Petal: Continue making DC stitches into the ring until you have 4 total stitches. You should now have a small, rounded petal shape.
Round 2: Continue to make 3 DC into the ring, close the loop. - Repeat for Additional Petals: Repeat this process 3 times to create 4 petals for the mini tulip. Once all 4 petals are made, fasten off the yarn and leave a tail to sew them together.
Tip: To add more depth to the petals, try adding some light contrast color to the edges of each petal for a beautiful layered effect.
Step 2: Crochet the Tulip Stem
- Start the Stem: Using green yarn, chain 10-12 stitches, depending on how long you want the stem of your flower to be.
- Work Single Crochet: Turn and work single crochet (SC) into each chain stitch. This will form the long, slender stem of your tulip.
- Finish the Stem: Once you've reached the desired length for your stem, fasten off the yarn, leaving a tail to attach it to the flower.
Tip: If you'd like your stem to have a bit of sturdiness, you can use floral wire inside the stem to give it more structure.
Step 3: Assemble the Flower
- Attach the Petals: Lay out the 4 petals you’ve crocheted, forming a circle. Use a yarn needle to stitch the petals together at the center, creating a tulip shape.
- Sew the Stem to the Flower: Take the green stem and attach it to the back of the tulip flower. Use the tail of the stem yarn to secure it to the base of the flower.
Step 4: Add the Keychain Hardware
- Attach the Keychain Ring: Using the remaining tail of the stem yarn, thread it through a keychain ring or lobster clasp. Tie a knot to secure it, and then hide the tail inside the stem with a yarn needle.
- Finishing Touches: Weave in any loose ends and trim excess yarn to tidy up your project.
Creating a crochet mini tulip flower keychain is a fun and rewarding project that adds a personal, handmade touch to your accessories.


Whether you're making them as gifts, home decor, or simply as a cute addition to your keys, these flowers are sure to brighten up your day. With endless variations and possibilities, you can personalize your keychains to suit any style or occasion. So, grab your yarn and hook, and start creating these adorable crochet tulip keychains for the perfect festive gift or charming accessory!
CHECK MORE CROCHET PATTERNS