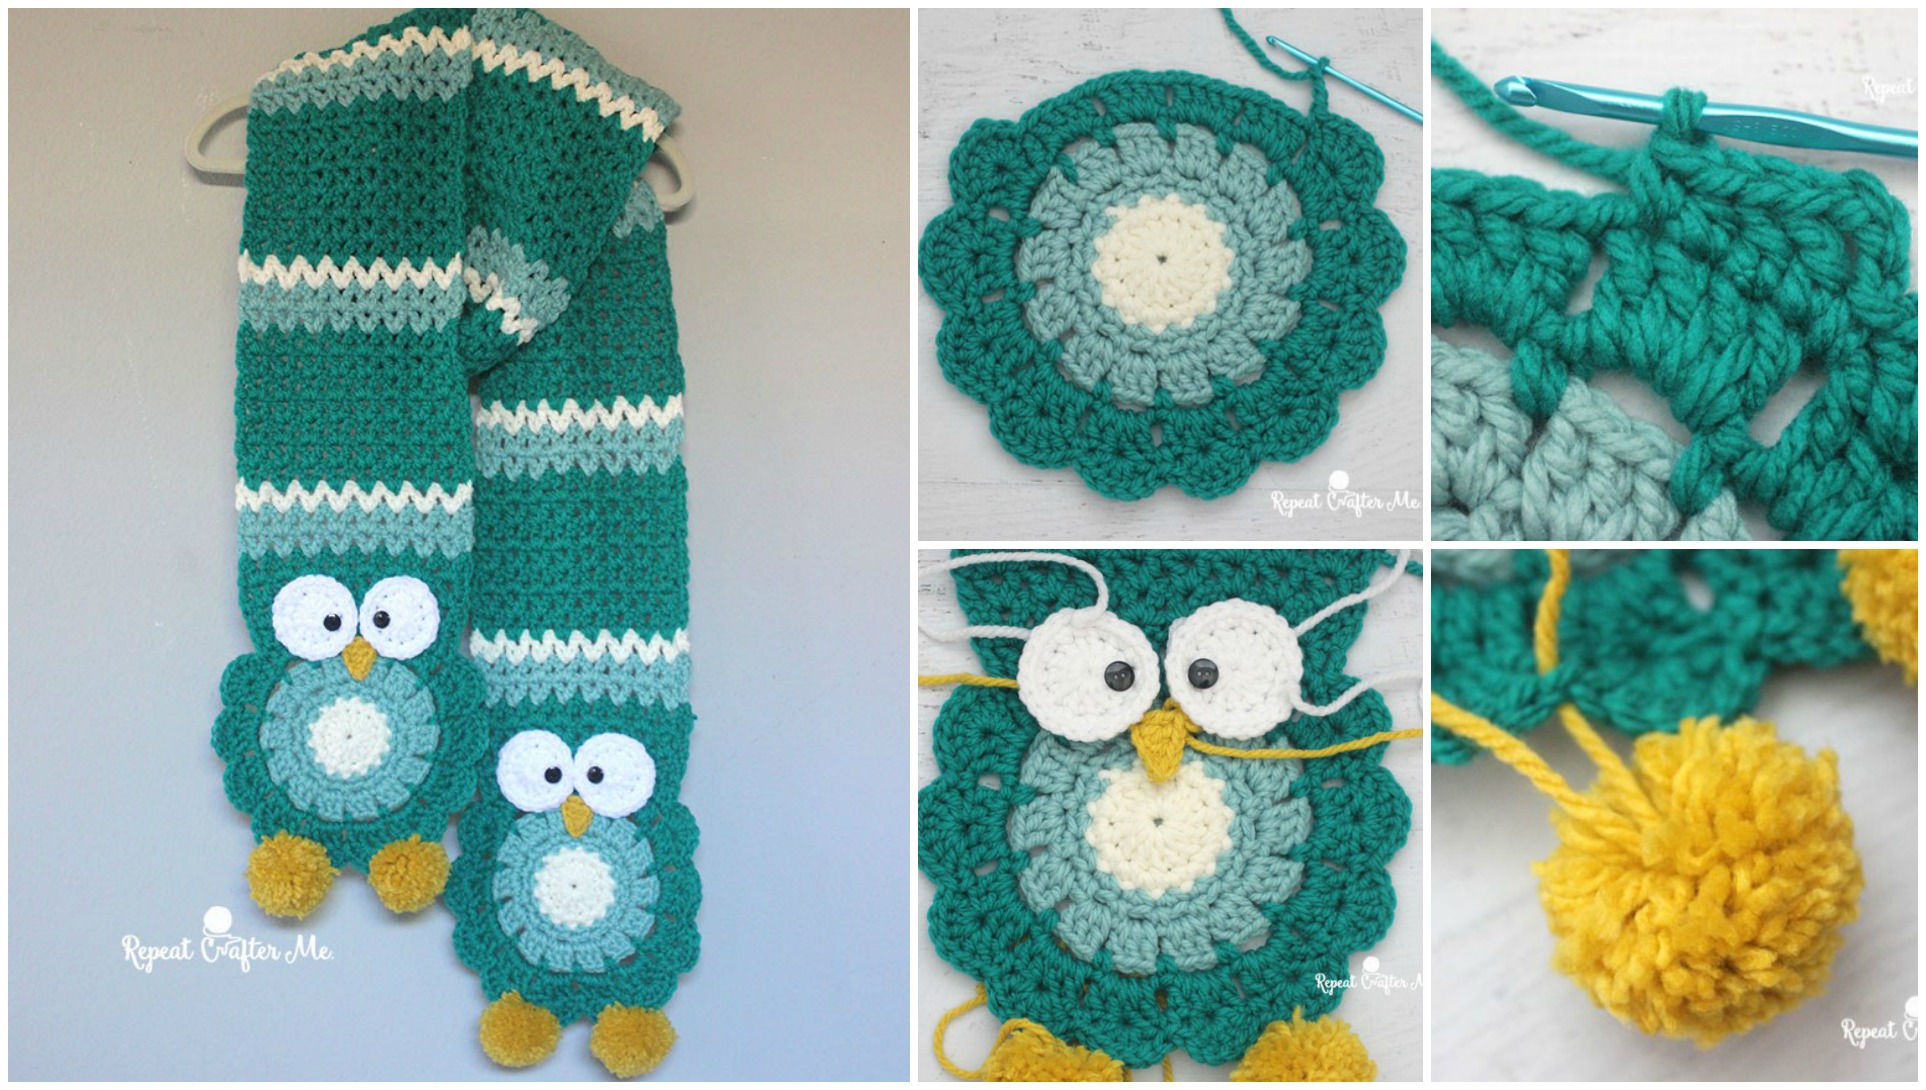
Crochet Owl Scarf For Children

Have some free time and want to make something beautiful and cute for your children? We have beautiful and creative Scarf with awesome design. Owl Scarf is not only attractive and beautiful, it’s very warm also and your children will be protected from frost in winter.
If you have no children or your children is already grown ups you can make gift for your grandchildren or for friends little angels.
Feel free and crochet this scarf for yourself and for adults too if you like, it can make your look funny and smart too.
Crochet Owl Scarf For Children
Creating a crochet owl scarf for children is not just a fun project, but also a way to give your little ones a cozy, handmade accessory that will keep them warm and stylish.
Owls are whimsical and loved by kids, making this scarf the perfect combination of creativity and functionality.
In this guide, we’ll walk you through how to crochet an adorable owl scarf step by step, with tips on customization, color choices, and stitch patterns to make it unique.

>> CHECK HERE THE PATTERN < <
Colors you can choose any, because as we know Owls can appear in different colors.
Step-by-Step Guide: How to Crochet an Owl Scarf for Children
Step 1: Choose the Yarn and Colors
Select yarn in colors that resemble an owl—typically shades of brown, beige, white, and orange. However, don’t be afraid to get creative. For a more whimsical look, you could use bright and playful colors like pink, purple, or blue. Ensure the yarn is soft and cozy, as it will be worn by children.
Step 2: Crochet the Base of the Scarf
- Start with a foundation chain: To create the scarf's base, chain 120 stitches or adjust the length based on the child’s height. For a wider scarf, increase the number of chains.
- Work the first row in double crochet: After completing the chain, work the first row in double crochet (DC) stitches across.
- Repeat rows: Continue crocheting rows in double crochet until the scarf reaches the desired width. For a child, a scarf about 5-6 inches wide should suffice.
- Finish the base: Fasten off the yarn and weave in the ends using the tapestry needle.
Step 3: Crochet the Owl Appliqué
Now, it’s time to crochet the owl face, wings, and other features. These will be appliqués that you’ll later sew onto the scarf.
Owl’s Head
- Create a magic circle: Start with a magic circle, then work 6 single crochets (SC) into the circle.
- Increase the stitches: In the second round, work 2 single crochets into each stitch around (12 stitches).
- Continue increasing: For the third round, work 1 single crochet in the first stitch and 2 single crochets in the next stitch. Repeat around (18 stitches).
- Add another round if necessary: Depending on the size you want the owl’s head, continue increasing in this pattern until the circle is large enough.
Owl’s Eyes
- Make two circles: Use white yarn to crochet two small circles for the eyes. Start with a magic circle, crochet 6 single crochets into the circle, and increase to 12 stitches in the second round.
- Attach the pupils: You can either crochet tiny black circles or use buttons/safety eyes for the pupils.
Owl’s Beak
- Crochet a small triangle: Use orange yarn to make a small beak. Chain 3, then work 1 single crochet into each stitch, decreasing as you go to form a triangle shape.
Owl’s Wings
- Make two semi-circles: Start with a chain of 6, and then work half-double crochet (HDC) stitches along the chain to create a semi-circular shape for each wing.
Step 4: Assemble the Owl
Once all the parts of the owl are crocheted, it’s time to assemble them:
- Place the owl head on one end of the scarf: Use a tapestry needle to sew the owl’s head securely onto one end of the scarf.
- Attach the eyes: Sew the eyes onto the owl's head, making sure they are evenly spaced.
- Add the beak: Sew the orange beak below the eyes.
- Sew on the wings: Attach the wings to the sides of the owl’s head or body, whichever looks better for your design.
- Optional detailing: You can embroider small lines or use yarn to create “feathers” on the owl’s body for a more textured look.
Step 5: Add Finishing Touches
- Optional fringe: Add a fringe at the opposite end of the scarf to balance the owl design. Cut yarn pieces of equal length, fold them in half, and loop them through the last row of the scarf.
- Block the scarf: Lightly block the scarf by steaming it to ensure the owl appliqué lays flat and the scarf looks polished.
Step 6: Personalize It!
Get creative with additional details like crocheting small hearts, stars, or other cute shapes that can be added to the scarf. You can also incorporate different textures by using popcorn or puff stitches on the scarf for added interest.
Fun Variations of the Crochet Owl Scarf
- Bright and Colorful: Instead of sticking to natural owl colors, try using bright, rainbow-colored yarn for a fun and playful scarf that kids will love.
- Pocket Scarf: Extend the owl’s body to create pockets at the ends of the scarf where children can tuck their hands to keep warm.
- Hooded Owl Scarf: Make the scarf extra functional by adding a crochet hood at the top, designed to look like the owl’s head.
CHECK MORE CROCHET PATTERNS