Crochet Plastic Bag Holder
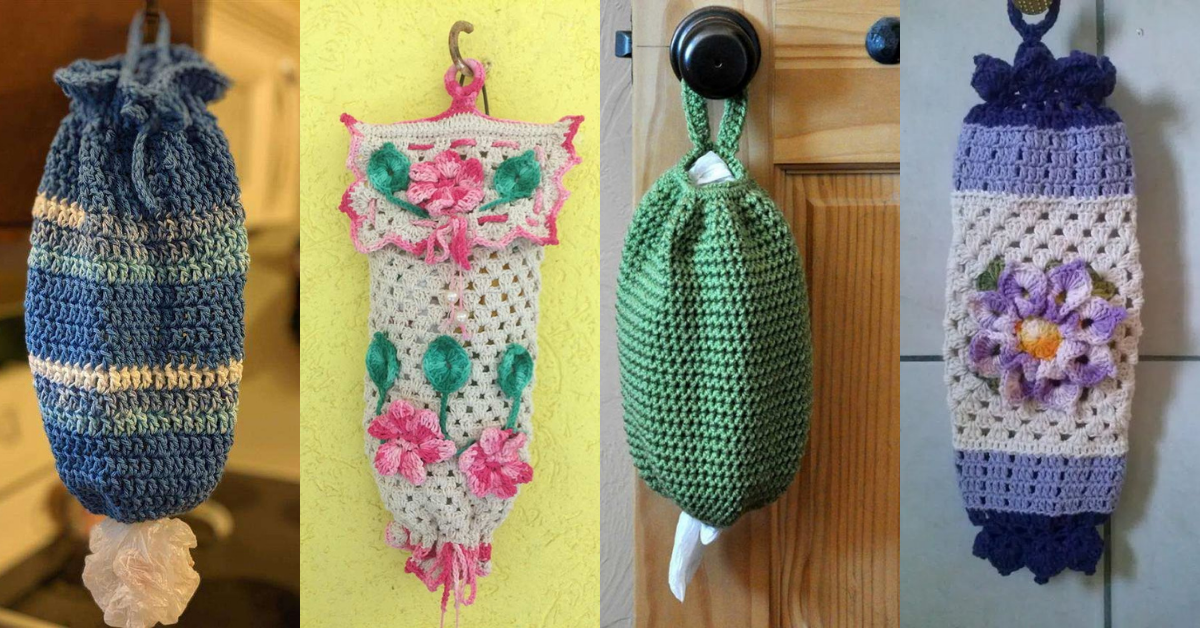
We all have plastic bags that end up causing confusion and disarray. To end this situation we bring a super creative, useful and also beautiful idea, they are crochet plastic bag holders.
There are many ideas and models of support for crochet plastic bags, from simple options to more worked and even themed options.
Check out a video tutorial of a crochet plastic bag holder here. check out
Crochet plastic bag holder step by step

Crochet plastic bag holder ideas
For those who liked our suggestion, here are some more ideas and inspirations.
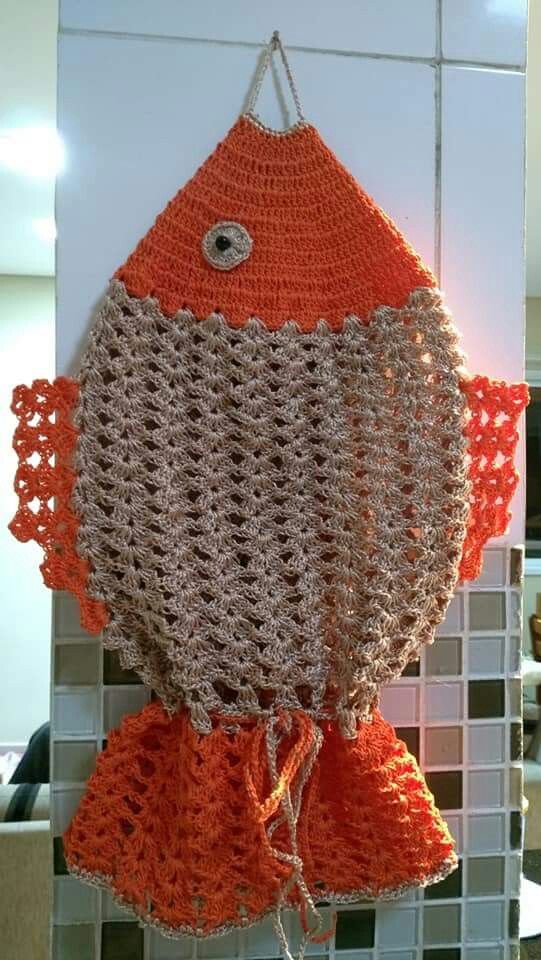
Via: Pinterest
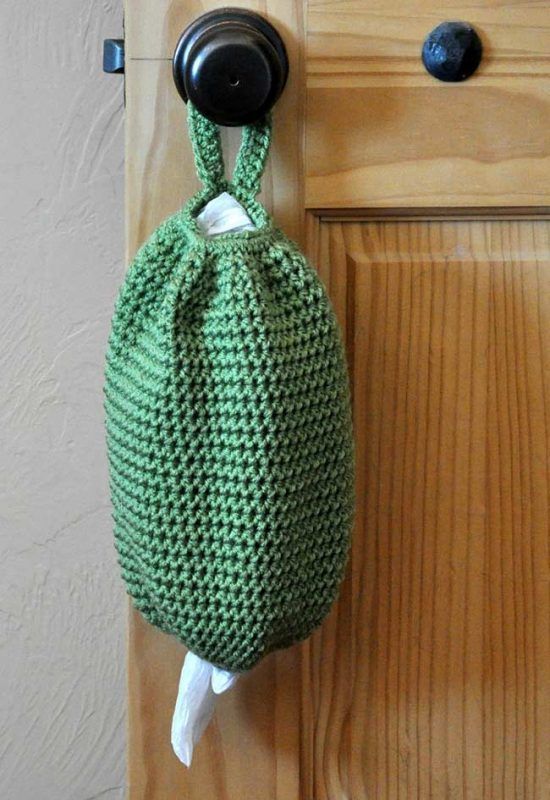
Via: Pinterest

Via: Tua Casa
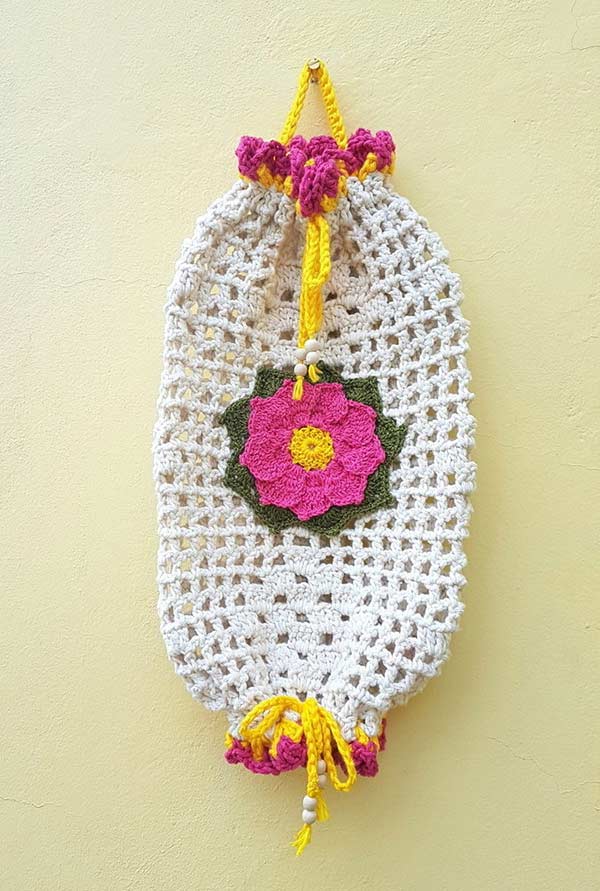
Via: www.decorfacil.com/puxa-saco-de-croche
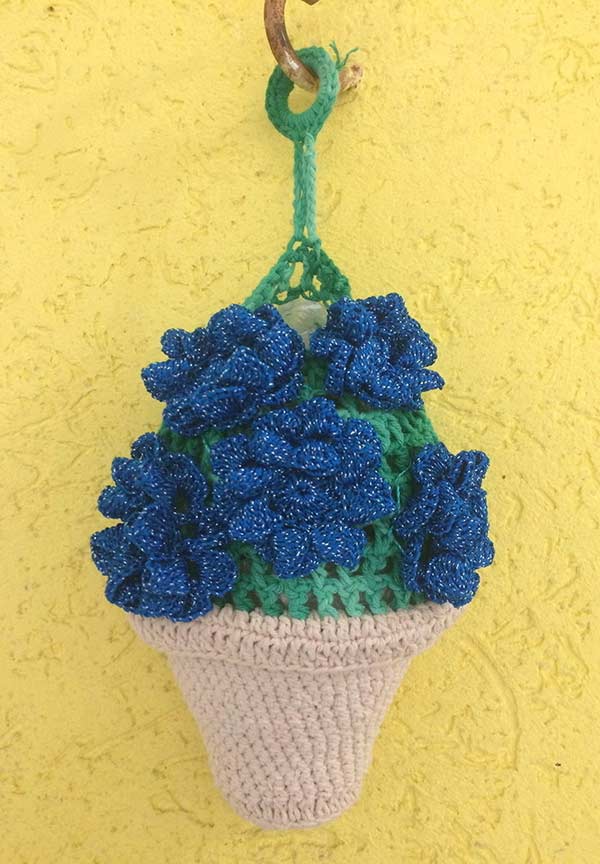
Via ELO7
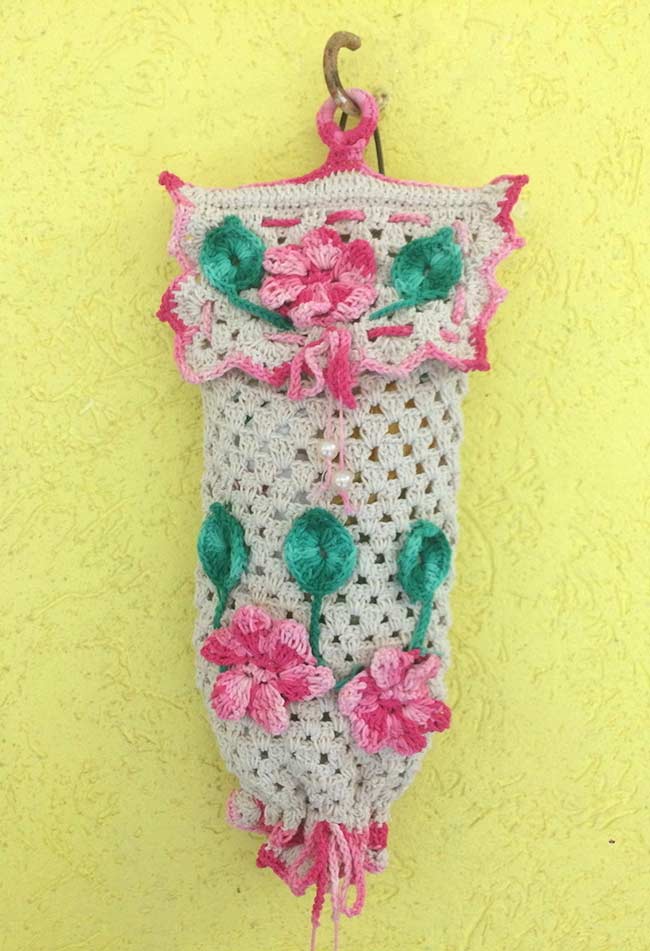

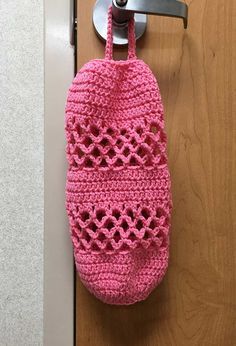
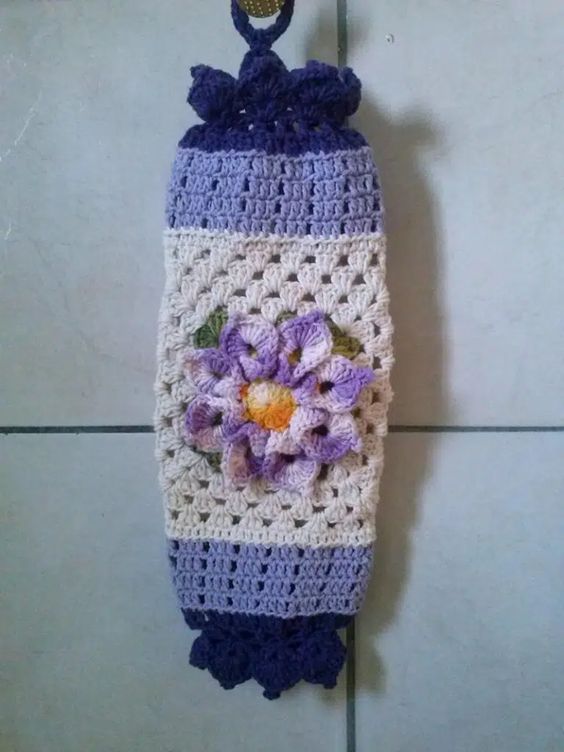
Via: elo7.com.br
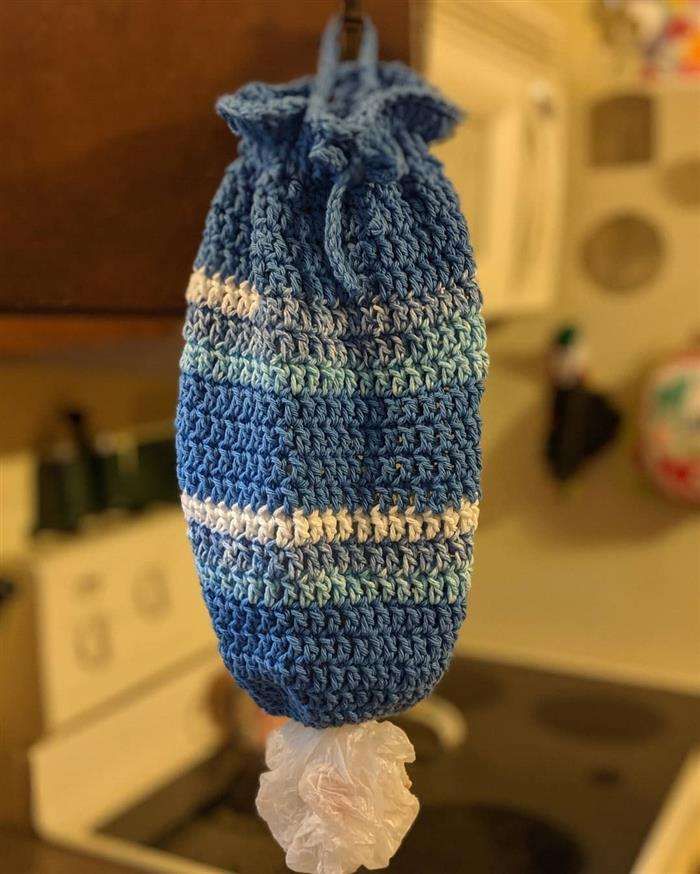
Via: elo7.com.br
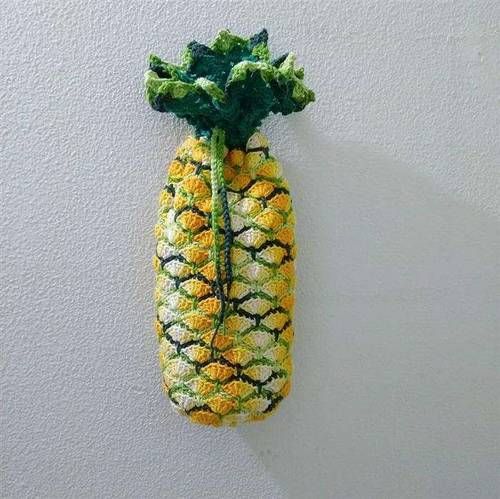
Via: @meuscrochet
Step-by-Step Crochet Instructions
Step 1: Start with a Foundation Chain
- Foundation Chain: Start with a chain that matches the width of the holder. For a medium-sized holder, chain 30–40 stitches (adjust based on desired width).
- Join in the Round: Connect the last chain to the first chain with a slip stitch to form a loop, being careful not to twist the chain.
Step 2: Work the Body of the Bag Holder
This part of the holder will form a tube. Use your preferred stitch pattern, but for a slightly stretchy effect, alternating between single crochet and double crochet works well.
- Round 1: Chain 1, work 1 single crochet in each stitch around. Slip stitch to join the round.
- Round 2: Chain 3 (counts as first double crochet), then work 1 double crochet in each stitch around. Slip stitch to join.
- Repeat: Continue alternating rounds of single crochet and double crochet until the holder reaches your desired length (typically 12–15 inches).
Step 3: Create the Bottom Opening
To allow easy access for pulling bags out, we’ll create a small opening at the bottom with an optional elastic band or drawstring.
- Last Few Rounds: Switch to single crochet for the last 3–5 rounds, making the fabric tighter and more compact.
- Add Elastic (Optional): If you prefer a secure opening, sew in a piece of elastic on the last row. This will keep the bags from falling out but allow you to pull them out one at a time.
Step 4: Make the Top Opening
- Top Rounds: After completing the main body, work 3–5 rounds of single crochet at the top for a sturdy edge.
- Add Elastic or Drawstring (Optional): For a drawstring opening, crochet two small holes evenly spaced on the last row, then thread a piece of yarn or a ribbon through. This will allow you to cinch the top closed if desired-.
Step 5: Add a Hanging Loop
For convenience, add a small loop at the top of the bag holder for hanging.
- Create a Loop: Chain 10–15 stitches directly at the top of the holder and secure with a slip stitch to the opposite side to form a loop.
- Secure the Loop: Work single crochets along the chain to make the loop sturdy, then fasten off and weave in ends.
Finishing Touches
- Weave in Loose Ends: Use a yarn needle to tuck in any loose ends for a clean finish.
- Optional Decor: Add small crochet flowers, buttons, or other decorative elements to personalize your bag holder.
CHECK MORE CROCHET PATTERNS