Crochet Soap Holder Pattern: A Simple and Practical DIY
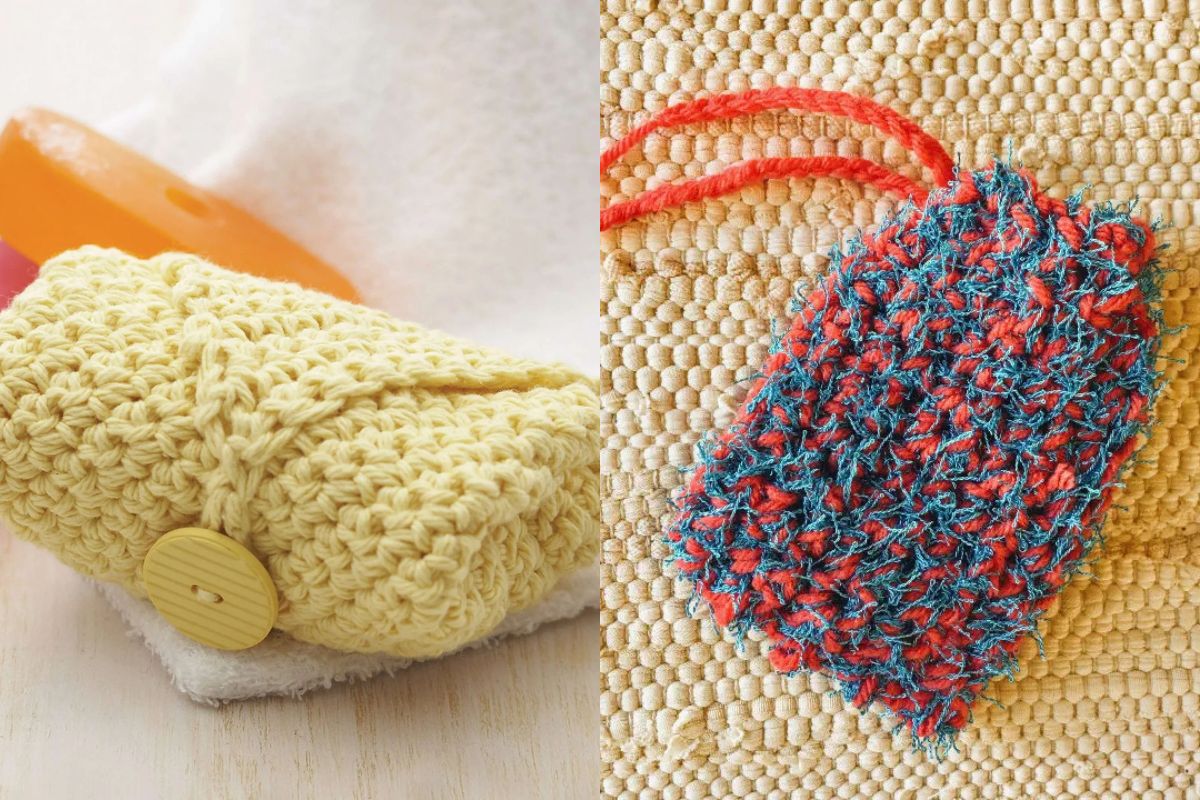
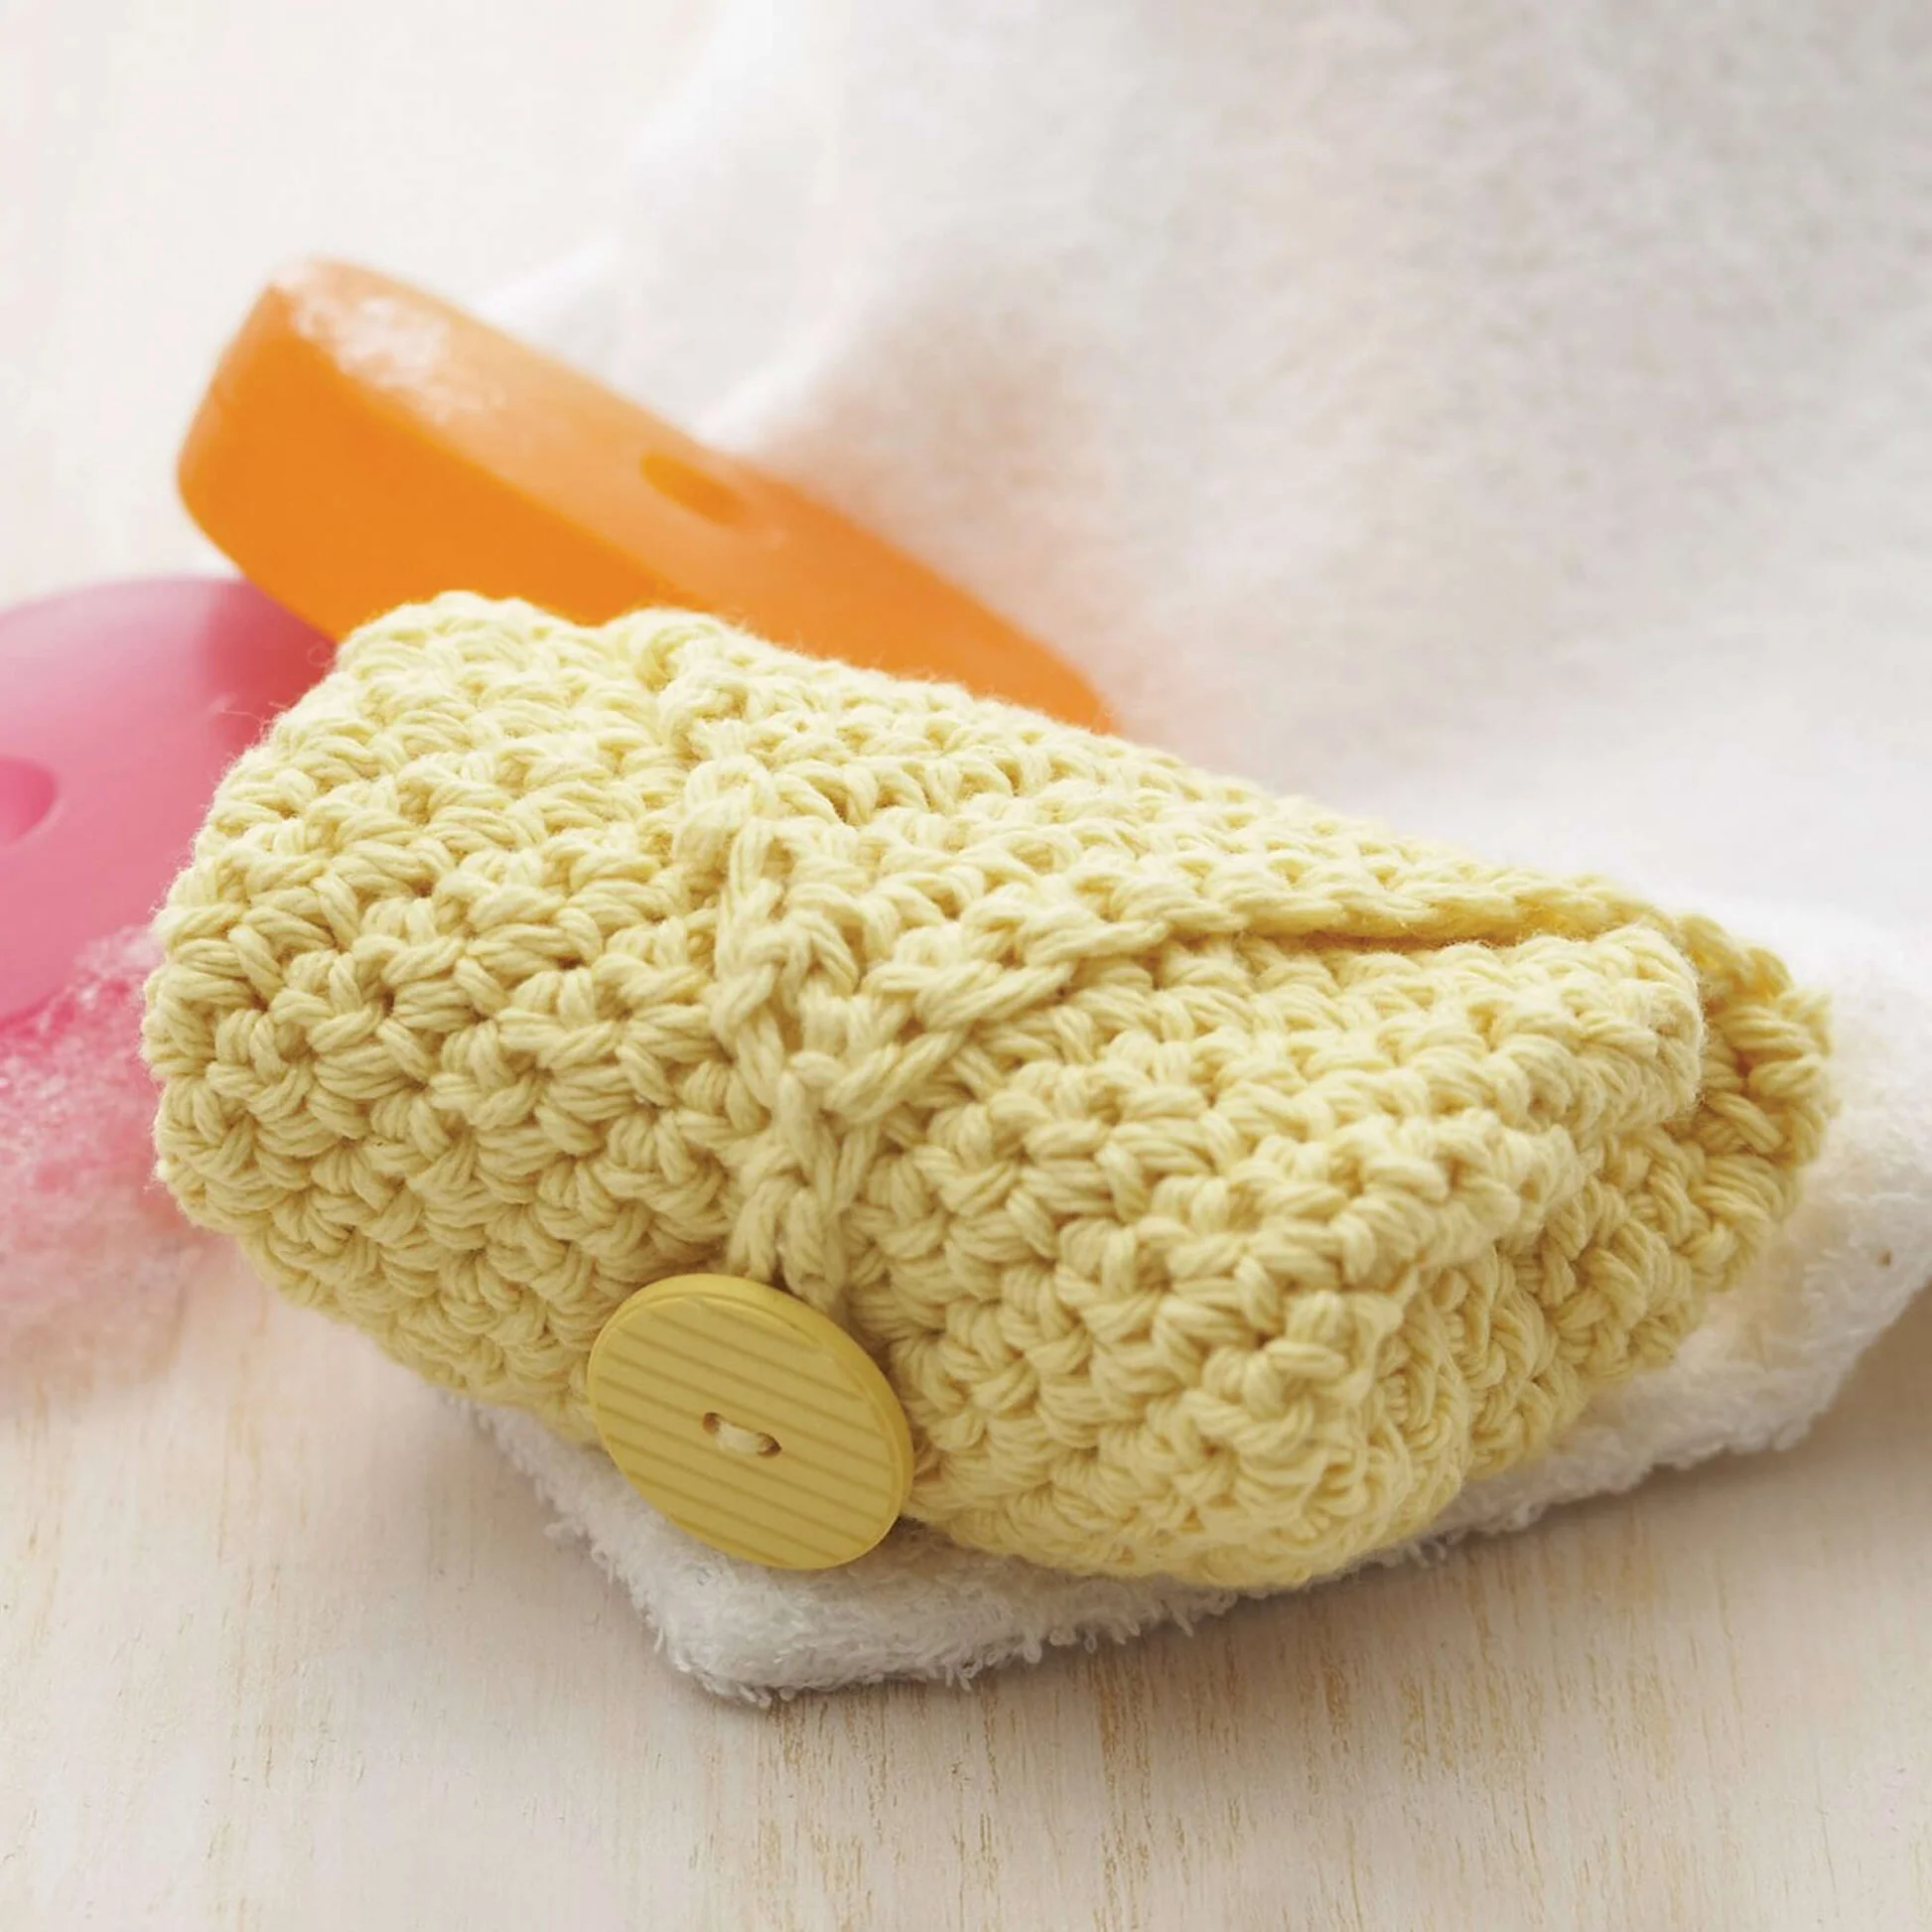
A crochet soap holder is an excellent DIY project that serves both functional and decorative purposes. Whether you're looking for a way to keep your soap organized, create a unique gift, or simply add a handmade touch to your bathroom or kitchen, crocheting a soap holder is an easy, fun, and rewarding project.
In this pattern, we will guide you through the process of making your own crochet soap holder, with clear instructions for creating a durable, stylish design.
You’ll need a little bit of crochet experience, but it’s simple enough for beginners who are looking to practice their skills.
Crochet Soap Holder Pattern
Step 1: Create the Base of the Soap Holder
- Start with a slip knot and chain 4. Join with a slip stitch to form a ring.
- Round 1: Chain 1 (does not count as a stitch here), then make 6 single crochet (sc) into the ring. Join the round with a slip stitch (sl st) into the first sc.
- Tip: Pull the tail of the ring tight to close the center.
- Round 2: Chain 1, and then work 2 single crochet in each stitch around (12 sc). Join with a slip stitch into the first sc.
- Round 3: Chain 1, 1 sc in the first stitch, 2 sc in the next stitch. Repeat around (18 sc). Join with a slip stitch into the first sc.
Step 2: Build the Sides of the Holder
Now that the base is done, you will work the sides of the soap holder to create a pouch for the soap.
- Round 4: Chain 1, then sc in each stitch around (no increases, just one sc in each stitch). Join with a slip stitch into the first sc.
- Rounds 5-7: Repeat round 4 for 3 more rounds or until the sides are high enough to cover the soap.
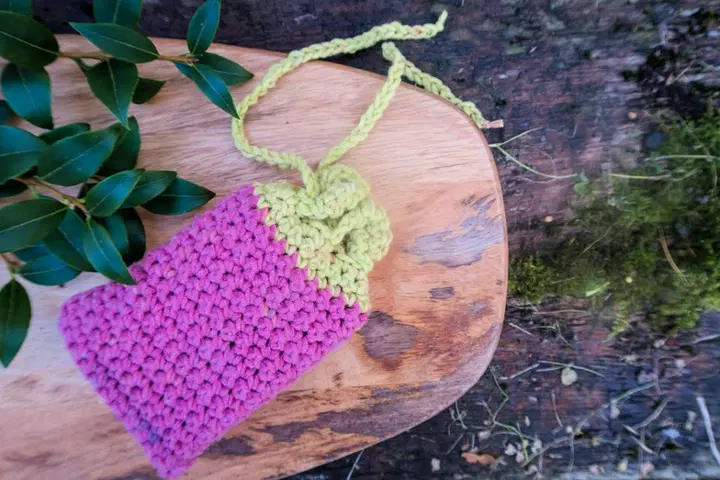
Step 3: Create the Hanging Loop
To finish the soap holder, you’ll add a hanging loop so you can hang the holder on a hook or shower caddy.
- Round 8: After completing the last round of the sides, chain 10 (or more, depending on how long you want the loop).
- Attach the loop: Slip stitch into the first sc at the top of the soap holder to secure the loop in place.
- Finish off: Cut the yarn, leaving a small tail. Use a tapestry needle to weave in any loose ends and secure the loop.
Step 4: Optional Decorative Edging
You can add an extra decorative touch to your soap holder by crocheting a simple border or edging.
- Simple edging: Chain 1, then work a round of sc evenly around the top of the soap holder to create a clean finish.
- Shell edging: Work 1 sc, 3 dc, 1 sc in each stitch around for a decorative shell-like finish.
Tips for Customizing Your Crochet Soap Holder
- Add texture: You can use different crochet stitches like half double crochet (hdc) or double crochet (dc) for the sides to add texture to your soap holder.
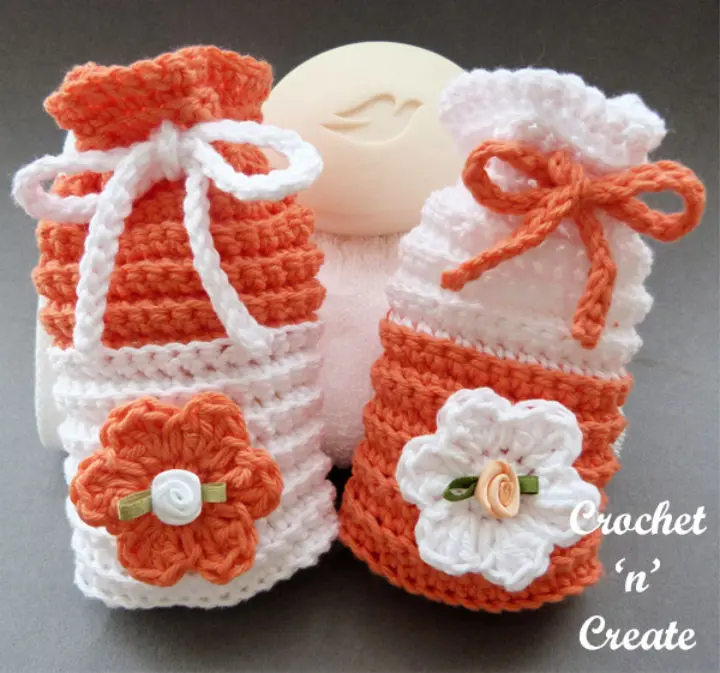
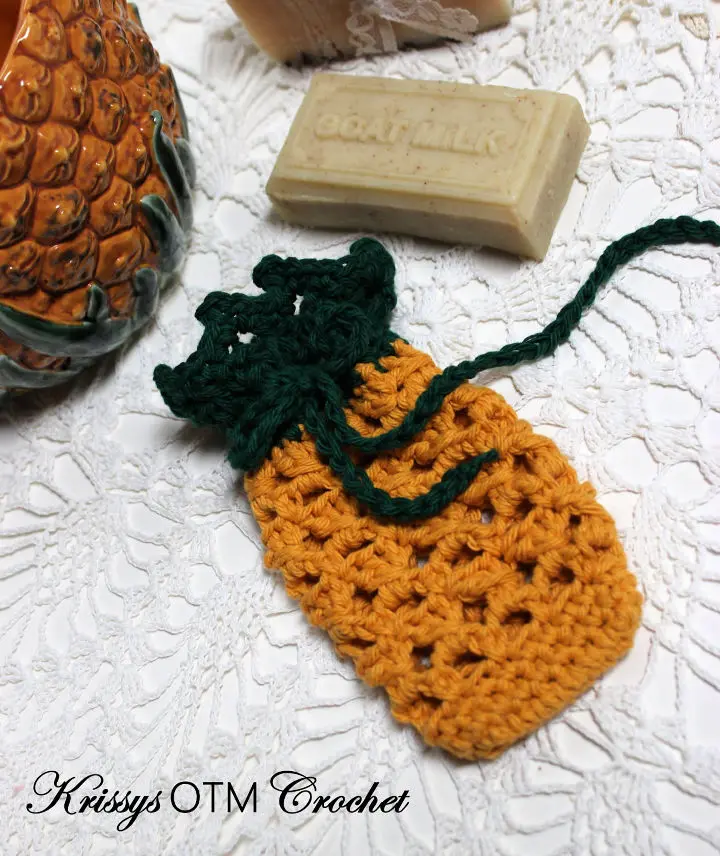
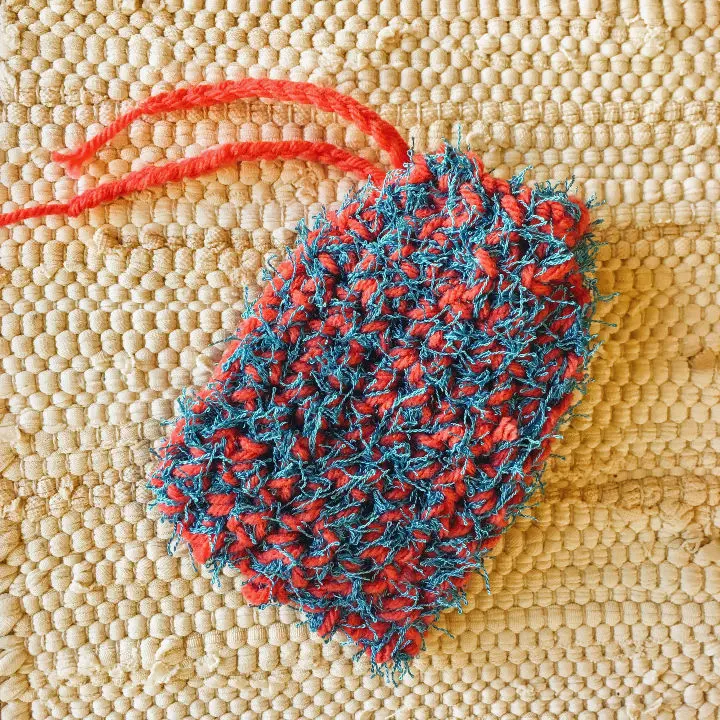
- Color block: Try using different yarn colors for the base, sides, and loop to make your soap holder stand out.
- Size adjustment: Adjust the size of the base and sides to fit different types of soap. If you want to make a soap holder for larger bars, just increase the number of stitches in the base.
- Add a drawstring: For a more secure closure, you can crochet a drawstring instead of a loop to tie the top of the holder.
Making a crochet soap holder is a quick and satisfying project that adds both functionality and beauty to your bathroom or kitchen. Whether you're looking for a practical way to store your soap or want to give a handmade gift, this pattern offers endless opportunities for customization.
Get creative with colors and designs to make a soap holder that's uniquely yours!
CHECK MORE CROCHET PATTERNS