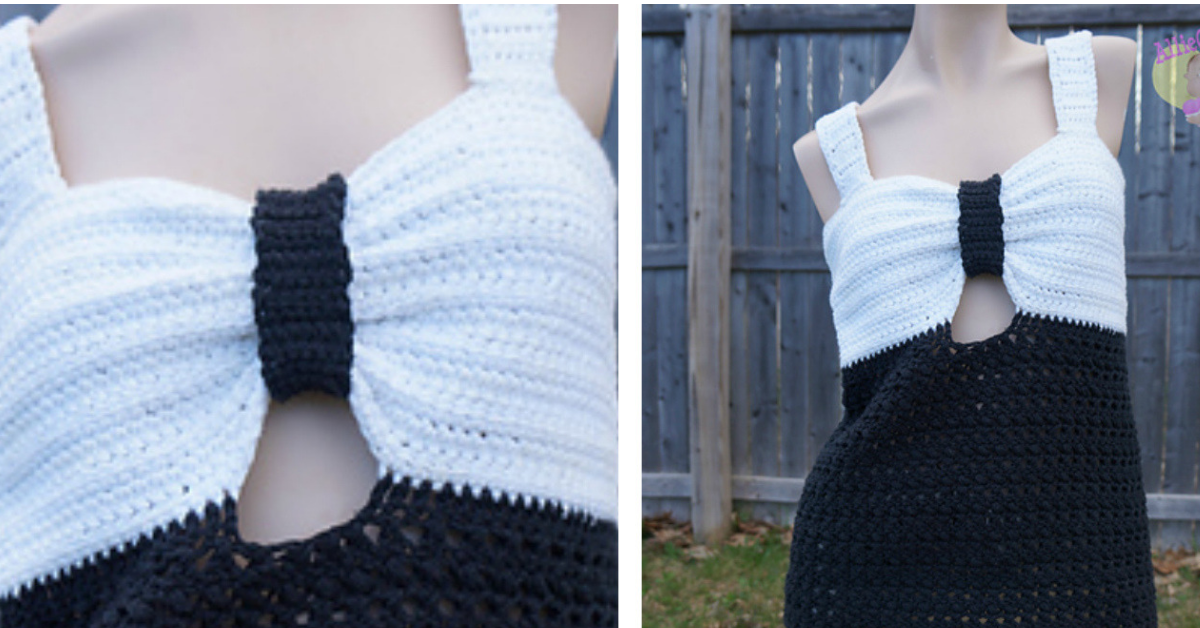
Crochet Tank Top

Crochet Tank Top

There may be many designs of tops in internet and we all can found easily, but we think that we have searched for you one of the great design of tank top and it’s pattern where you will learn everything step bu step and you easily crochet this beautiful and attractive top.

Winter is not the time for the tops like this, but maybe in one month you can feel free to wear top that you will crochet with your hands and look attractive.

crochet tank top is the perfect summer garment—light, airy, and stylish. Whether you’re lounging on the beach, heading to a festival, or simply enjoying warm weather, a crocheted tank top adds a bohemian vibe to any outfit. This versatile piece can be worn alone or layered, making it a must-have addition to your summer wardrobe.

In this guide, we’ll cover how to crochet a tank top, from choosing the right materials to detailed pattern instructions, plus customization ideas to make your tank top unique.

Table
  1. Crochet Tank Top
    1. Materials Needed for Crochet Tank Top
    2. Crochet Tank Top Pattern
    3. Step 1: Create the Foundation Chain
    4. Step 2: Work the Body of the Tank Top
    5. Step 3: Shape the Armholes
    6. Step 4: Crochet the Straps
    7. Step 5: Assemble the Tank Top
    8. Step 6: Add a Finishing Edge (Optional)

Crochet Tank Top

Black and white color we can say that it’s just an example and you can choose any other color as you like of course.

Make a great present for yourself. We hope you will enjoy and will not regret about wasted time and supplies.
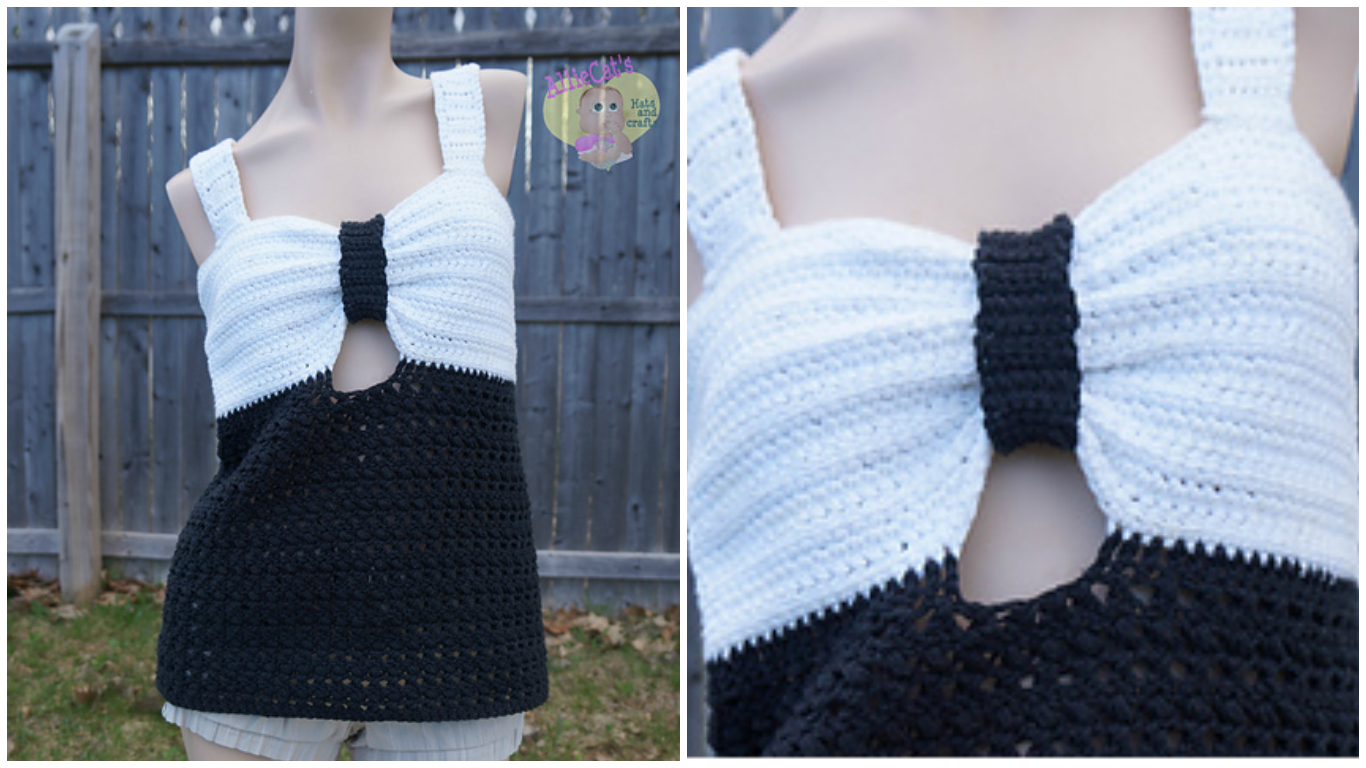
crochet tank top 1

Click Here For The Pattern <<

Materials Needed for Crochet Tank Top

Before you begin, gather the following materials:

  • Yarn: Choose a lightweight, breathable yarn such as cotton or bamboo. These fibers keep you cool and create a comfortable drape.
  • Crochet hook: Use the hook size recommended for your yarn, generally between 3mm and 5mm for lightweight yarn.
  • Scissors: For trimming yarn ends.
  • Darning needle: To weave in ends and sew any seams.

Crochet Tank Top Pattern

The following is a basic pattern to get you started. This tank top features a simple double crochet stitch for a quick and easy project that can be customized to your preferred length and width.

Abbreviations

  • ch – Chain
  • dc – Double Crochet
  • sc – Single Crochet
  • sl st – Slip Stitch
  • st(s) – Stitch(es)

Step 1: Create the Foundation Chain

The foundation chain will determine the width of your tank top. Measure across your bust and chain the required length.

  1. Foundation Chain: Ch a multiple of 10 + 2 for turning.

Step 2: Work the Body of the Tank Top

The body of the tank is made in two separate panels (front and back) that are later sewn together.

  1. Row 1: Dc in the fourth ch from the hook and in each ch across. Ch 2, turn.
  2. Row 2: Dc in each st across. Ch 2, turn.

Repeat Row 2 until the piece measures your desired length from the bottom hem to the armhole. Remember to leave enough length for the shoulder straps and neckline.

Step 3: Shape the Armholes

After completing the body, it’s time to shape the armholes by decreasing stitches on each side.

  1. Row 1 (Armhole Shaping): Skip the first st, dc across until 1 st remains, skip last st. Ch 2, turn.
  2. Row 2: Repeat this decrease row until the armholes reach your desired depth.

Complete the same armhole shaping for the back panel.

Step 4: Crochet the Straps

Once the body and armholes are complete, add straps to each panel.

  1. Strap Row 1: Join yarn at the top corner of the front panel, ch 2, dc across 4-6 sts depending on desired strap width.
  2. Continue: Dc in each st across for the length of the strap. Repeat on the opposite side.

Attach matching straps to the back panel in the same way.

Step 5: Assemble the Tank Top

With the front and back panels complete, assemble your tank top.

  1. Sew the Sides: Use a darning needle to seam the sides of the front and back panels.
  2. Attach the Straps: Sew the straps from the front panel to the corresponding spot on the back panel, making sure they are even.

Step 6: Add a Finishing Edge (Optional)

To give your tank top a polished look, add a finishing edge along the neckline and armholes.

  1. Scalloped Edge: Work 5 dc in the same st, skip 1 st, sl st in the next st; repeat around.
  2. Picot EdgeSc in the next st, ch 3, sl st in the first ch; repeat around.

Tip: Blocking your tank top after finishing can help the stitches relax and ensure it holds its shape.

How useful was this post?

Click on a star to rate it!

Average rating 5 / 5. Vote count: 1

No votes so far! Be the first to rate this post.

CHECK MORE CROCHET PATTERNS