Comfy Crochet Travel Neck Pillow for Better Rest
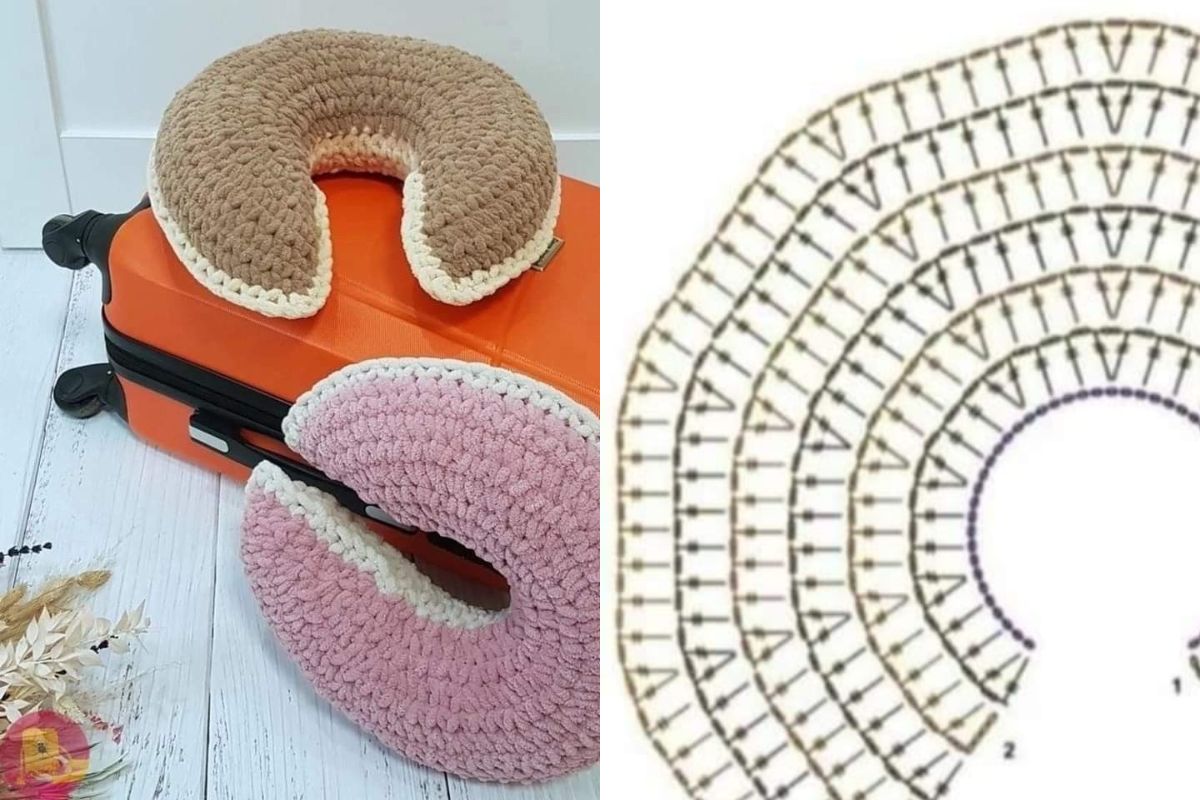
Traveling can be tiring, but a crochet travel neck pillow makes it more comfortable. These pillows are becoming popular among crafters and travelers. They offer a personal touch and better comfort than mass-produced ones.
Handmade neck pillows can be made to fit your exact needs. You can choose the size, shape, and firmness.
Crocheting your pillow can also be calming, adding a special touch to your travel items.

The trend of crochet travel essentials shows a move towards mindful travel. Making your own pillow ensures comfort and helps reduce waste from disposable items. It's good for you and the planet.
Guide to Crochet Travel Neck Pillow Patterns
Making a cozy crocheted neck support for travel is both fun and useful. This guide will show you how to make ergonomic crochet travel pillows. They offer comfort and support on long trips.
The yarn you choose is crucial for a comfy portable crocheted neck rest. Go for soft, durable fibers like cotton or bamboo blends. These materials are gentle on your skin and last long. The right yarn makes a big difference in your pillow's comfort.
For ergonomic crochet travel pillows, focus on the shape. A U-shaped design is great for neck and head support. Adjust the firmness by changing your stitch tension. This ensures your pillow is just right for long flights or car rides.
Make your crocheted neck support fit you perfectly. Try different sizes and shapes until you find the best one. Some like thicker pillows, while others prefer slimmer ones. Feel free to modify patterns to make your ideal travel pillow.
Travel-Friendly Material Selection Tips
For truly portable crocheted neck rests, pick lightweight, washable materials. Acrylic yarn is a great choice because it's easy to clean and dries quickly. Adding a removable cover is also a good idea. This makes it easy to keep your pillow fresh while traveling.
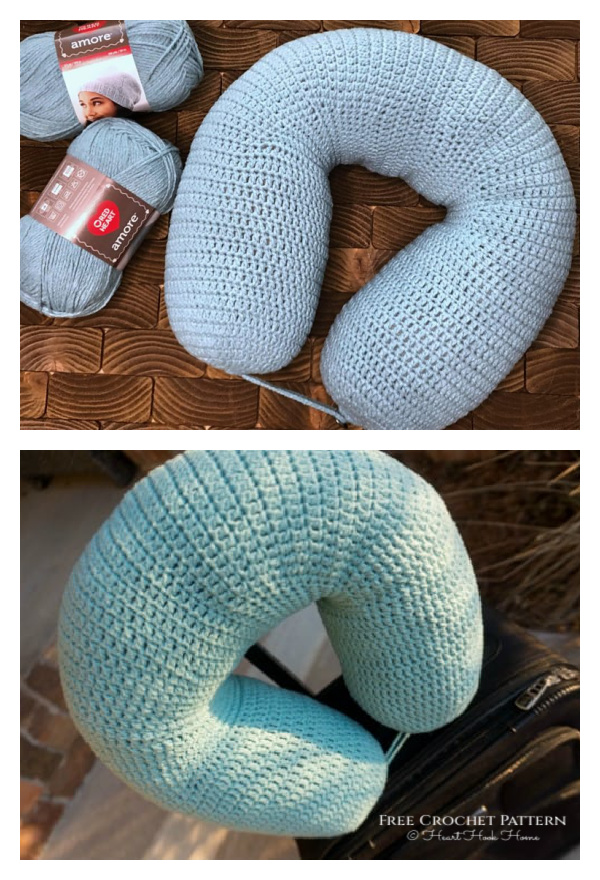
Basic Steps for Crocheting a Travel Neck Pillow
1. Choose Your Shape and Size
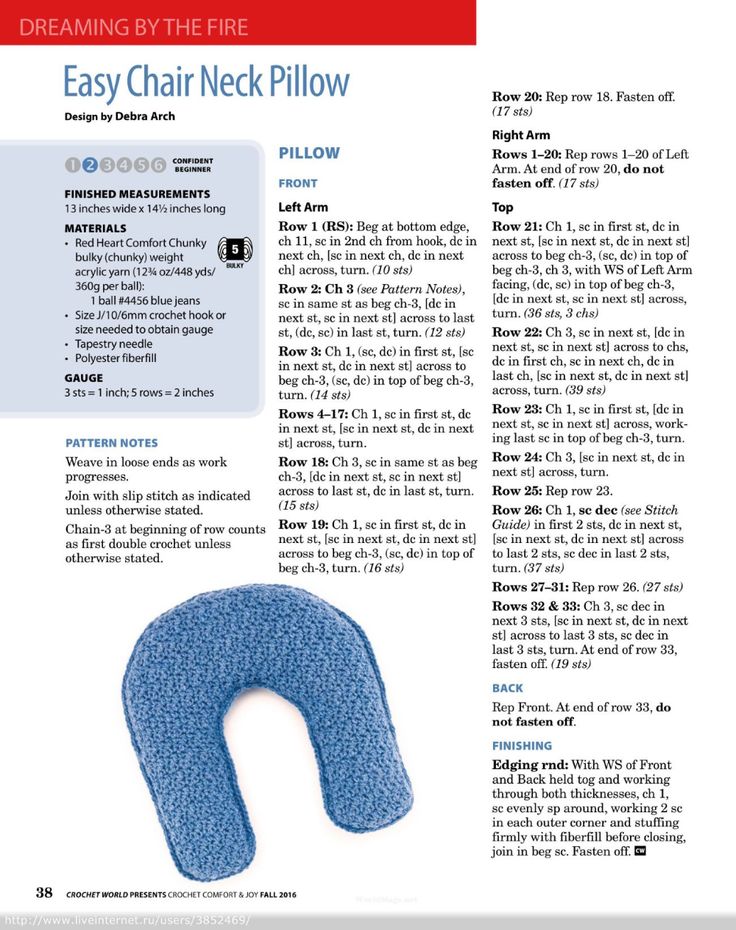
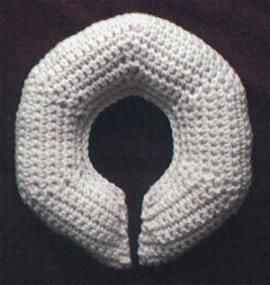
The first step in making your crochet travel neck pillow is deciding on the shape and size. A typical travel neck pillow is U-shaped, but you can get creative and experiment with other shapes as well. You may want to make a rectangular pillow, but the U-shape is most commonly used for neck support.
- For a U-shaped pillow, it is often best to crochet in rounds and then fold the ends to form the shape.
- For a rectangular pillow, simply crochet a large piece, fold it, and stitch the sides together.
Tips:
- Measure a neck pillow you already own or check travel pillow size guides to ensure the pillow is the right size for your comfort.
- Adjust the size based on personal preference—some people prefer a more supportive, firmer pillow, while others enjoy a softer, more squishy one.
2. Crocheting the Body of the Pillow
Here’s a basic guide to crocheting a U-shaped neck pillow:
- Start with a chain: Create a chain that matches the length you want for the pillow’s width. For example, a chain of 40-50 stitches may be a good starting point for a smaller travel pillow.
- Work in rounds: Crochet in a circular fashion (or rows, depending on your preference). To create a U-shape, you’ll need to work in the round and gradually build up the edges.
- Shape the Pillow: When you reach the appropriate length, fold the ends in to form a U-shape. You may need to slightly decrease or increase stitches at the edges to ensure a snug fit around the neck.
For a rectangle shape, simply:
- Crochet a flat panel: Work rows until the panel reaches the desired height and width for the pillow.
- Join the sides: Fold the panel into the shape of a rectangular pillow and stitch the sides together, leaving space for stuffing.
3. Stuffing the Pillow
Once the body of your travel neck pillow is crocheted, it’s time to stuff it:
- Stuffing Option 1: Polyester Fiberfill: This is the most common option. Stuff the pillow until it reaches the desired firmness and shape.
- Stuffing Option 2: Pillow Insert: If you prefer a more traditional pillow feel, use a pre-made pillow insert designed to fit inside your crochet casing.
Be sure to distribute the stuffing evenly to avoid lumps. For added comfort, you can add extra fiberfill around the neck area for more support.
4. Finishing the Edges
To finish off your crochet neck pillow, you’ll need to sew the sides together (if you haven’t already) and close up the pillow:
- Use a whip stitch or slip stitch to join the sides.
- Weave in any loose yarn ends with a yarn needle.
You can also add decorative edging like a simple scallop stitch or picot stitch around the edges to give your pillow a polished look.
5. Personalize Your Pillow
To make your crochet neck pillow truly your own, consider adding some creative touches:
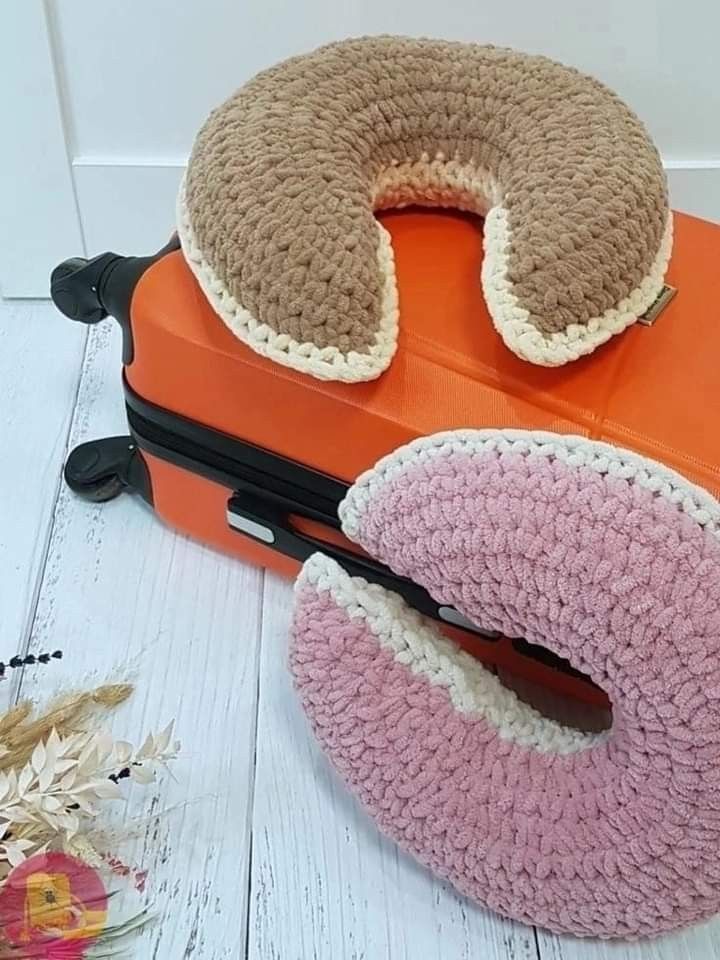
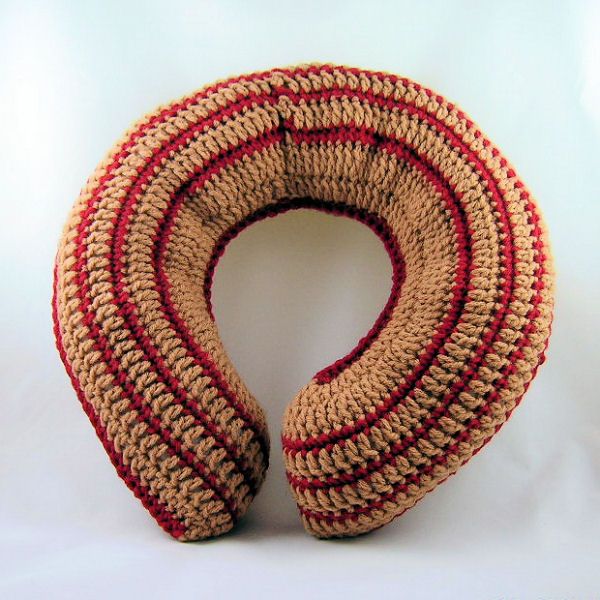
- Color Blocks or Stripes: Use multiple colors to create fun patterns, such as stripes, color blocking, or even ombré effects.
- Pom-Poms or Tassels: Add small crochet pom-poms or tassels to the corners for extra flair.
- Embroidery or Appliqué: Embellish the pillow with small embroidered designs, like stars, clouds, or other travel-inspired motifs.

Conclusion
Making your own crochet travel neck pillow is a fun project. It's more than just a cozy accessory; it's about making your travels more comfortable. With your own pillow, you'll sleep better and feel refreshed when you arrive.
There's more to crochet travel accessories than just neck pillows. Try making luggage tags or travel organizers to add to your collection. These handmade items make your trips special and personal.
Think about making more travel crochet accessories for your next trip. You could make eye masks, blankets, or even small stuffed animals. These items are not just for packing; they're for creating memories and comfort on your travels.
So, grab your hook and yarn and start your next project. It could be a neck pillow or something else. You'll love making it and using it on your travels. Happy crocheting and safe travels!
CHECK MORE CROCHET PATTERNS